Task board basics
With the Tasks tab, you can plan and manage your team’s internal workflow. Create tasks for you and your team members, and track their progress using a task board in the Kanban or List mode.
Placing tasks on the board can help you estimate deadlines, delegate your tasks effectively, and monitor your team members’ progress.
For example, you can add tasks when working on a new project, scheduling calls to clients, holding events, and processing deals and contracts.
Creating a board
You can visualize and organize your workflow and track your team’s performance using a board. On top of that, you can also create tasks, manage their statuses, and customize settings in every board.
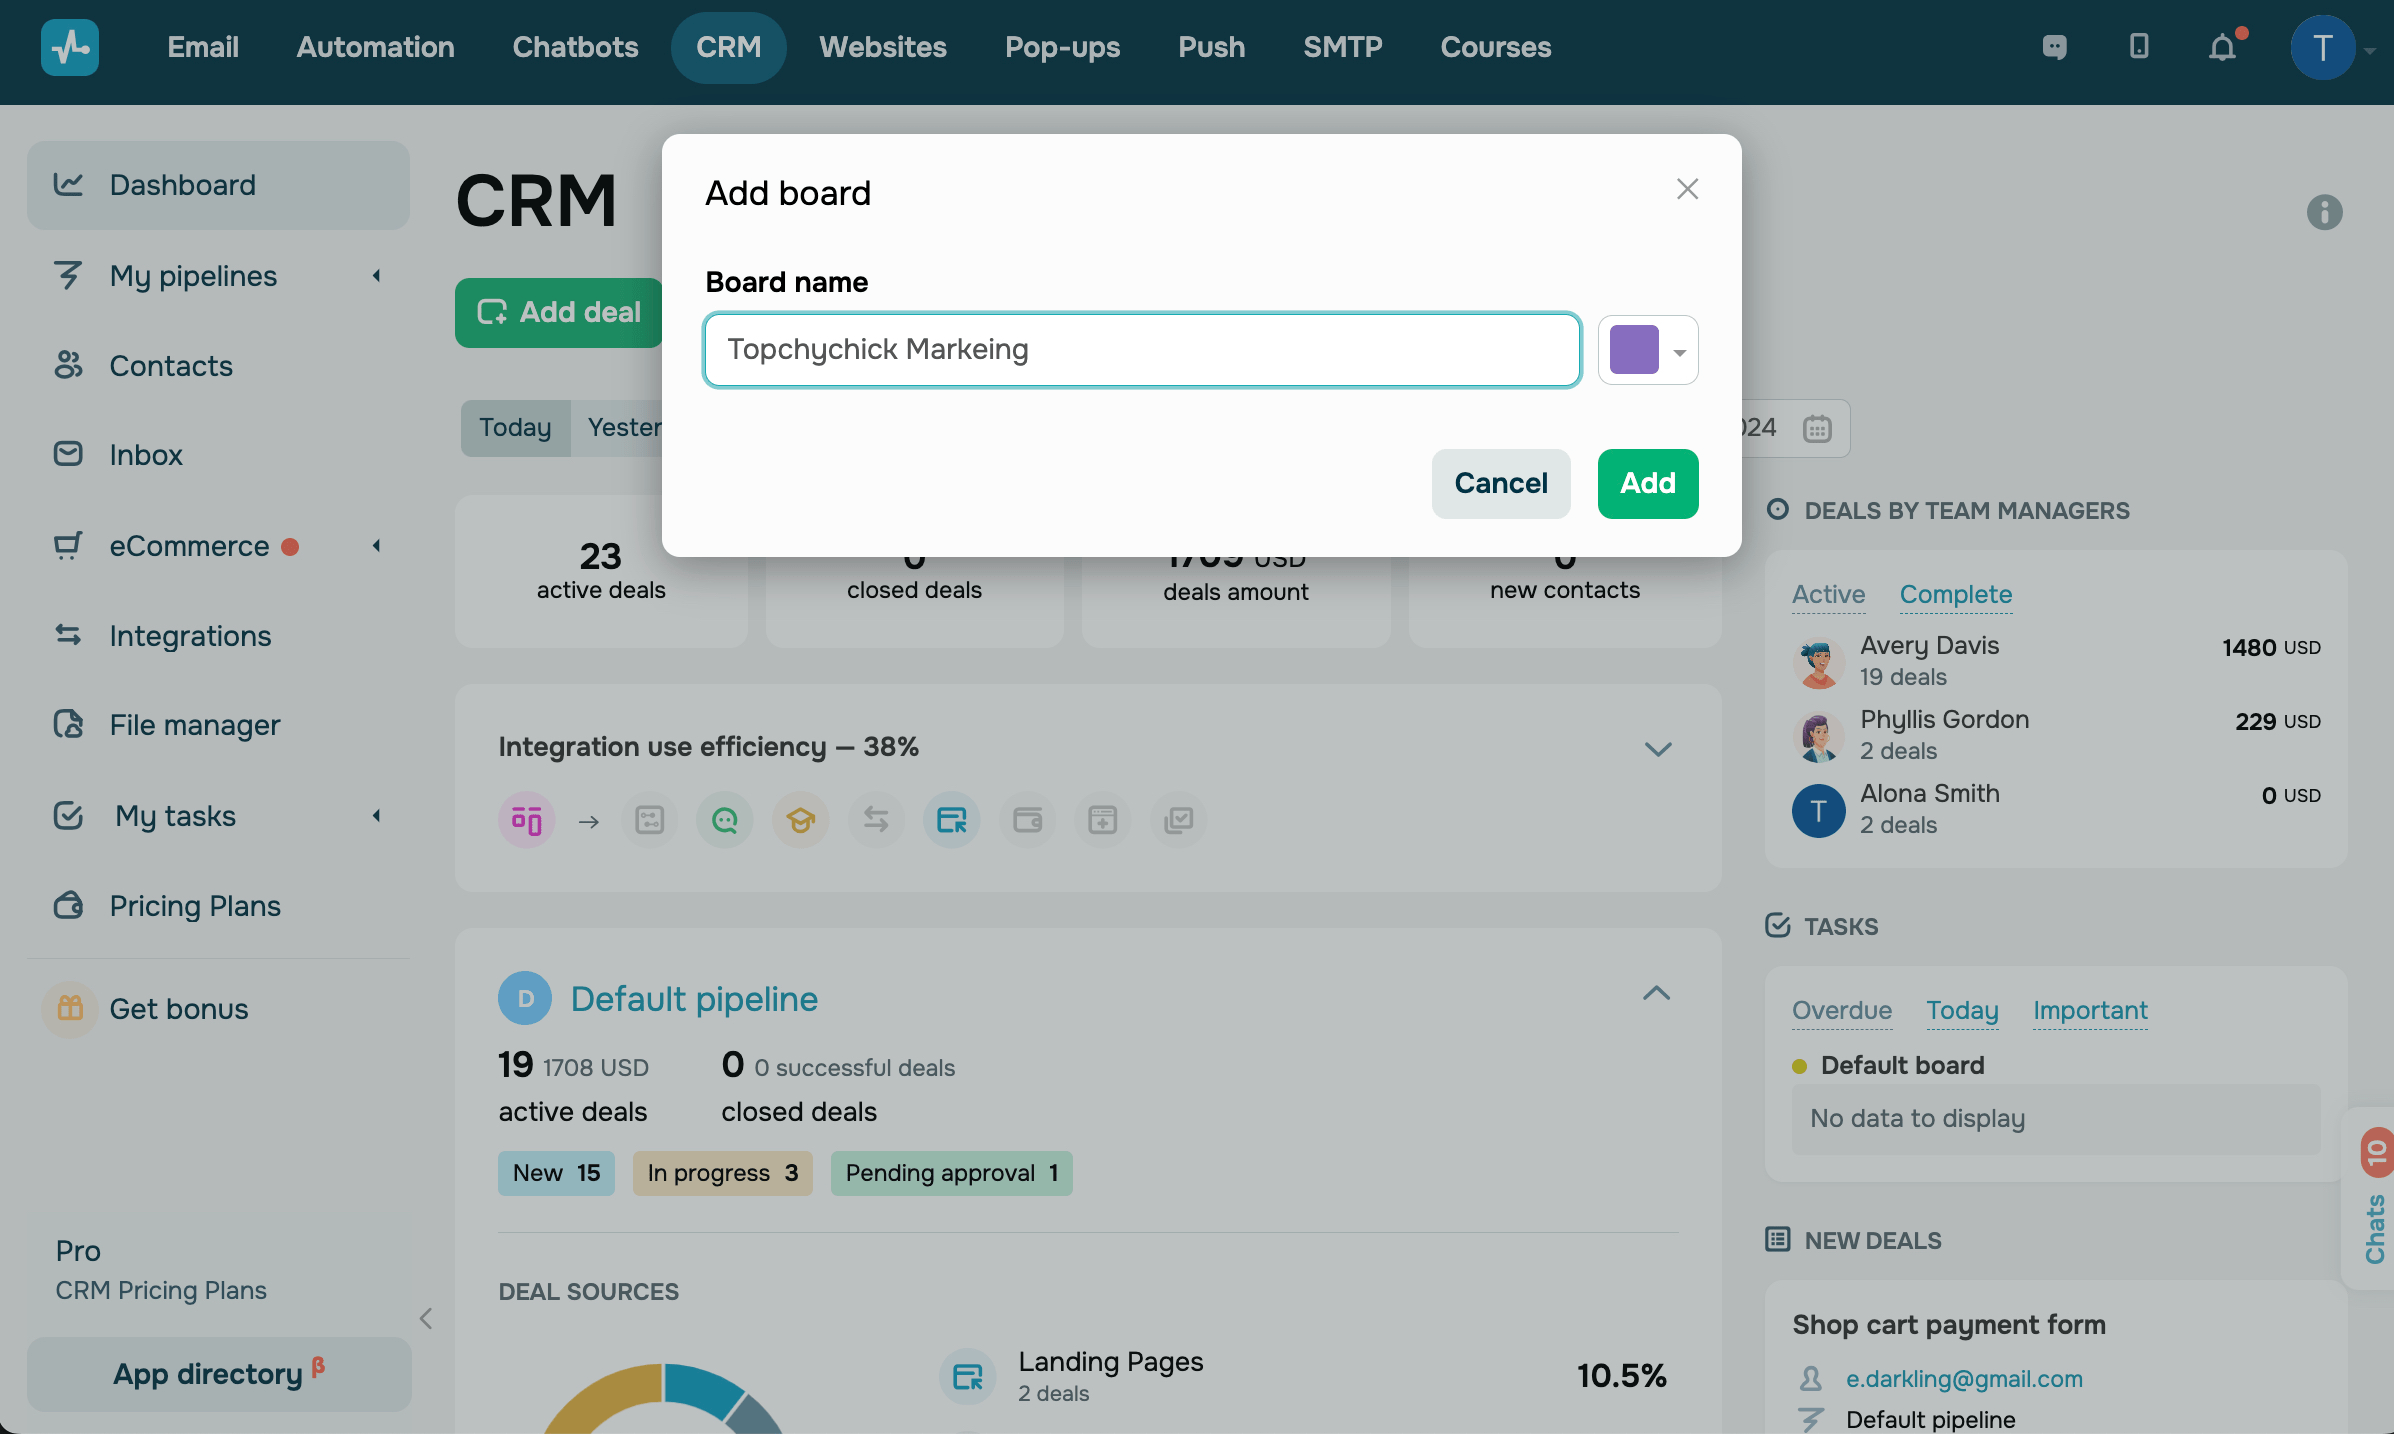
By default, you have one task board, but you can add more. To add a board, go to Dashboard and click Add board.
Enter a board name, and select a color.
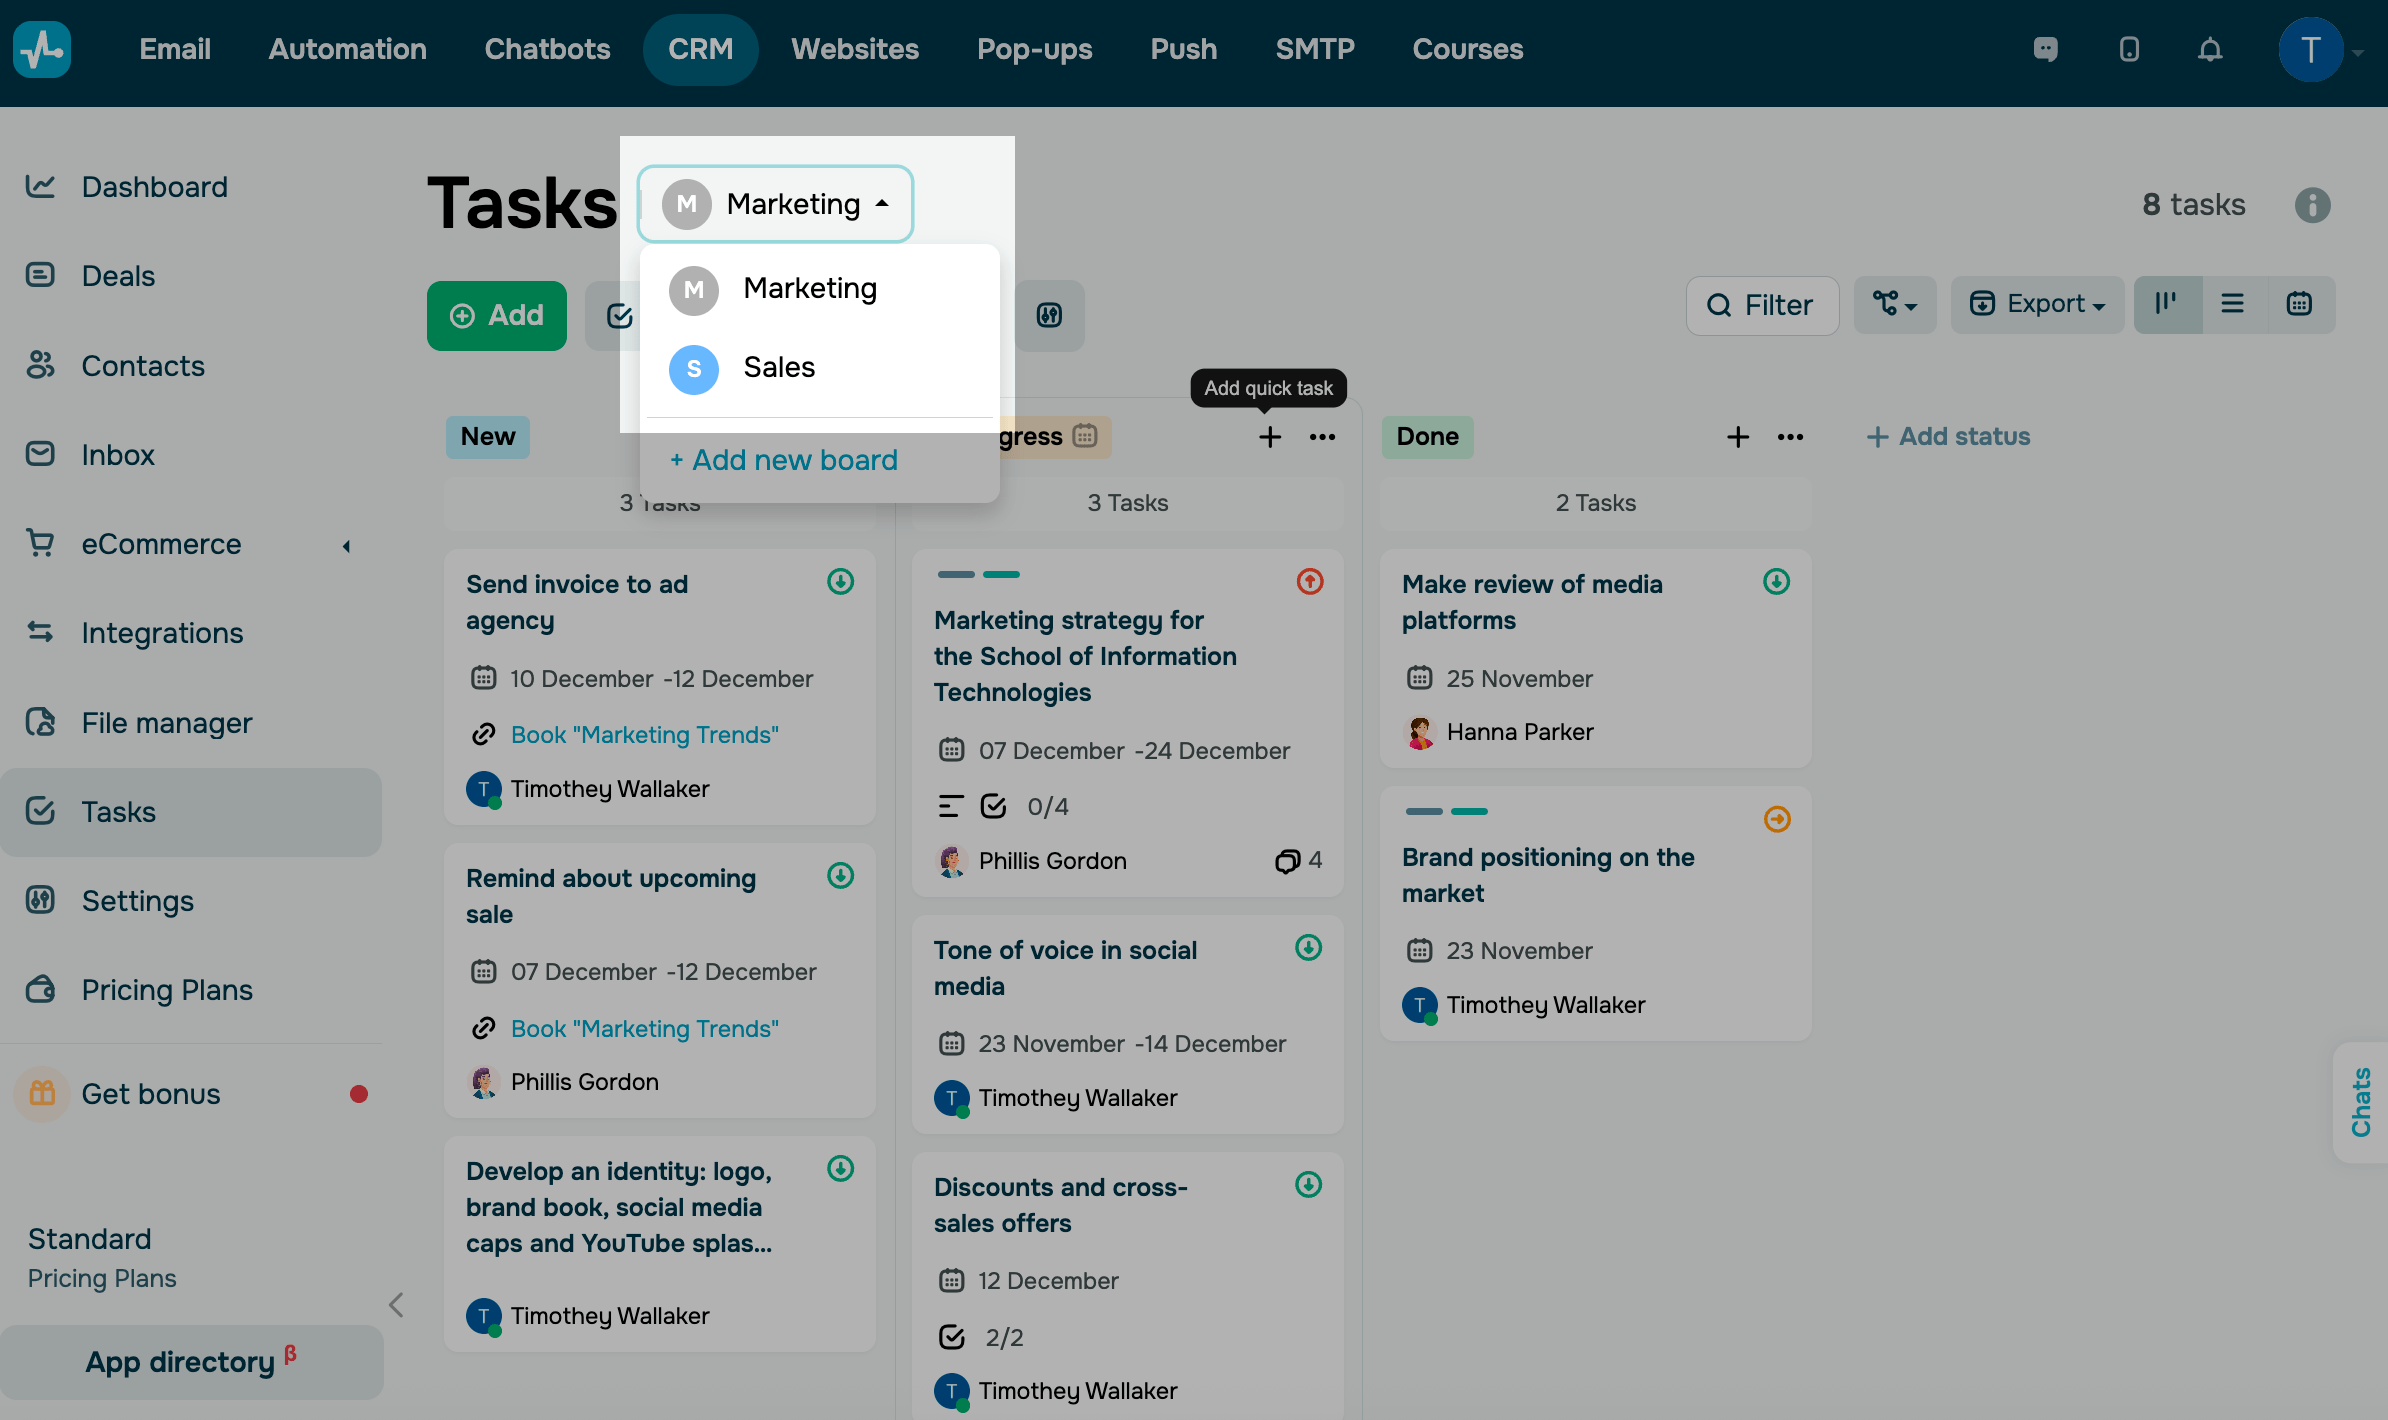
You can also add a board in the Task section. To do this, next to the name of your current board, click the arrow and select + Add new board.

Switching between task boards
You can switch between boards and view the tasks assigned to each one.
Go to Tasks, click the arrow next to the name of your current board, and expand the list. To switch to another board, click it.
Creating a task
Create a task card to indicate what needs to be done, and add a task assignee, deadline, and other important details.
Go to your board, click Add task, and fill in the fields.
To create a quick task, click Add quick task and enter a task name. You can edit it and add more details later.
Display modes
You can view your tasks as a Kanban board, list, or calendar.
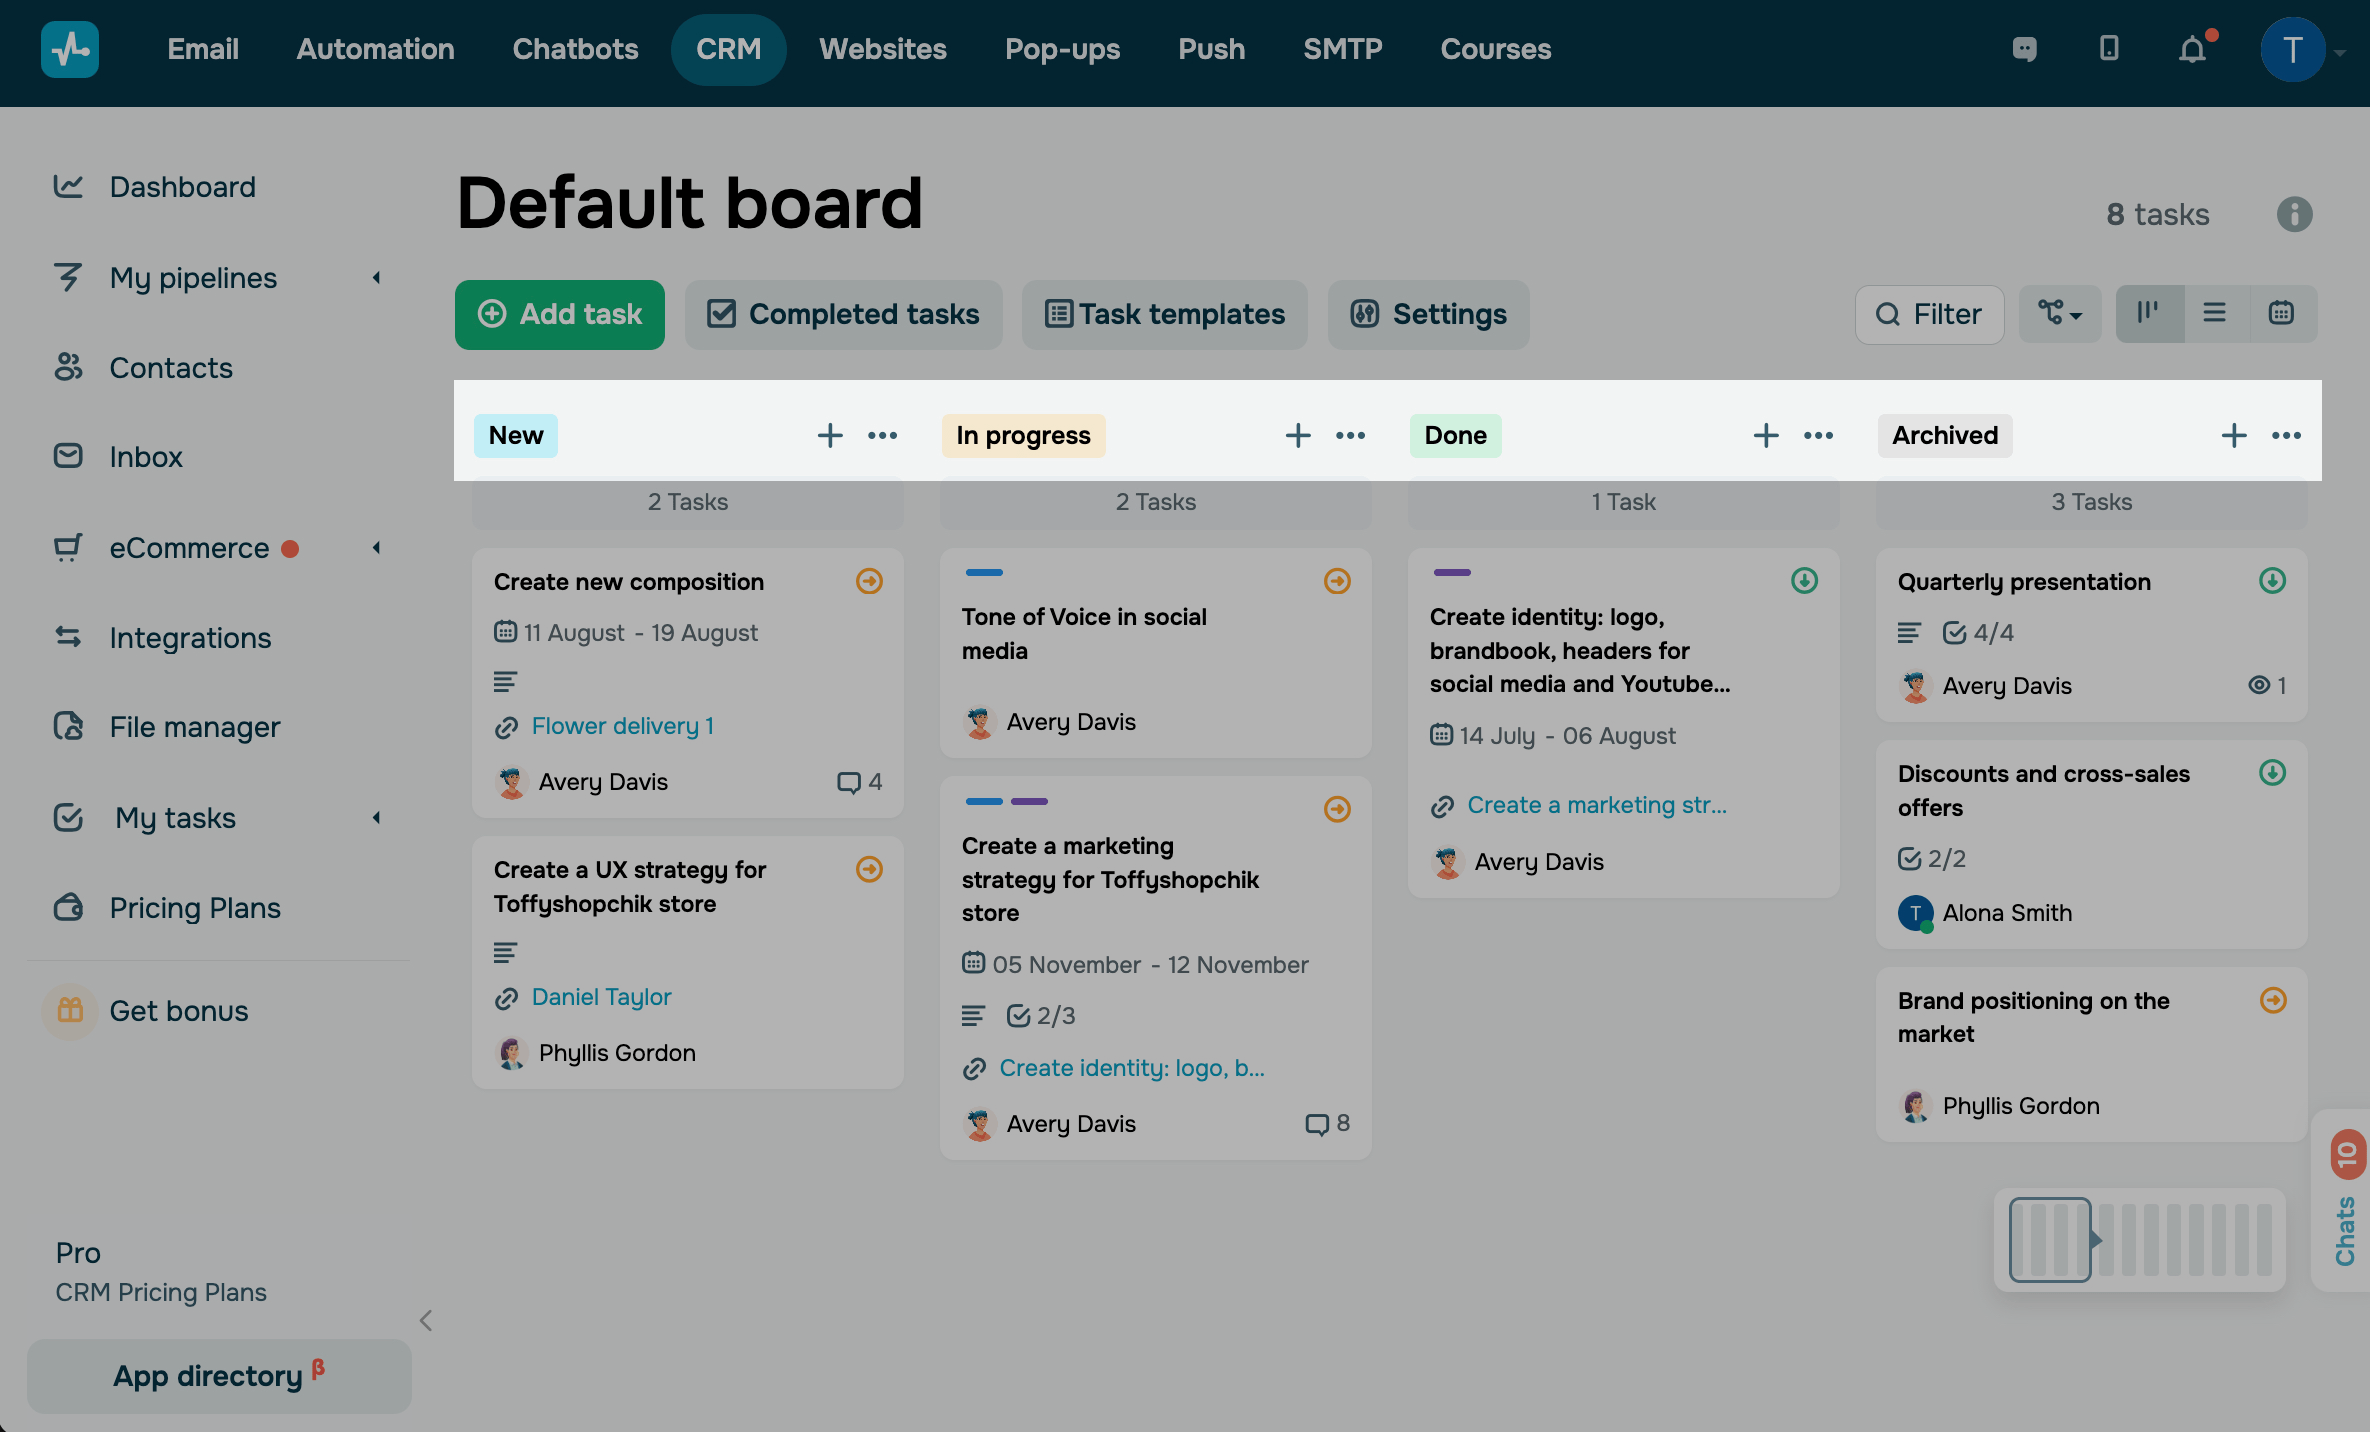
Kanban
Kanban is the default task display mode that appears as a board with columns representing task stages. You can move task cards between columns by dragging them.
Kanban boards help you visualize your project progress — every task on the board appears in a column representing its stage.
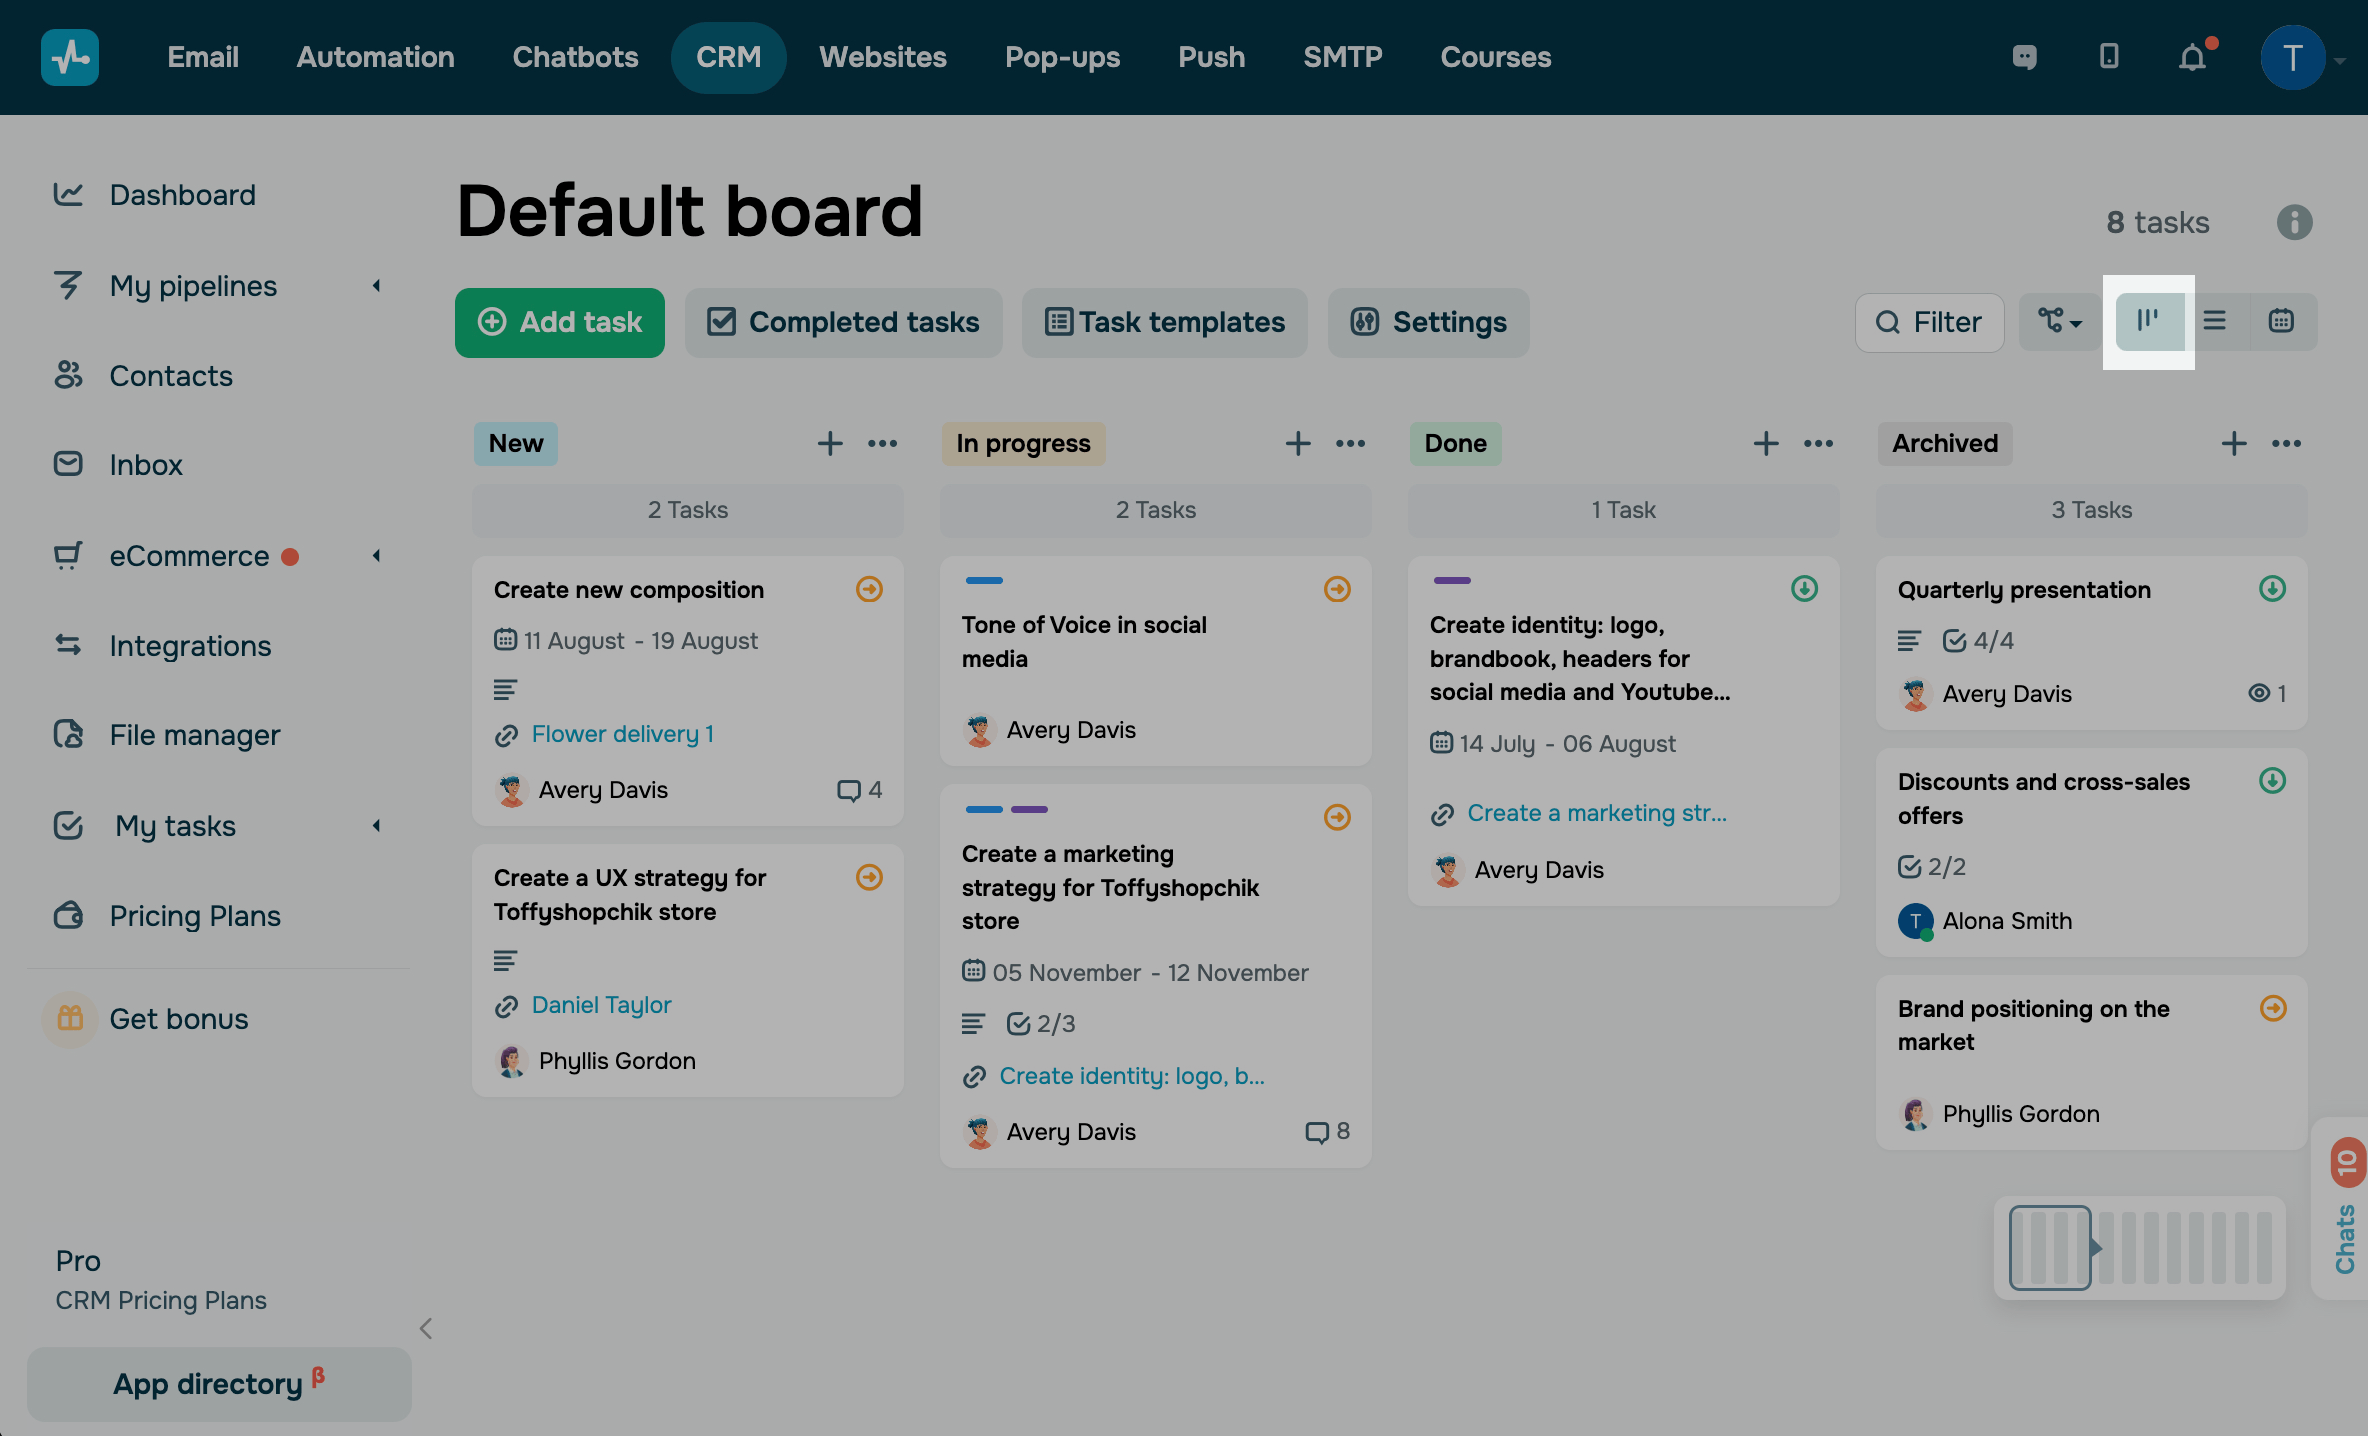
To move a task to another stage, hover over its card, and drag it to the required column.
List
List is a task display mode that arranges your tasks without dividing them into columns. This allows you to fit more tasks on the page and filter them by stage.
The rows show every task’s name, status, priority, assignee, watchers, and due date.
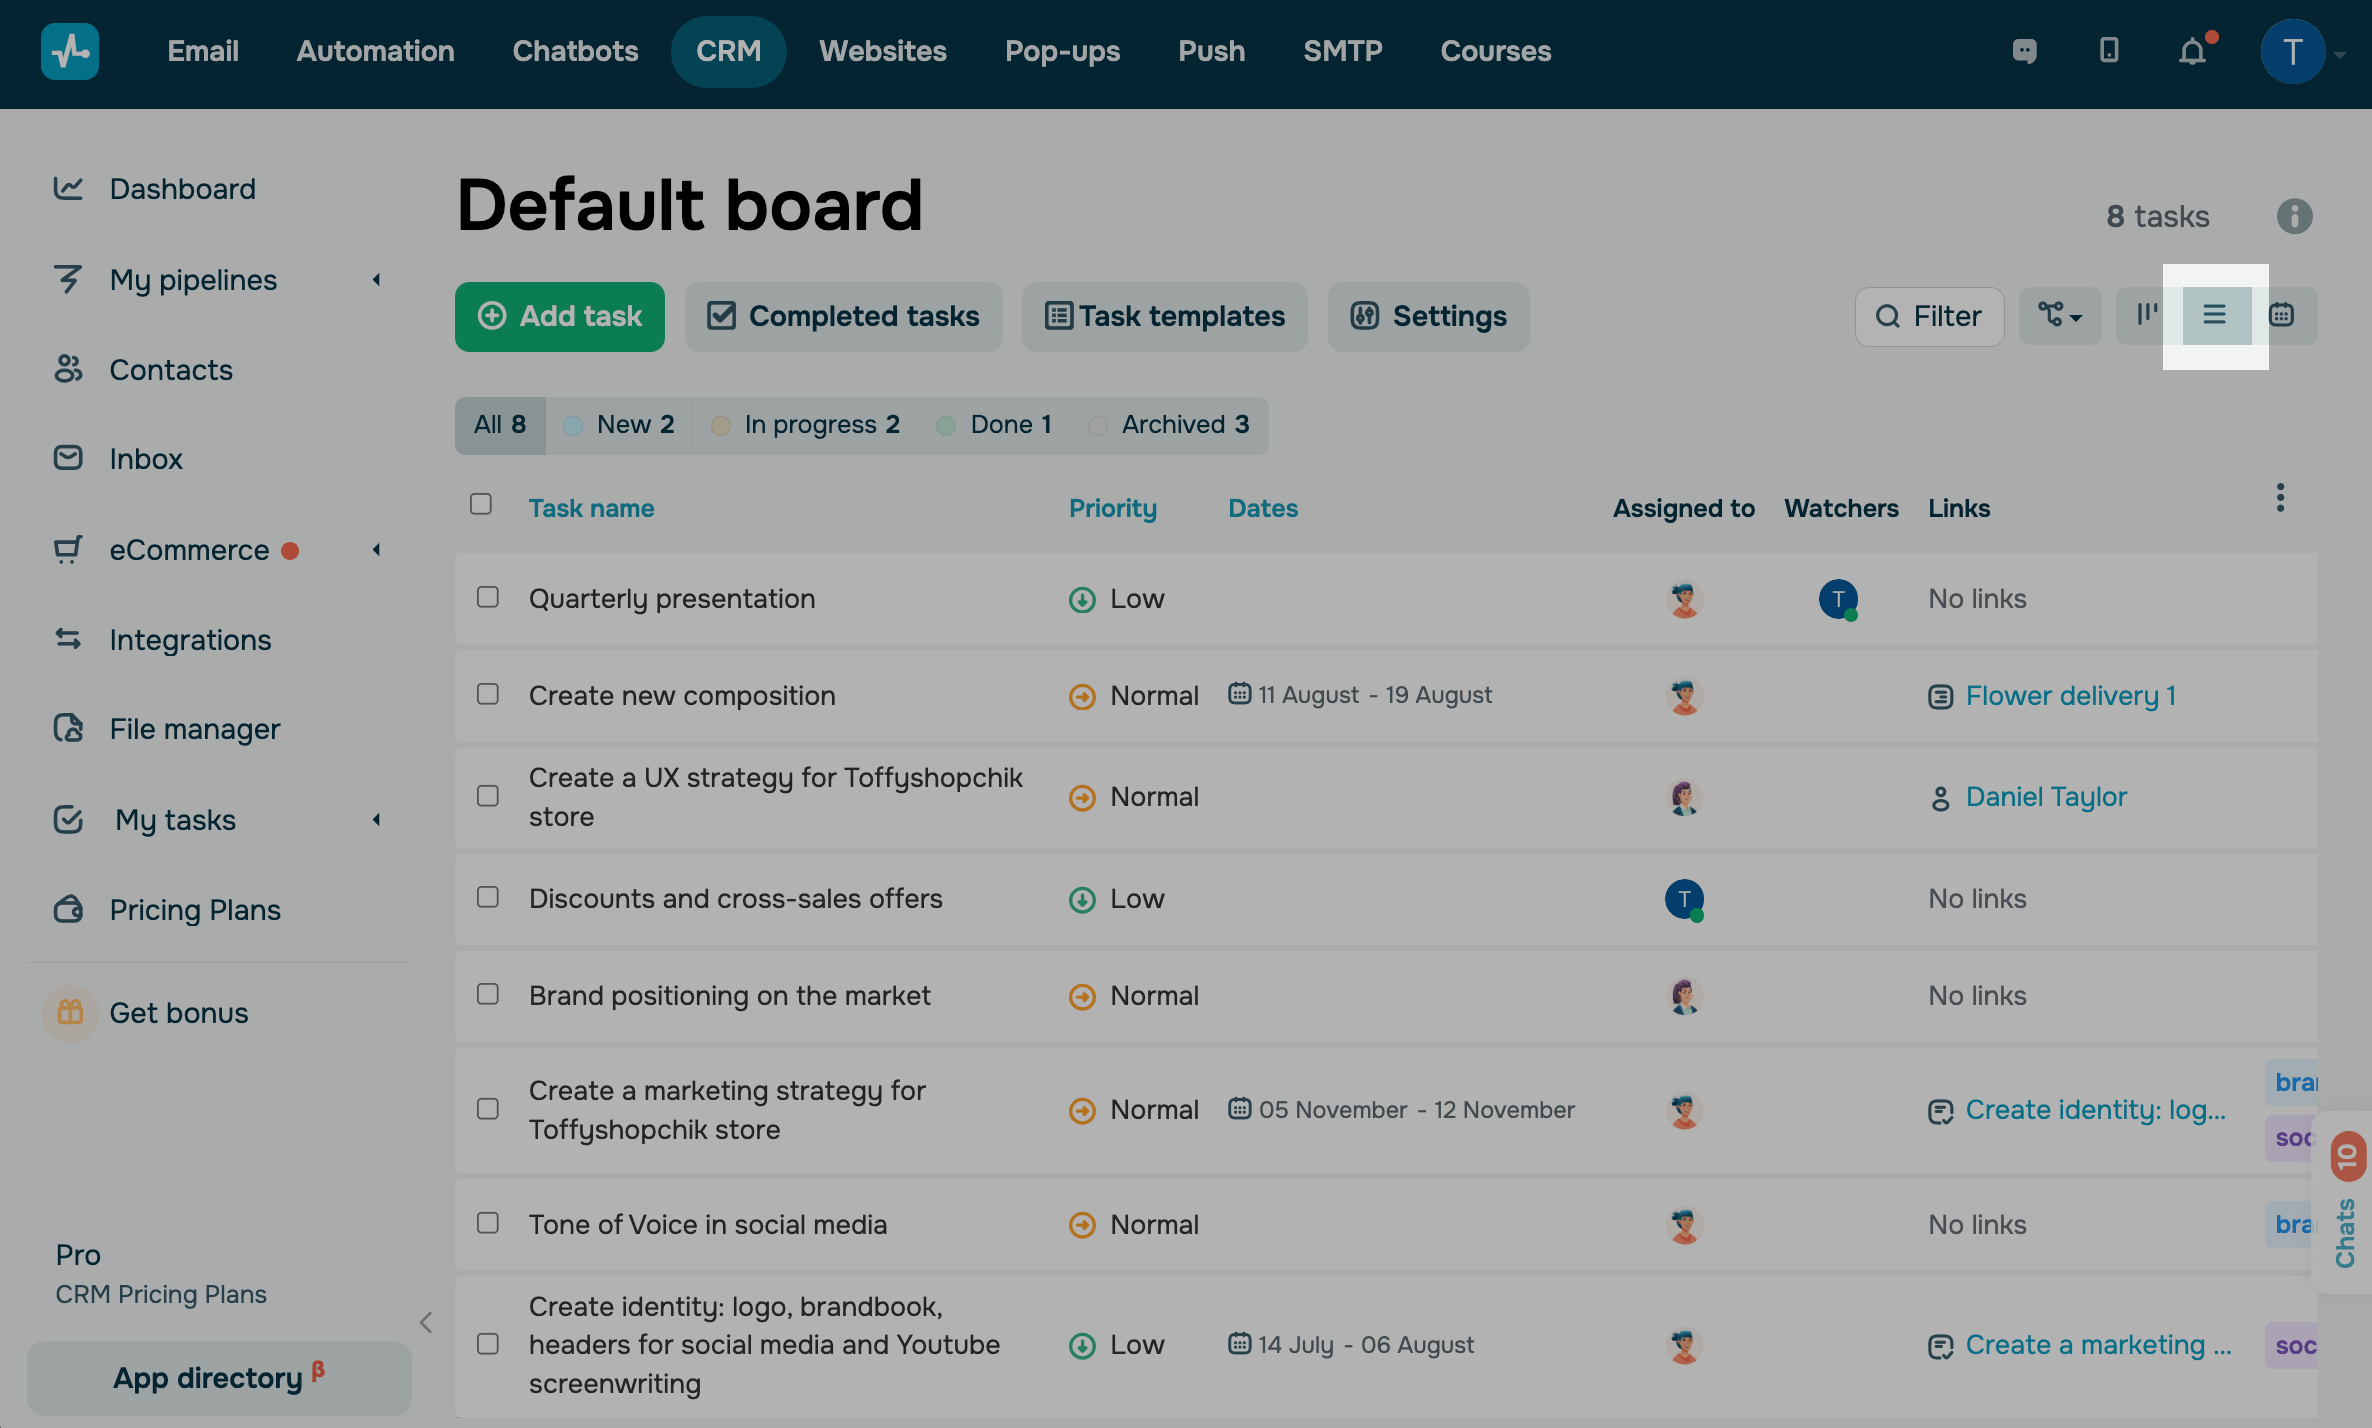
You can hide or show certain task fields using the List mode. To do this, click the three dots in the upper right corner, and select your fields.
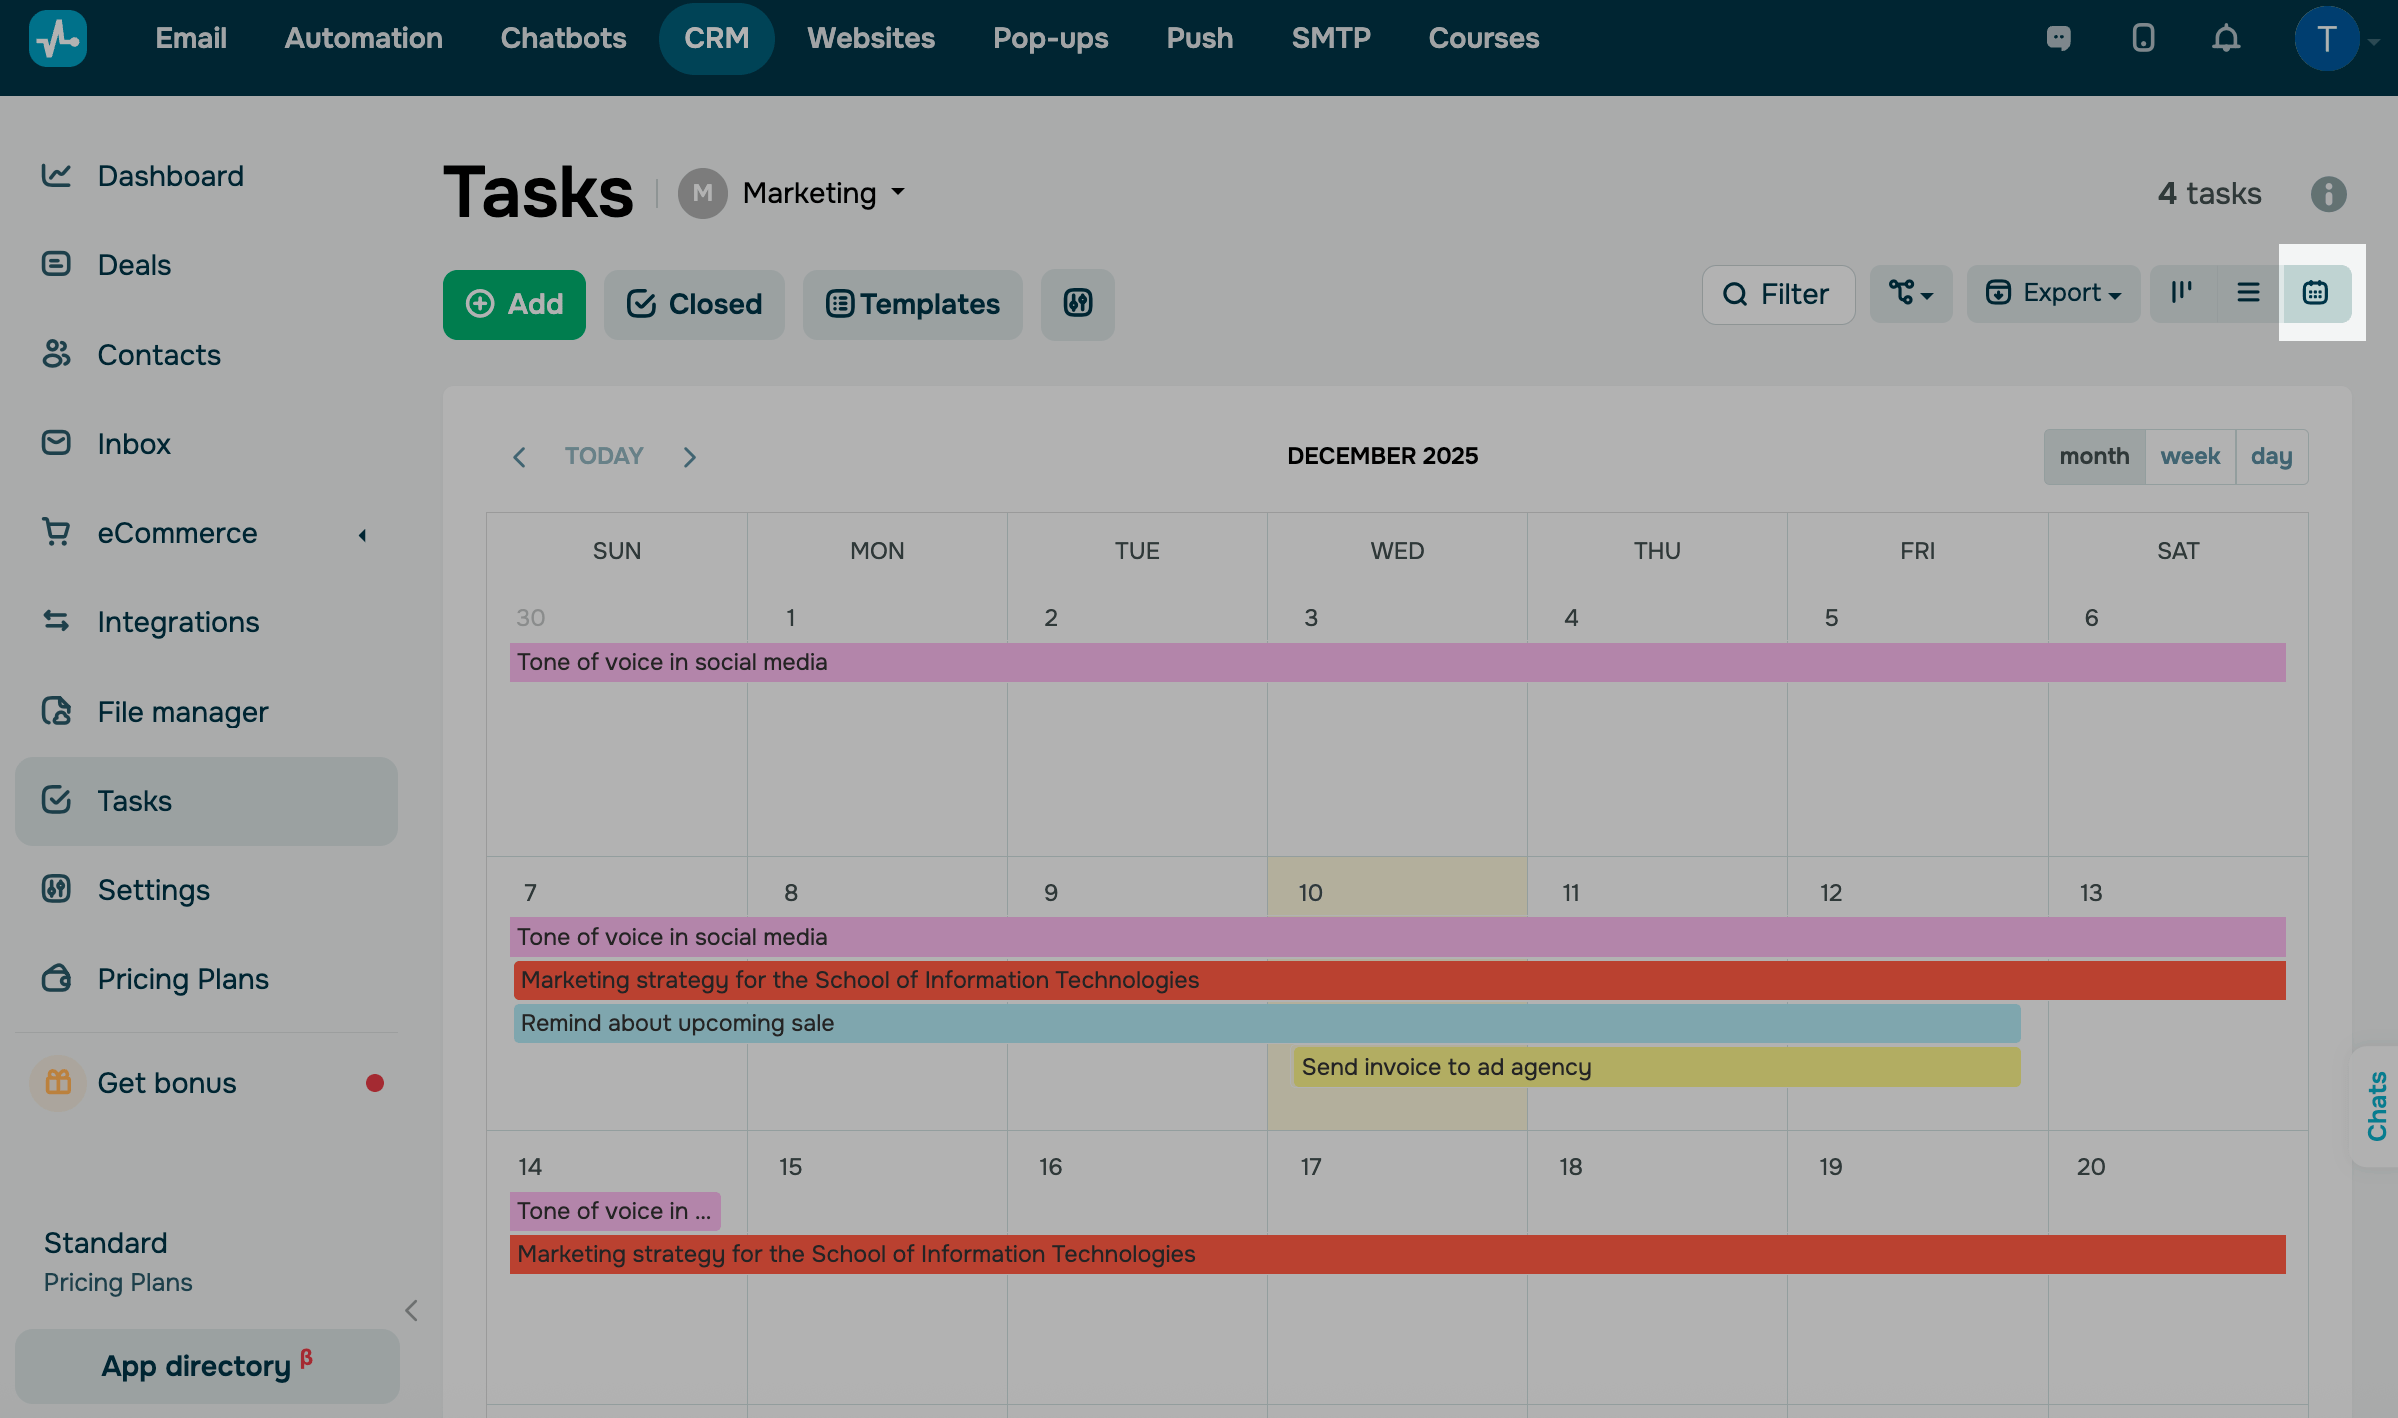
Calendar
Calendar is a display mode that allows you to view your tasks as a calendar. You can view all of your tasks with due dates.
Task stages
Task statuses or stages represent your task progress points.
By default, there are 3 task stages.
| New | You have added a new task. An assignee has not yet started working on it, and your task becomes pending. |
| In progress | An assignee has started working on your task. |
| Done | An assignee has completed your task, and it meets the expected requirements. |
We do not recommend marking tasks as In Progress if no one is working on them. If you have any questions or difficulties, need help from other team members, or require significant effort to complete a task, we recommend adding your own intermediate stages.
You can also add statuses based on the specific stages of your task progress. For example, you can mark certain tasks as On hold, Ready for Review, Ready to Send, Archived, and so on. To add a new status, switch to the Kanban mode, click Add status, enter a name, and select a color.
Read more: How to change your task status.
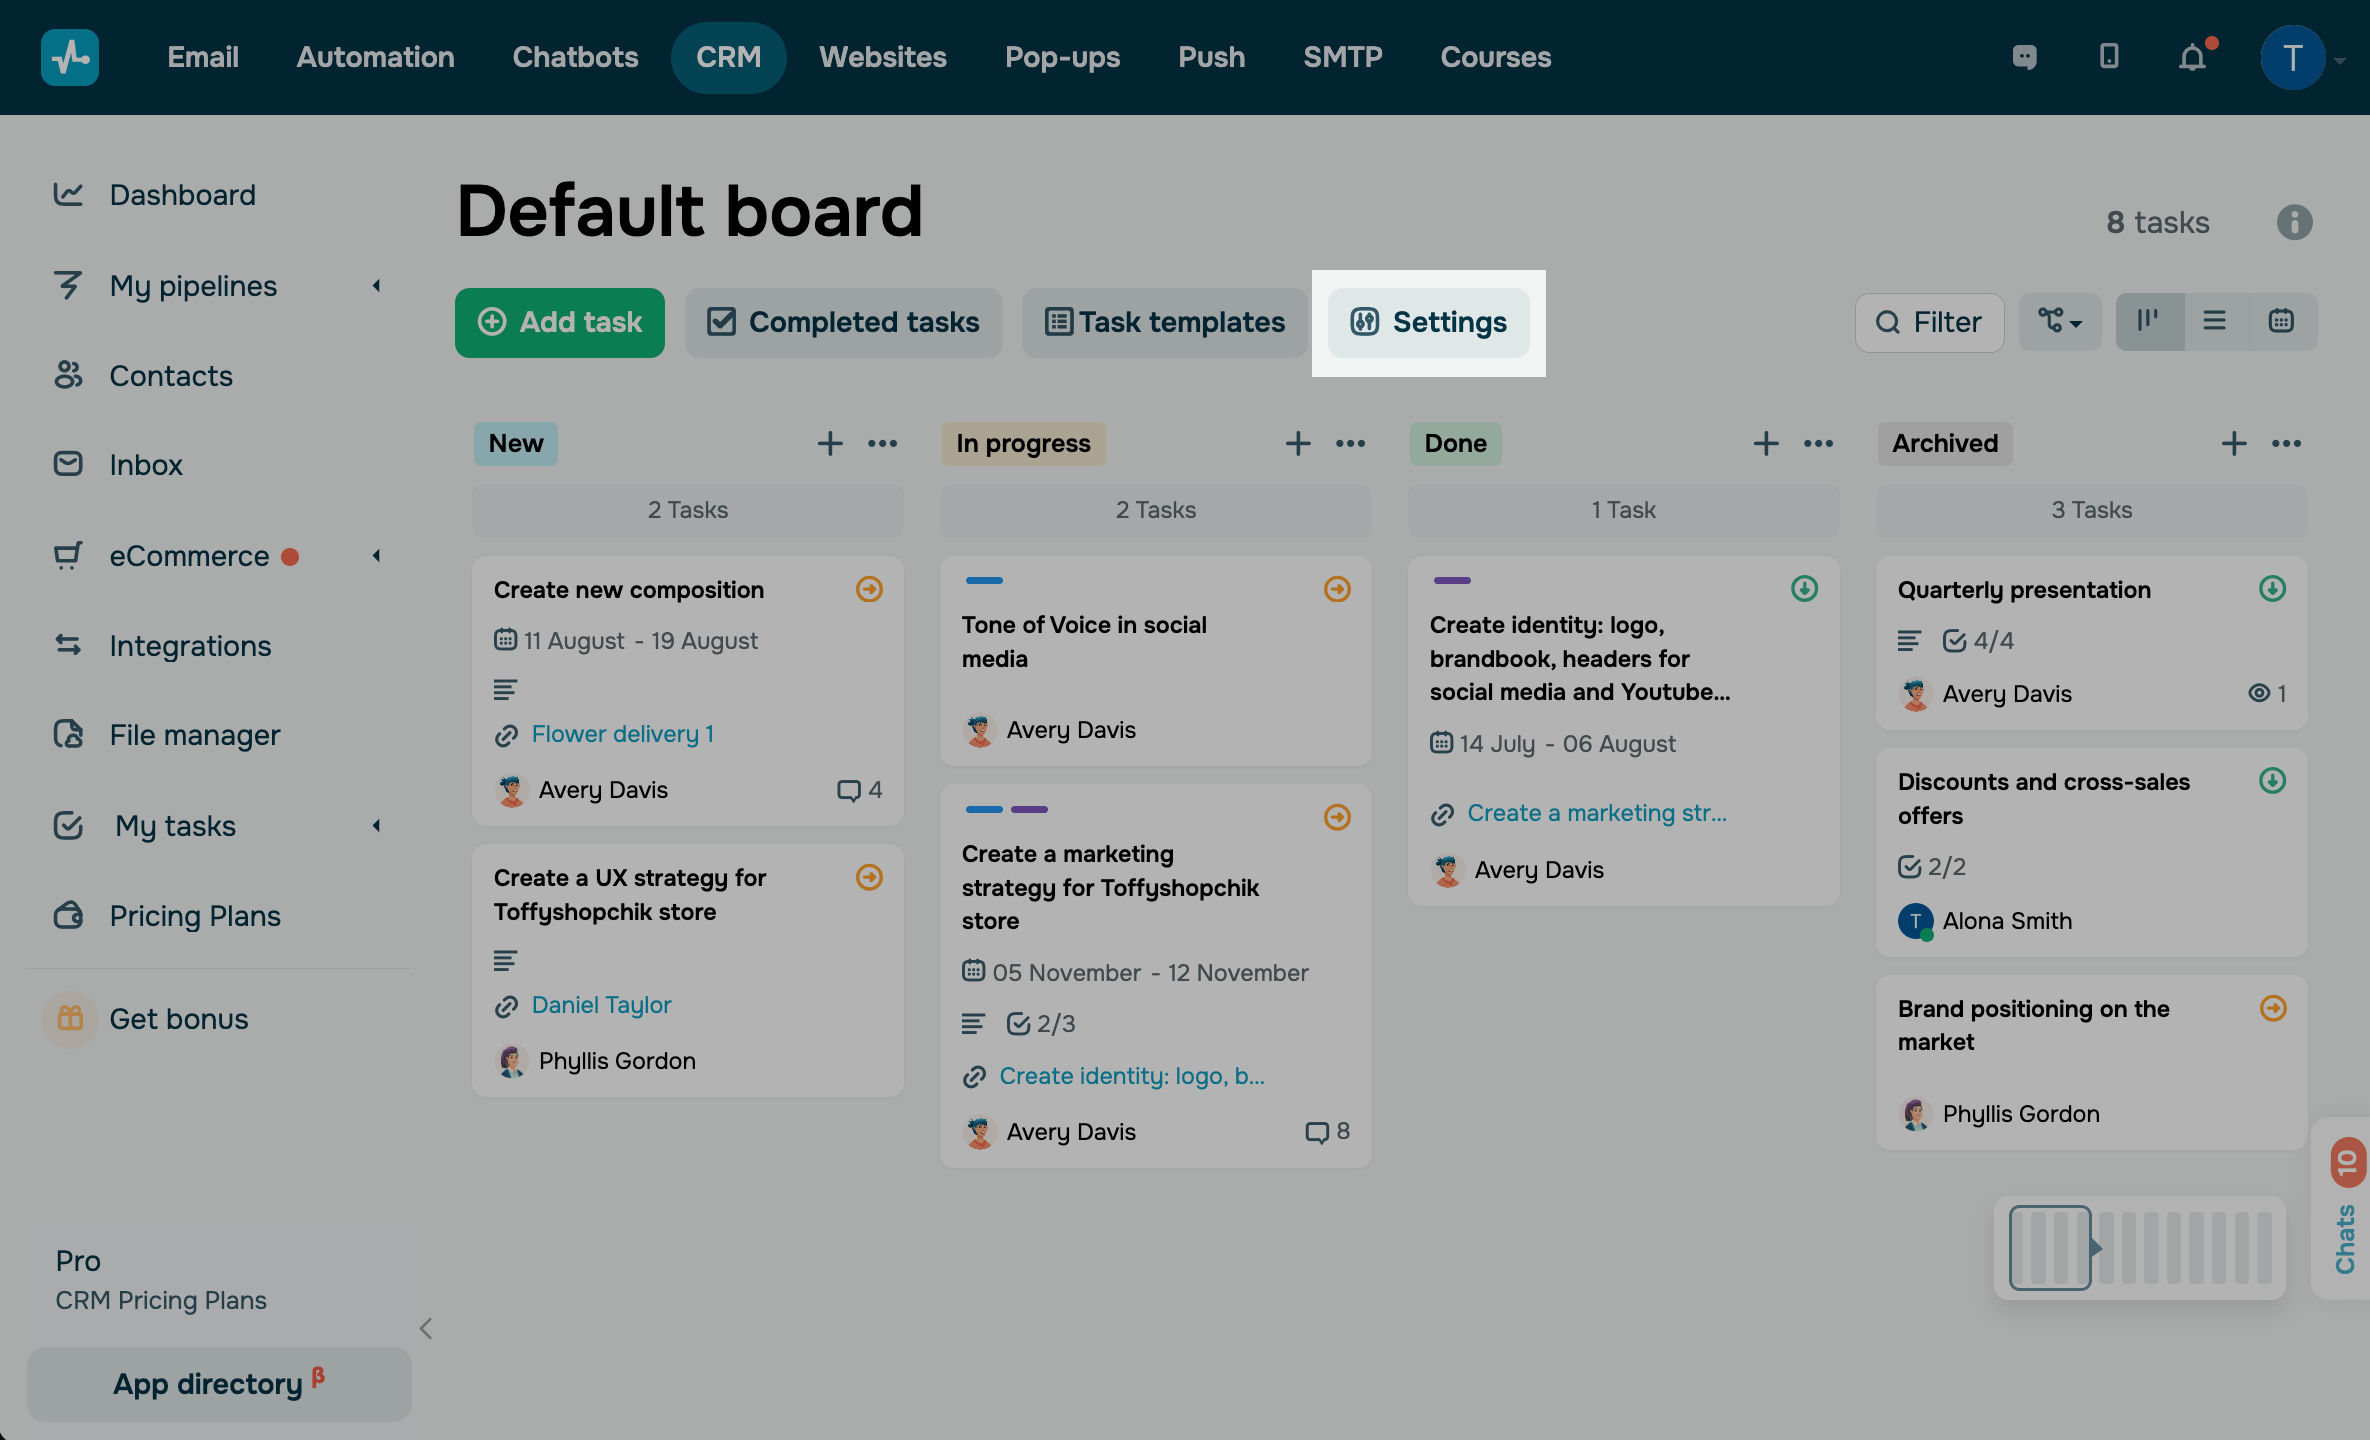
Customizing your board
Select a board and click Settings.
You can switch between boards using the drop-down list in the upper right corner.
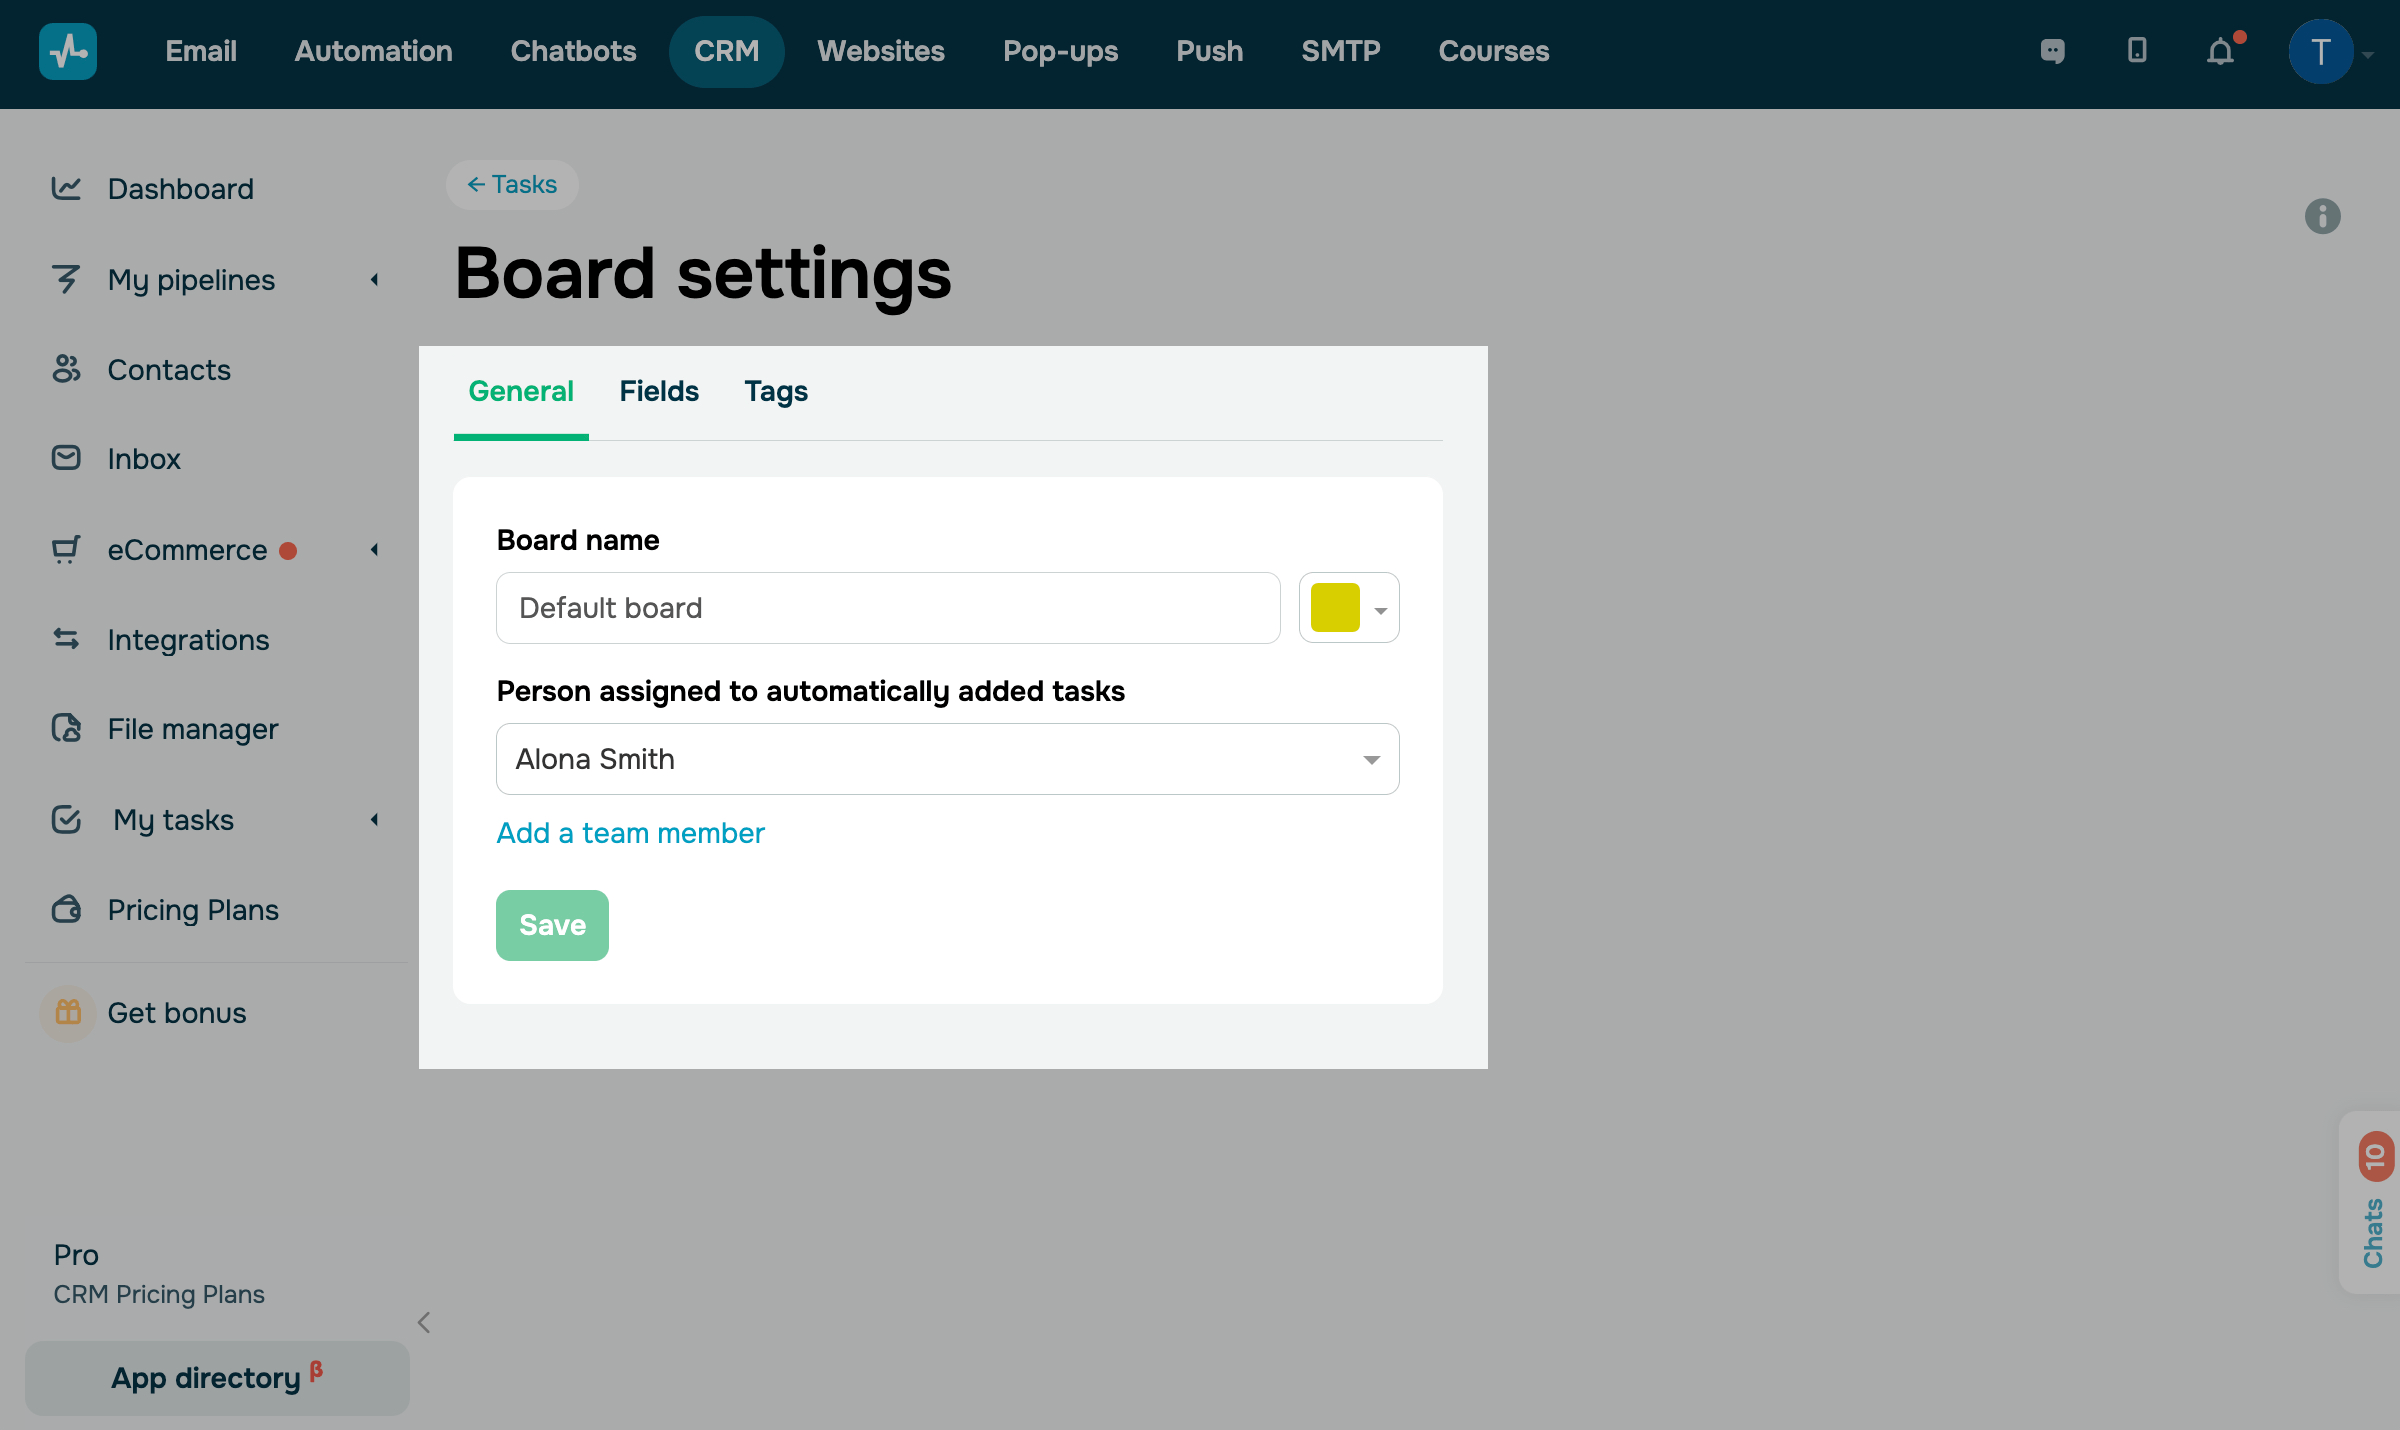
In the General tab, you can rename your board and select an assignee for automatically created tasks.
You can also delete a board if you have more than one.
In the Fields and Tags tabs, you can edit and create task attributes. In Tabs, you can edit or add tabs to your task cards.
Last Updated: 16.12.2025
or