Add a payment button to an email
You can add a payment button to your email using different payment methods — this allows you to increase your email marketing conversion rate.
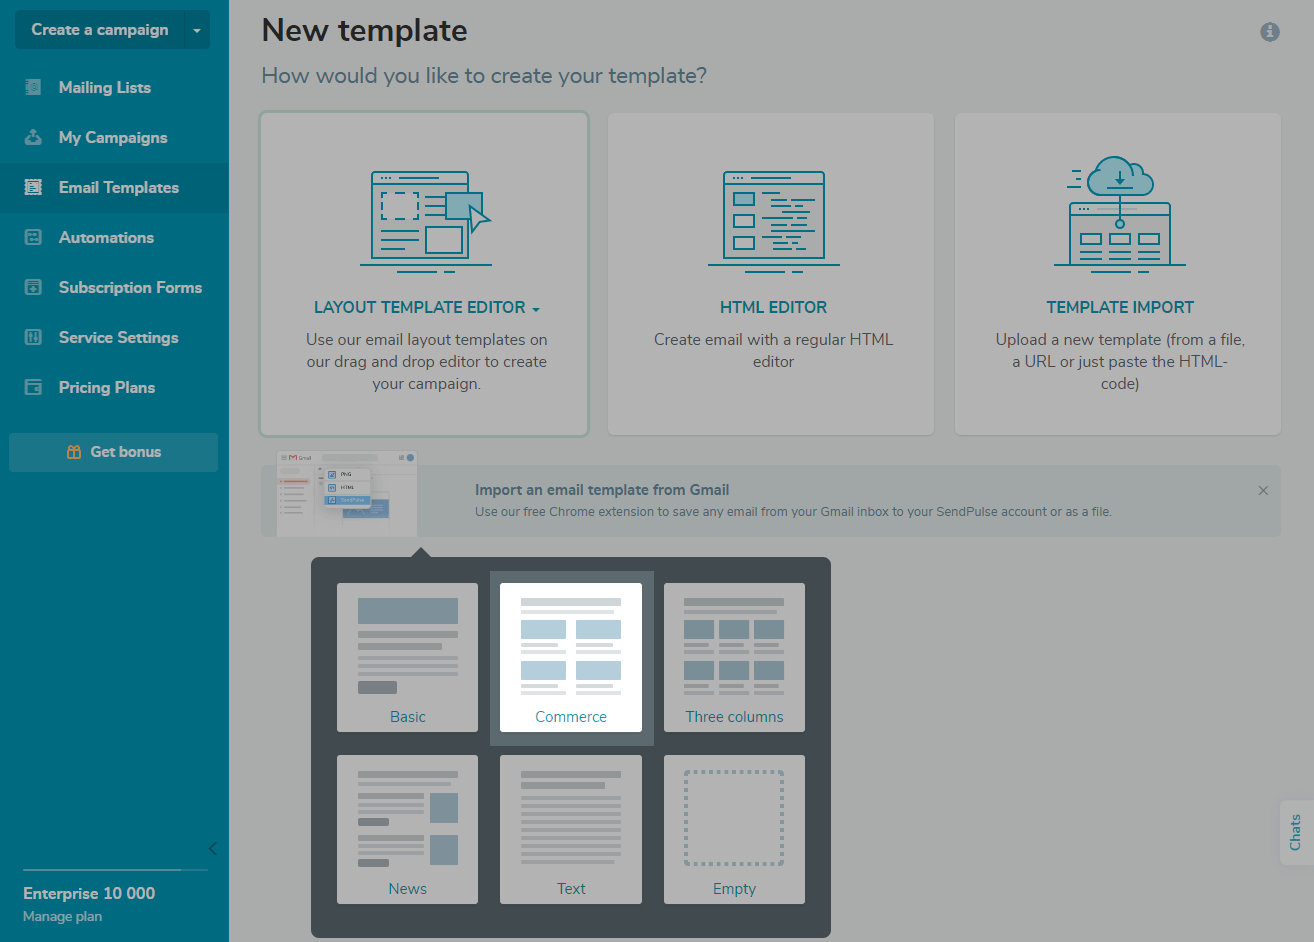
Create a template
Go to the Email templates tab, and create a new template, or select a ready-made one. We recommend choosing the Commerce template structure.
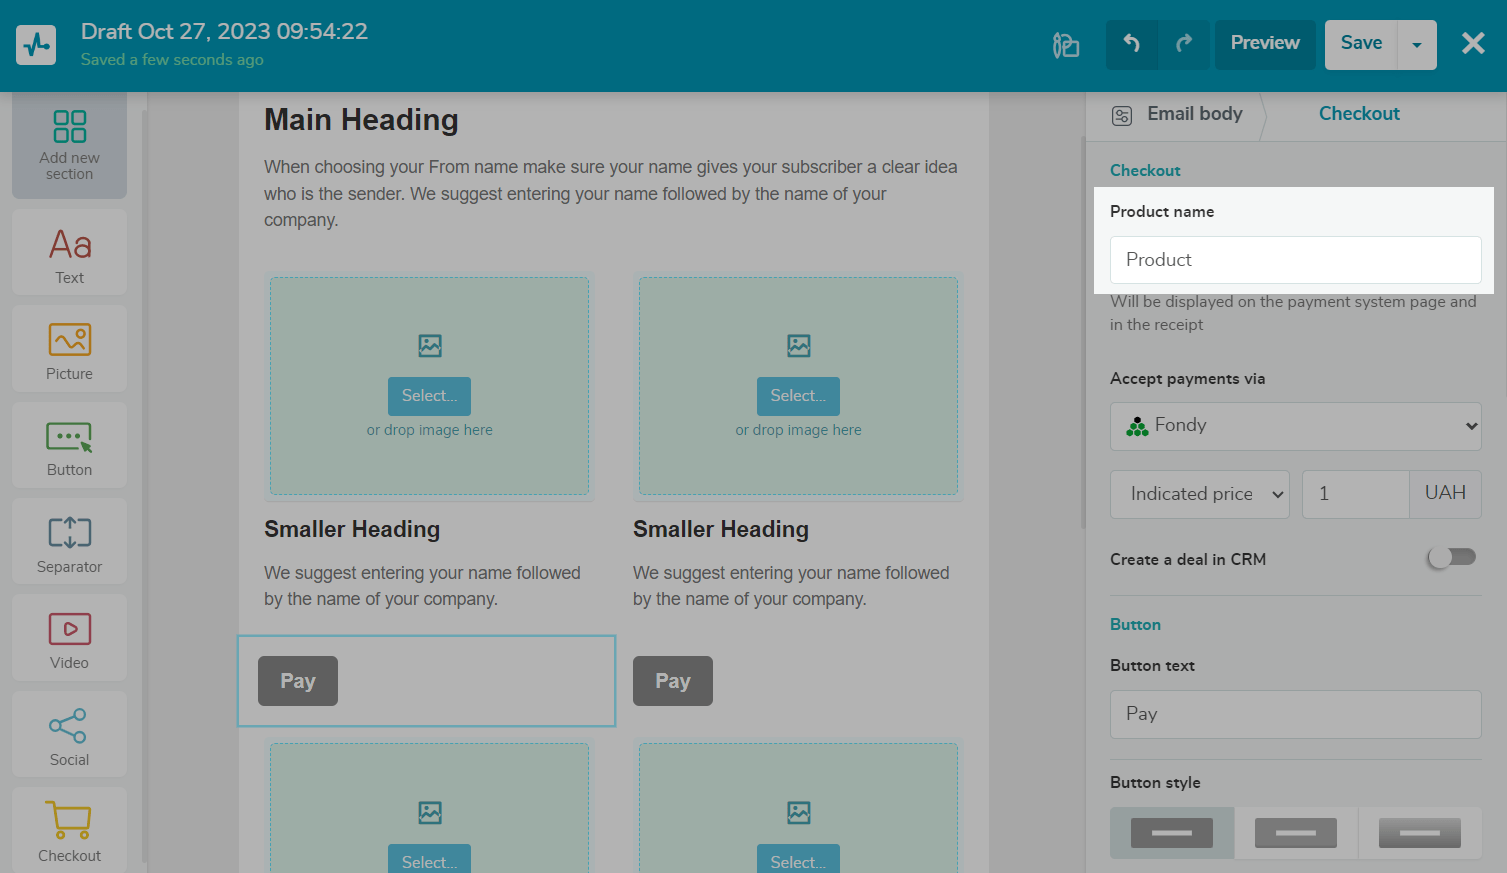
Add the checkout element
Hold down the left mouse button, and drag and drop the Checkout element into your template.
Add a product name — it will be displayed to users on the payment page.
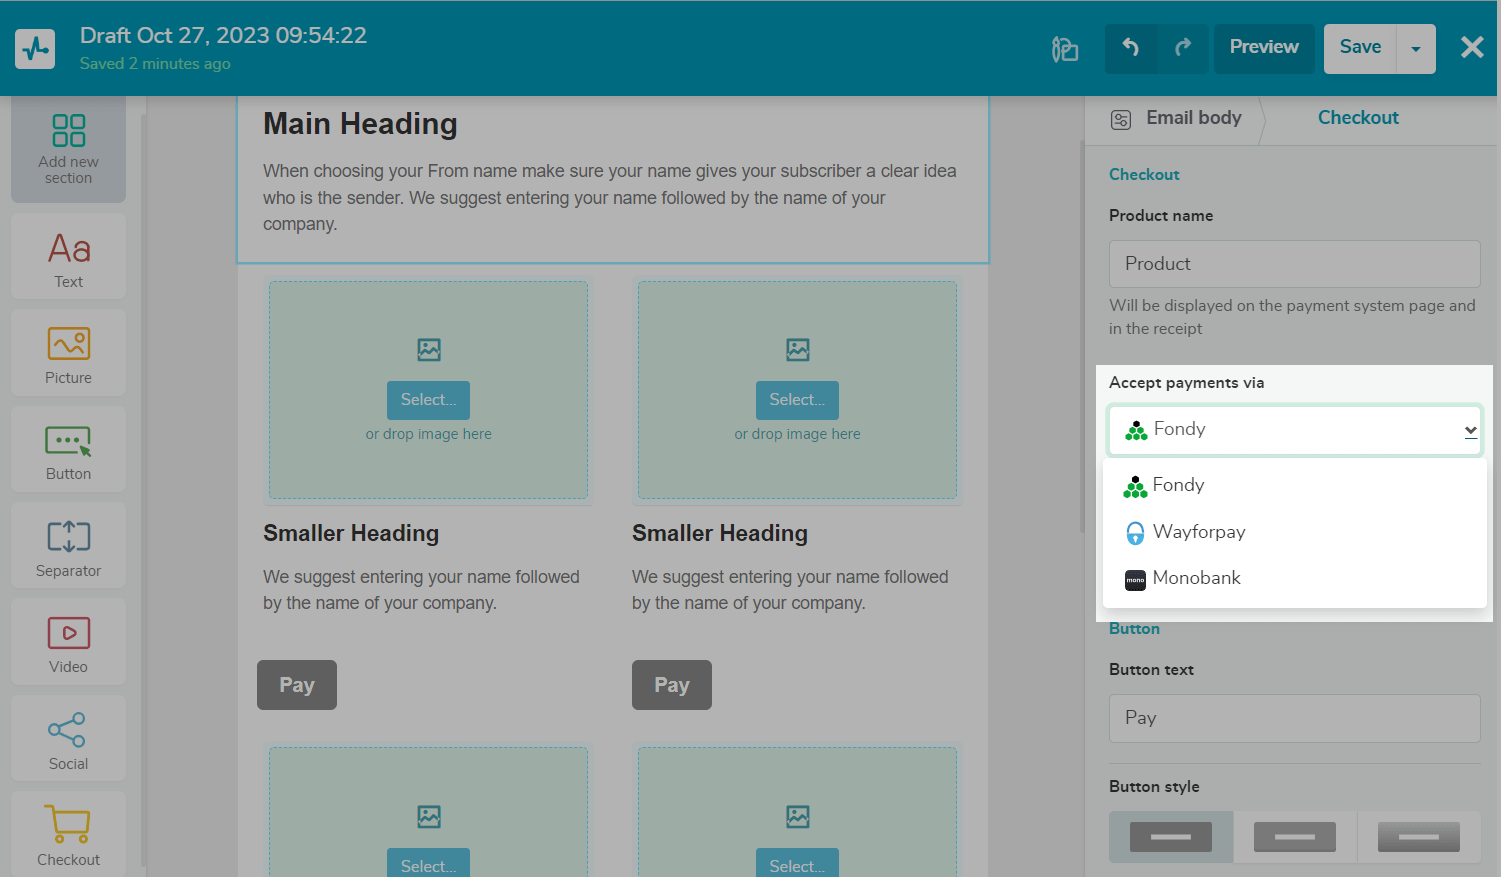
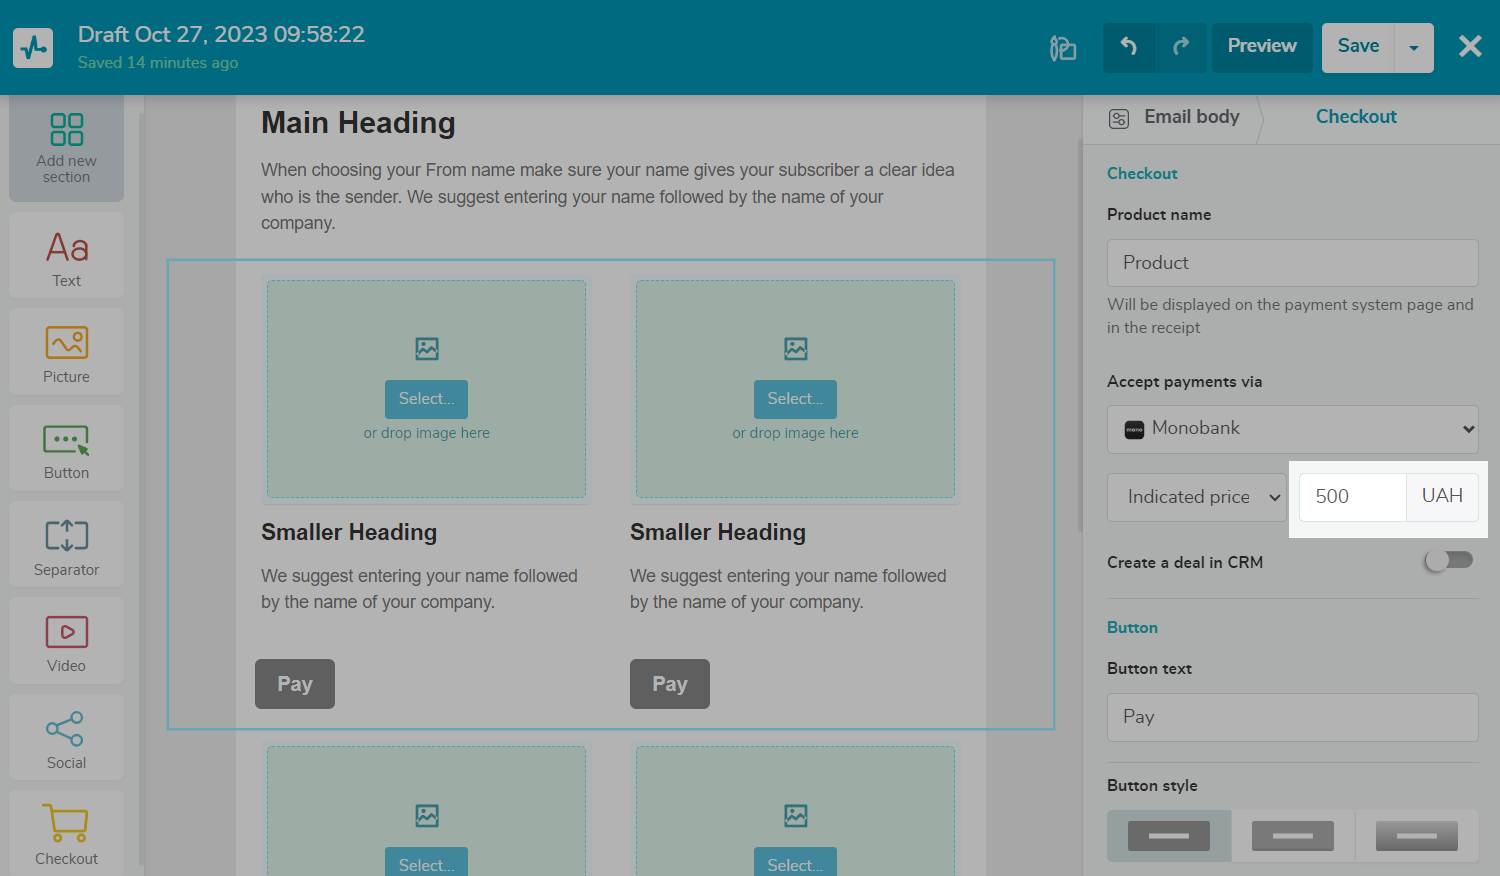
Add a payment method and price
Select a payment method from the drop-down list.
Read more about how to connect various payment methods in the Accept Payments section.
Select a payment type. You can set a specific product price (Indicated price) or set a minimum price for donations (Minimal price).
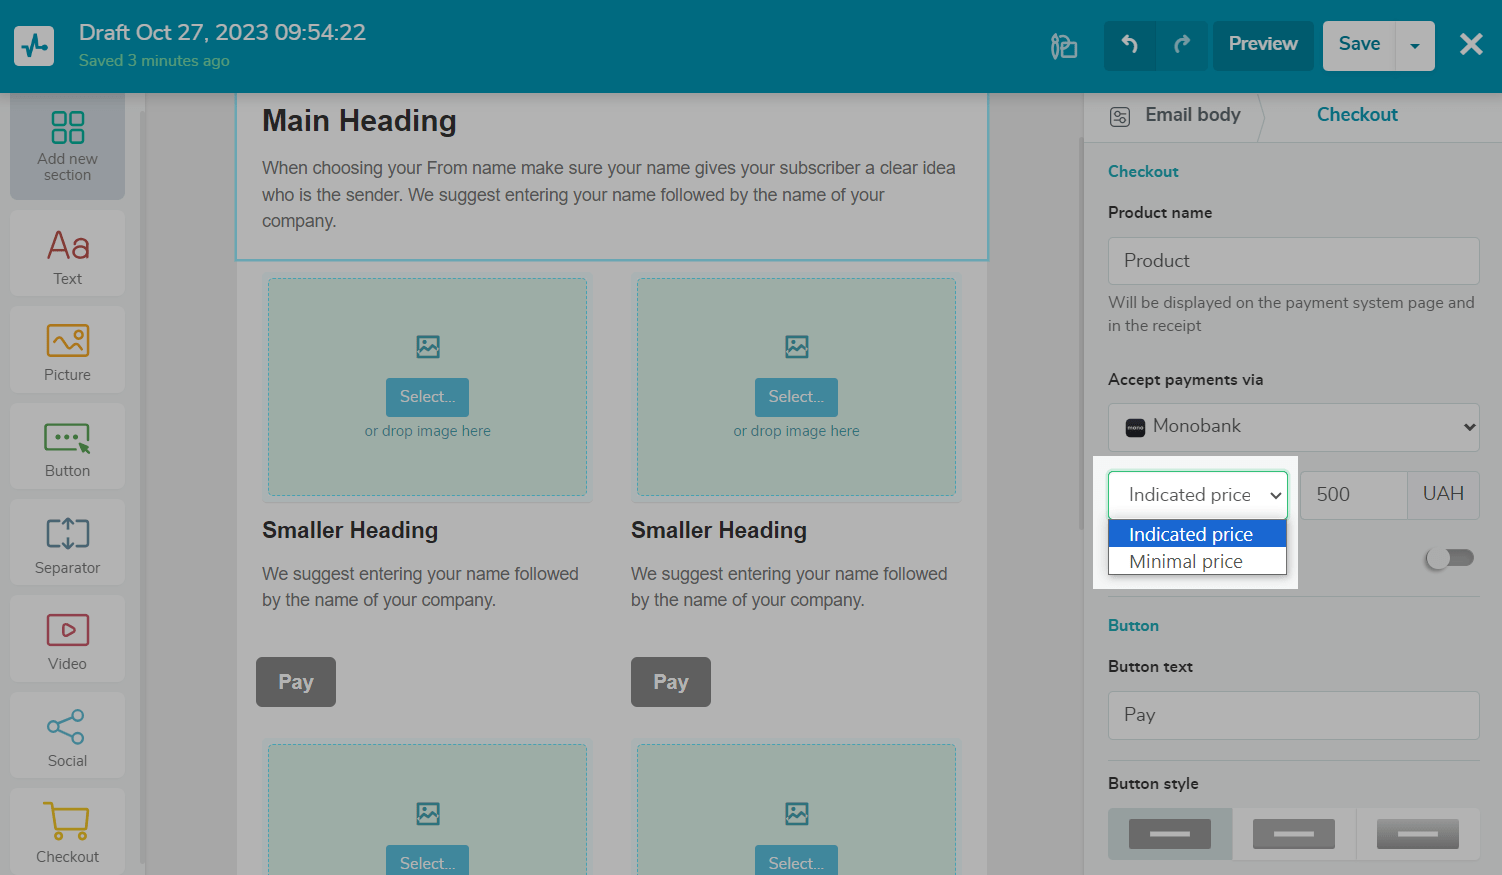
Enter a fixed or minimum price.
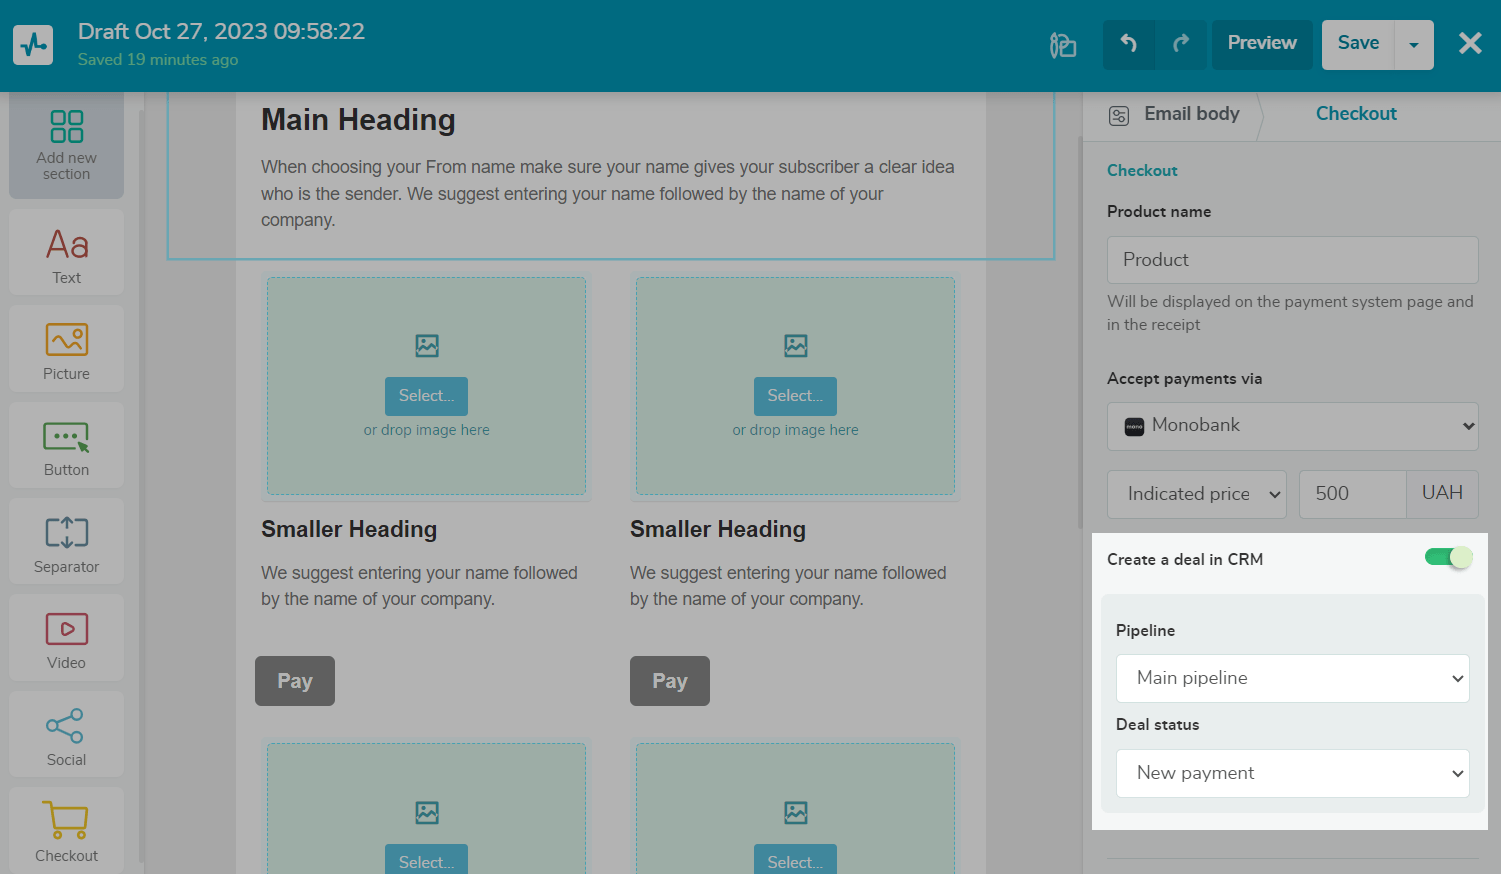
Transfer data to your CRM system
You can automatically create CRM deals and select the pipeline where you want to transfer data and the pipeline stage where you want to add your deal based on payment status. By default, your deal is added to the first stage of your first pipeline.
Turn on the Create deal in CRM toggle, and select a pipeline and status.
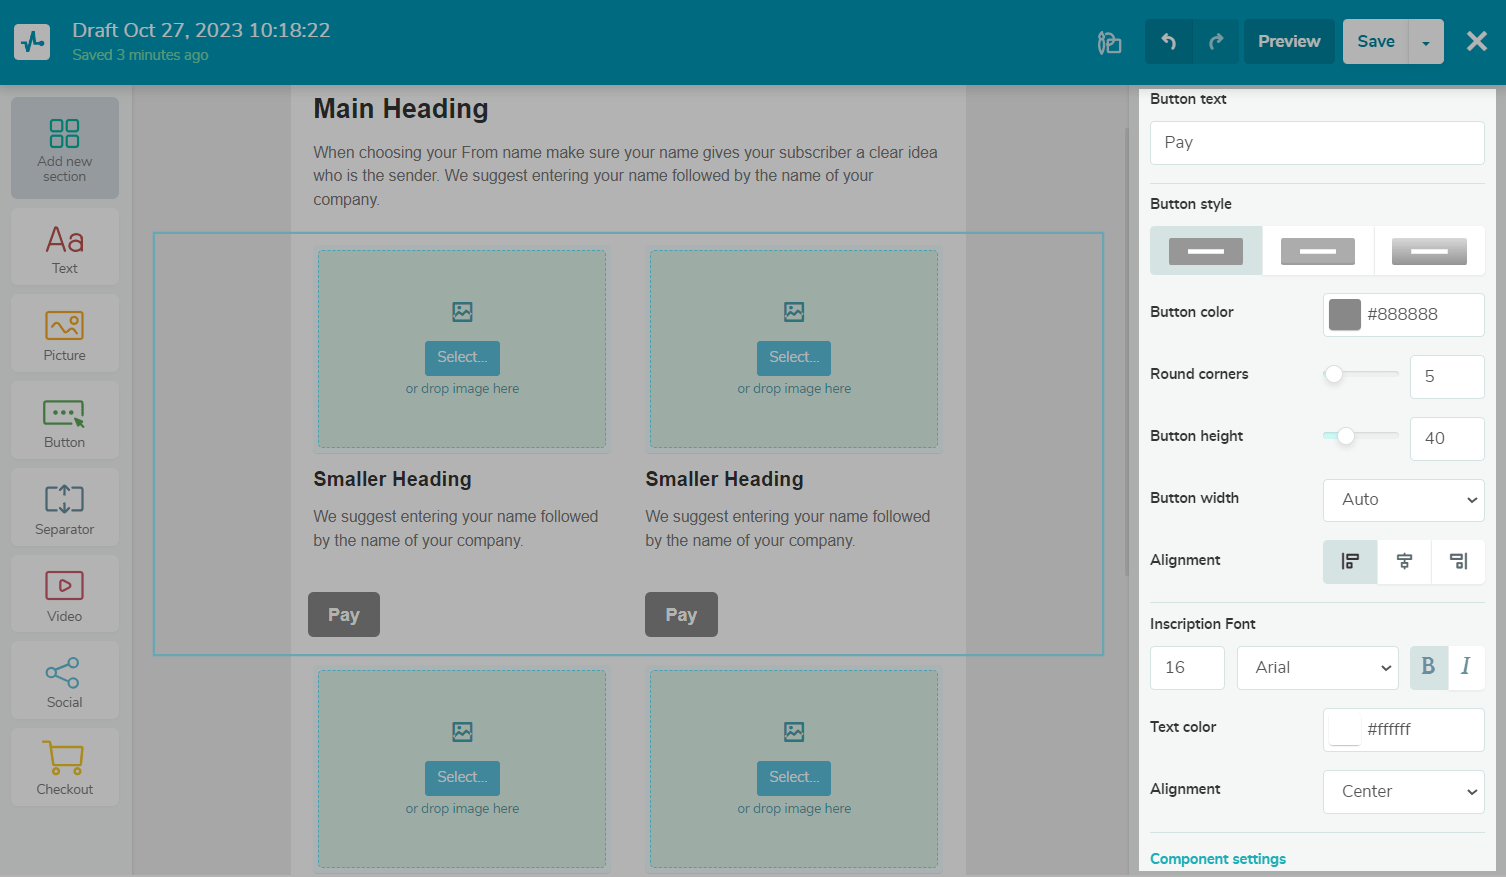
Customize the button
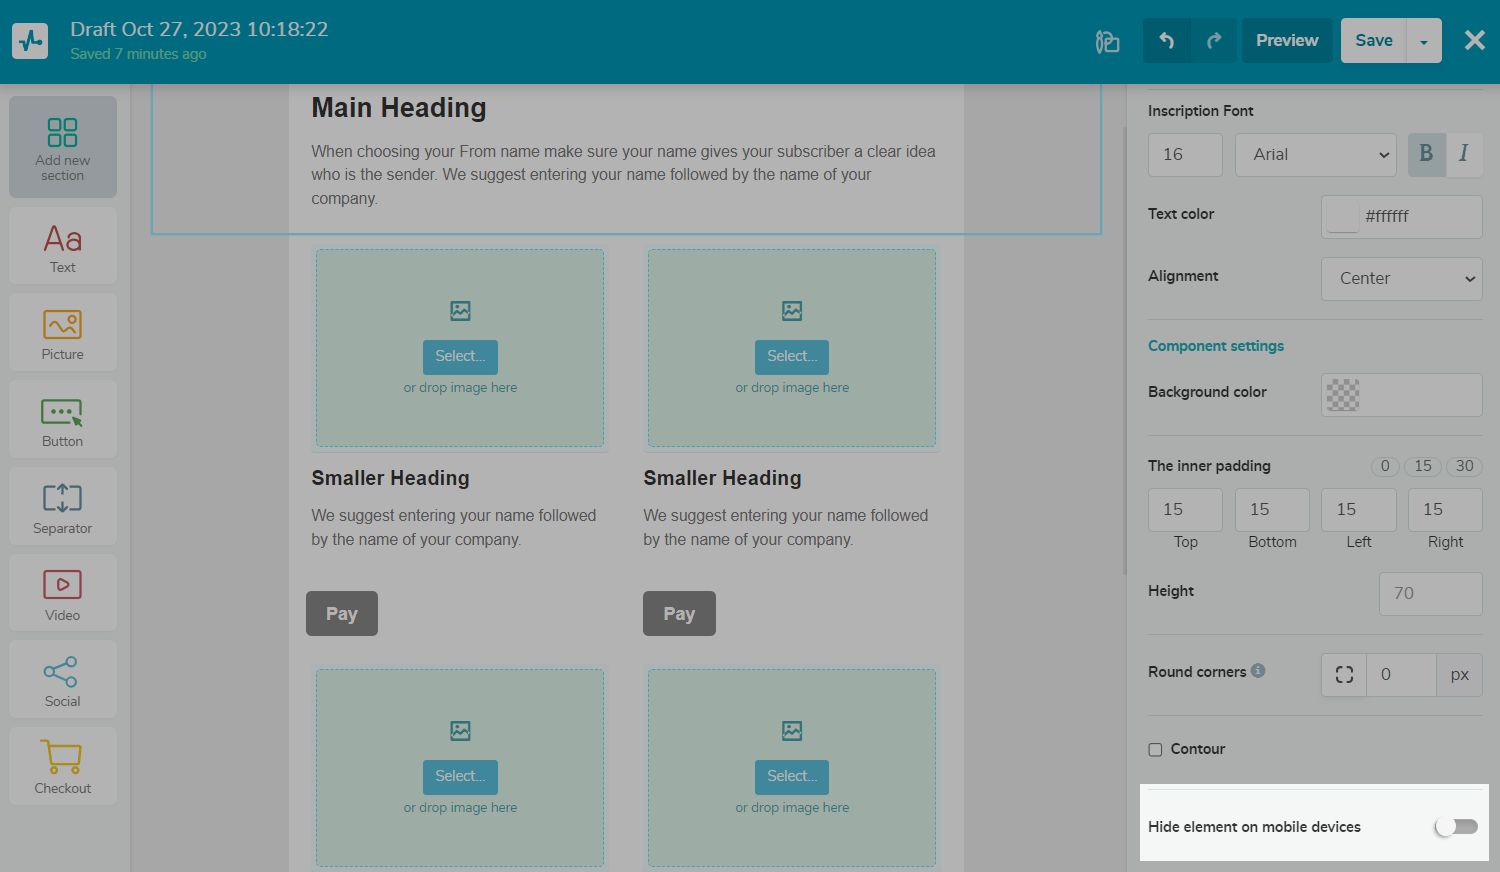
Add your button text. Below, you can customize the button appearance. You can set your button style, color, rounding, width and height, padding, alignment, button text font and color, background, and outline.
You can also hide your button on mobile devices.
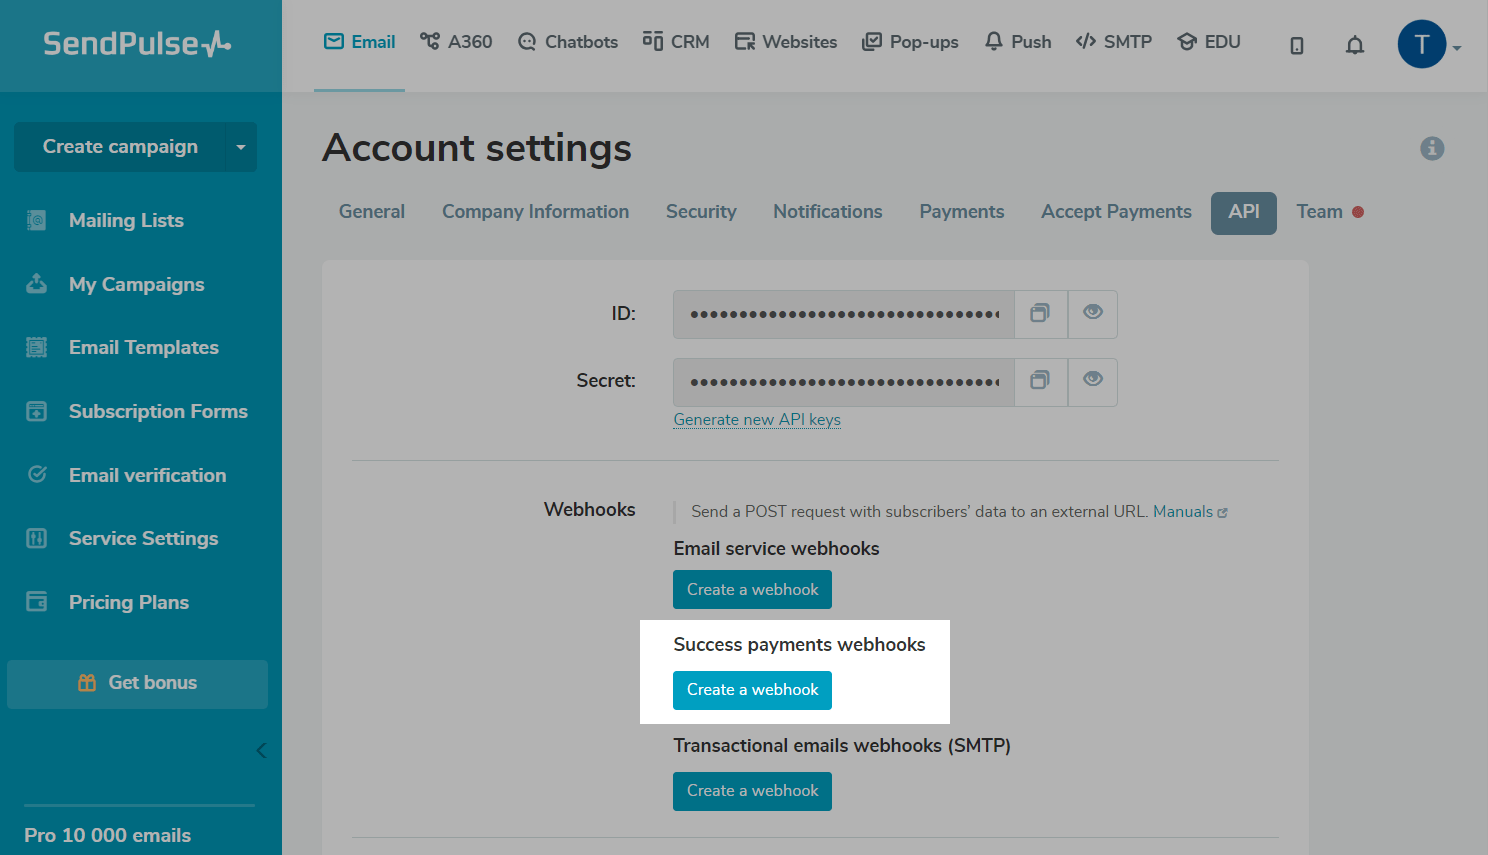
How to send a successful payment webhook
You can also send webhooks to your system when users pay for your products successfully.
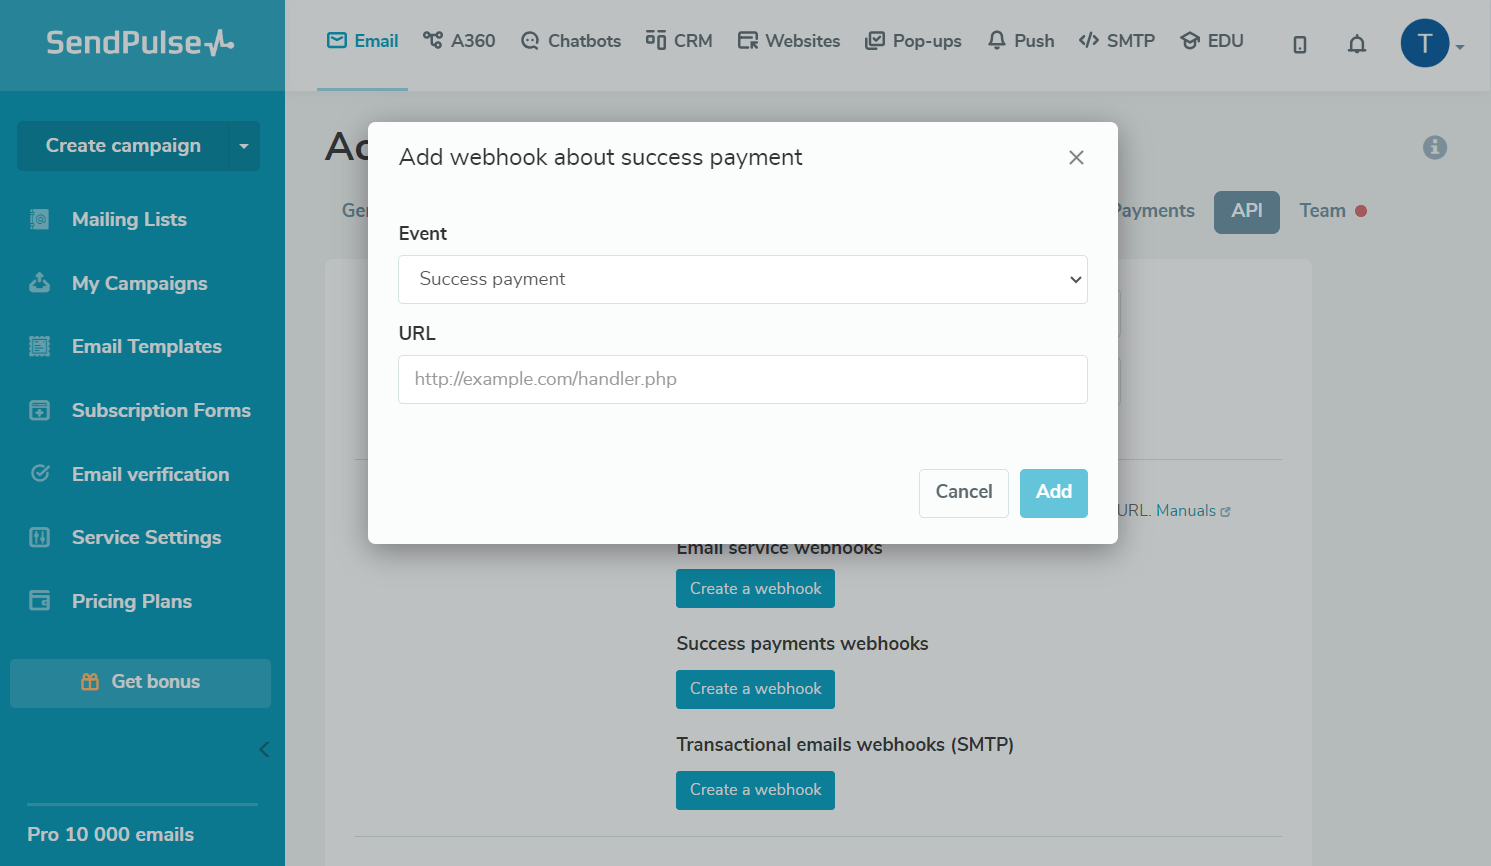
Go to Account Settings > API. Under the Successful payment webhooks section, click Create Webhook.
Paste the URL you want to send the event to.
An example of a webhook structure you can receive:
{
  "timestamp": 1644590834,
  "version": "1.0",
  "event": "payment_order",
  "order": {
    "totalCost": 12,
    "status": 200,
    "customerName": "User",
    "service": 2,
    "paymentMethodType": 7,
    "variables": [
      {
        "valueType": 1,
        "name": "String",
        "value": "Hello World"
      },
      {
        "valueType": 2,
        "name": "Number",
        "value": "55684213"
      },
      {
        "valueType": 3,
        "name": "Date",
        "value": "2022-02-25"
      },
      {
        "valueType": 5,
        "name": "Phone",
        "value": "+38063456228"
      },
      {
        "valueType": 6,
        "name": "Email",
        "value": "user@sendpulse.com"
      },
      {
        "valueType": 7,
        "name": "Link",
        "value": "http://sendpulse.com"
      }
    ],
    "number": 1618,
    "currency": "BRL",
    "contactId": "7a505f4293dffcd7100f8f0004214892e4cf5618307908edf465042075d5c30",
    "updatedAt": "2022-02-11T14:47:14+00:00",
    "type": 2,
    "id": "a3704313-8c0b-0000-b195-c6b84242f0e2",
    "createdAt": "2022-02-11T14:47:13+00:00",
    "description": "Apple MercadoPago"
  }
}
Last Updated: 07.12.2023
or