Add a pop-up and verify the installation
To integrate the pop-up service with your site, you need to add the installation code to your site’s source code.
You only need to install it once, meaning that each time you add new pop-ups, they will be automatically displayed on your site according to a given scenario.
Let's talk about where to find your installation code and how to add it to your site. We will also explain how to add allowed domains and verify the installation.
In this article, we talk about how to install your code on an external site when adding a website and connect an additional domain. If you added and verified the installation and don’t need to add any additional domains, you don't need to do anything else.
Copy the widget code
If you select the Install pop-ups on an external site option when adding a website, then you will see your installation code.
If you select the Install pop-ups on your site created with SendPulse option, you don’t need to copy and install the code, as it will be automatically added to the Custom code tab.
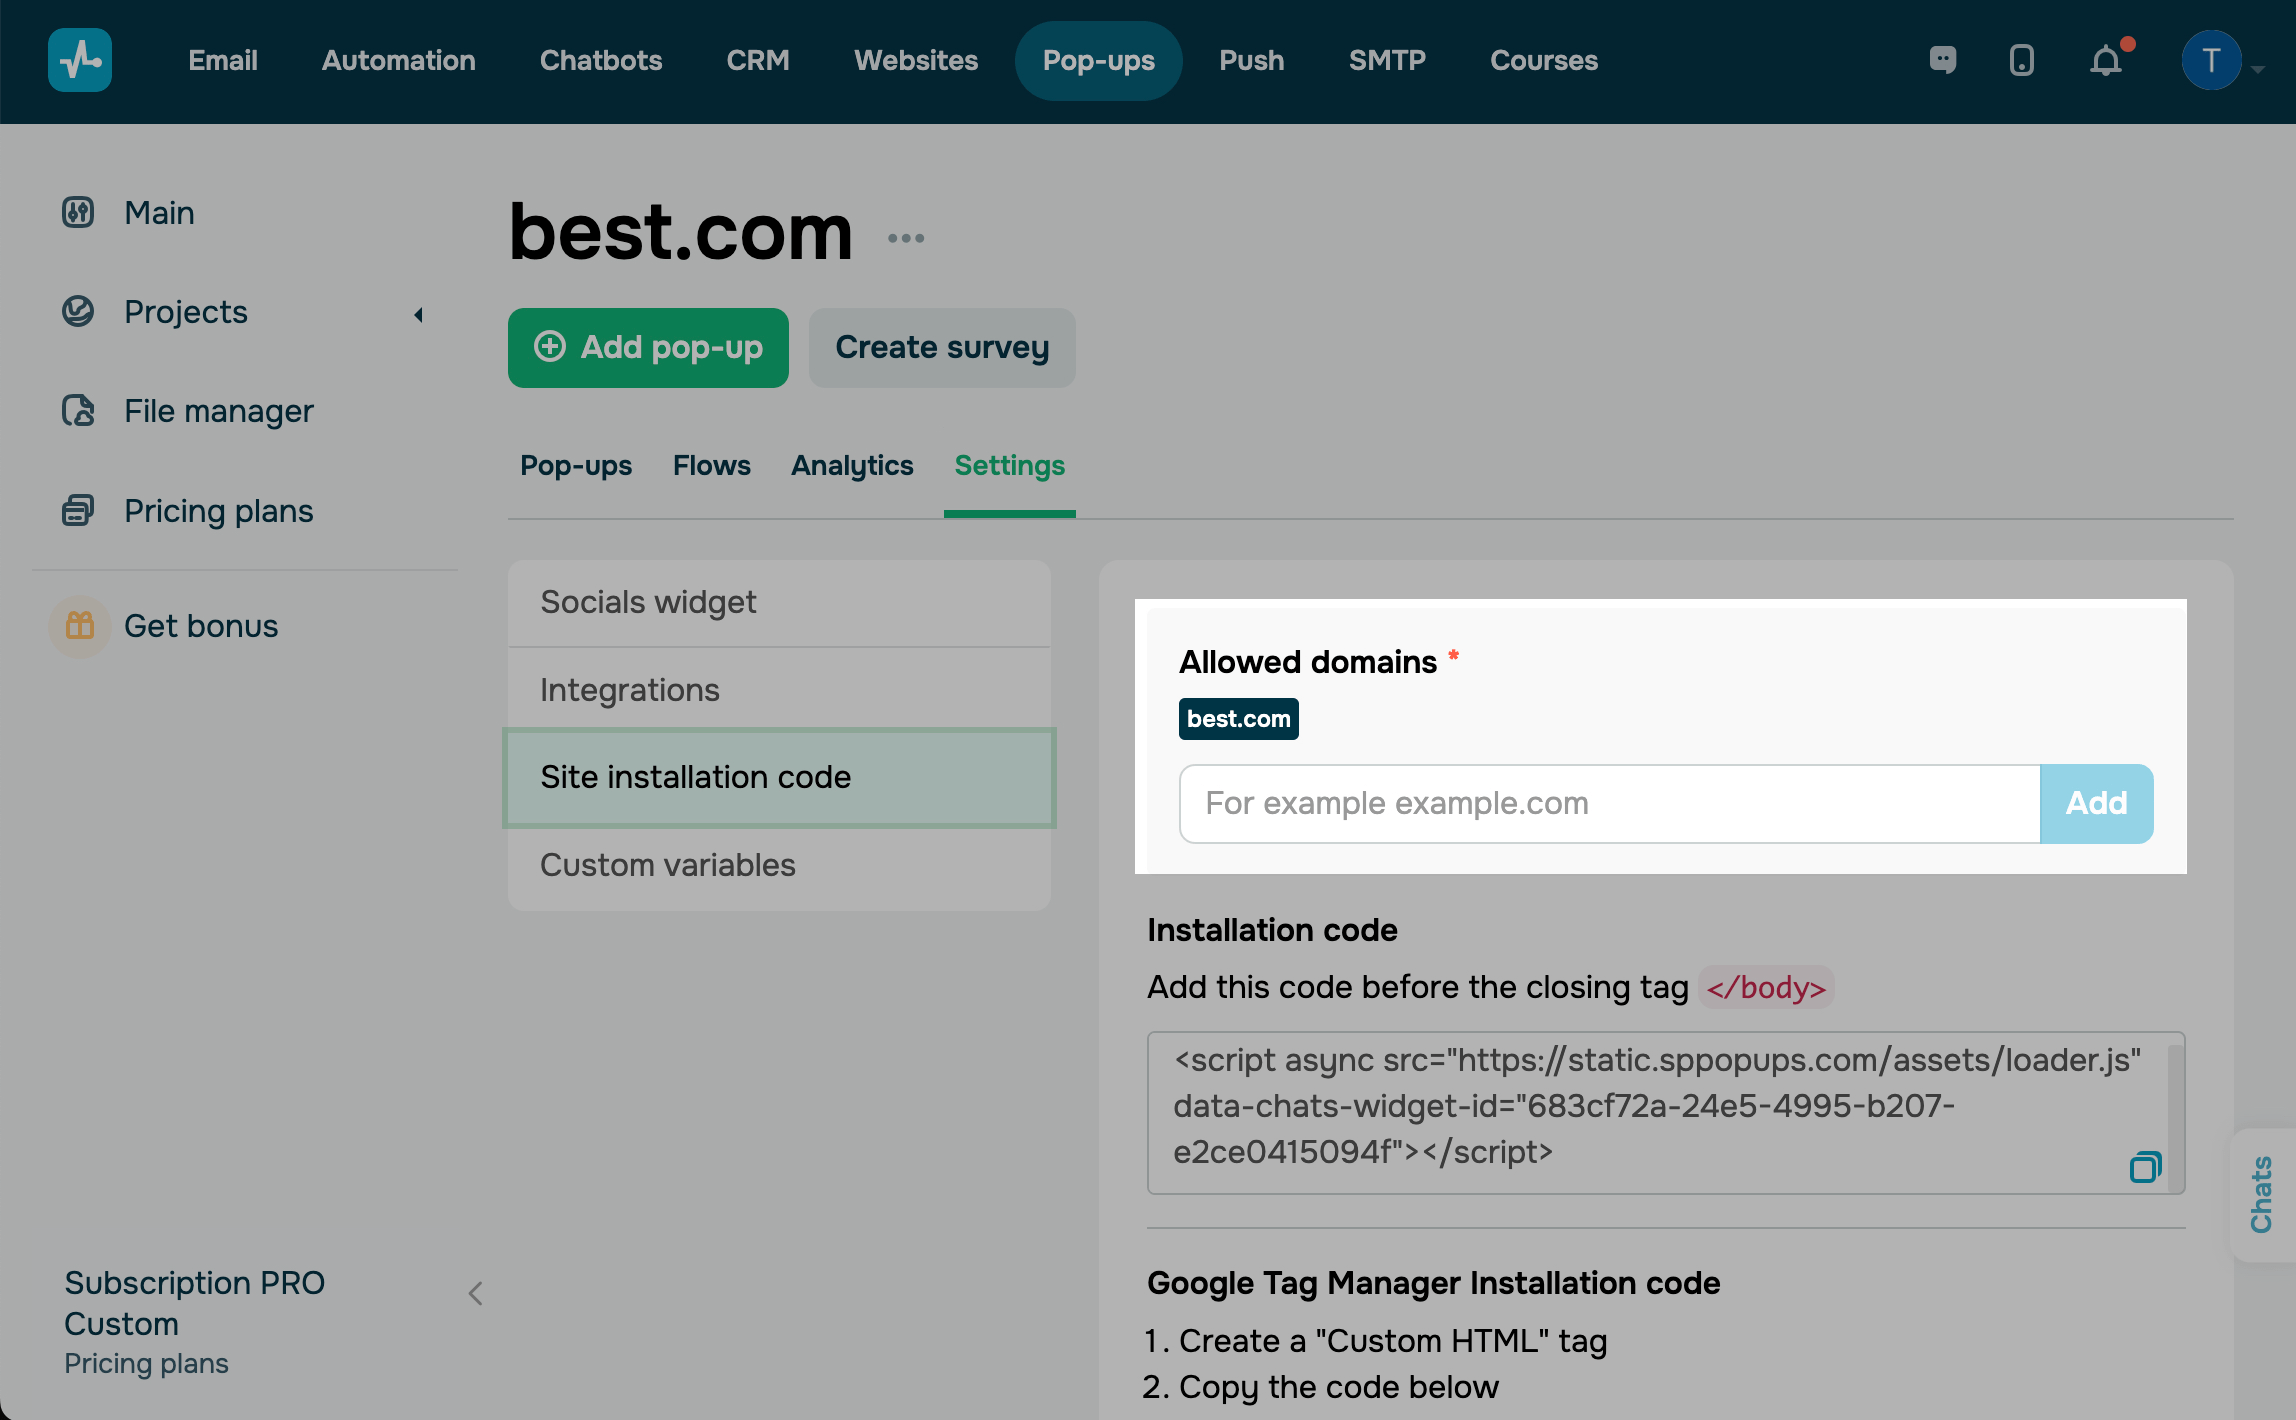
If you choose the Install later option or need to add code to an additional site, you can find it in the website settings. In your website, go to Settings > Site installation code.
Copy the code from the Installation code field.
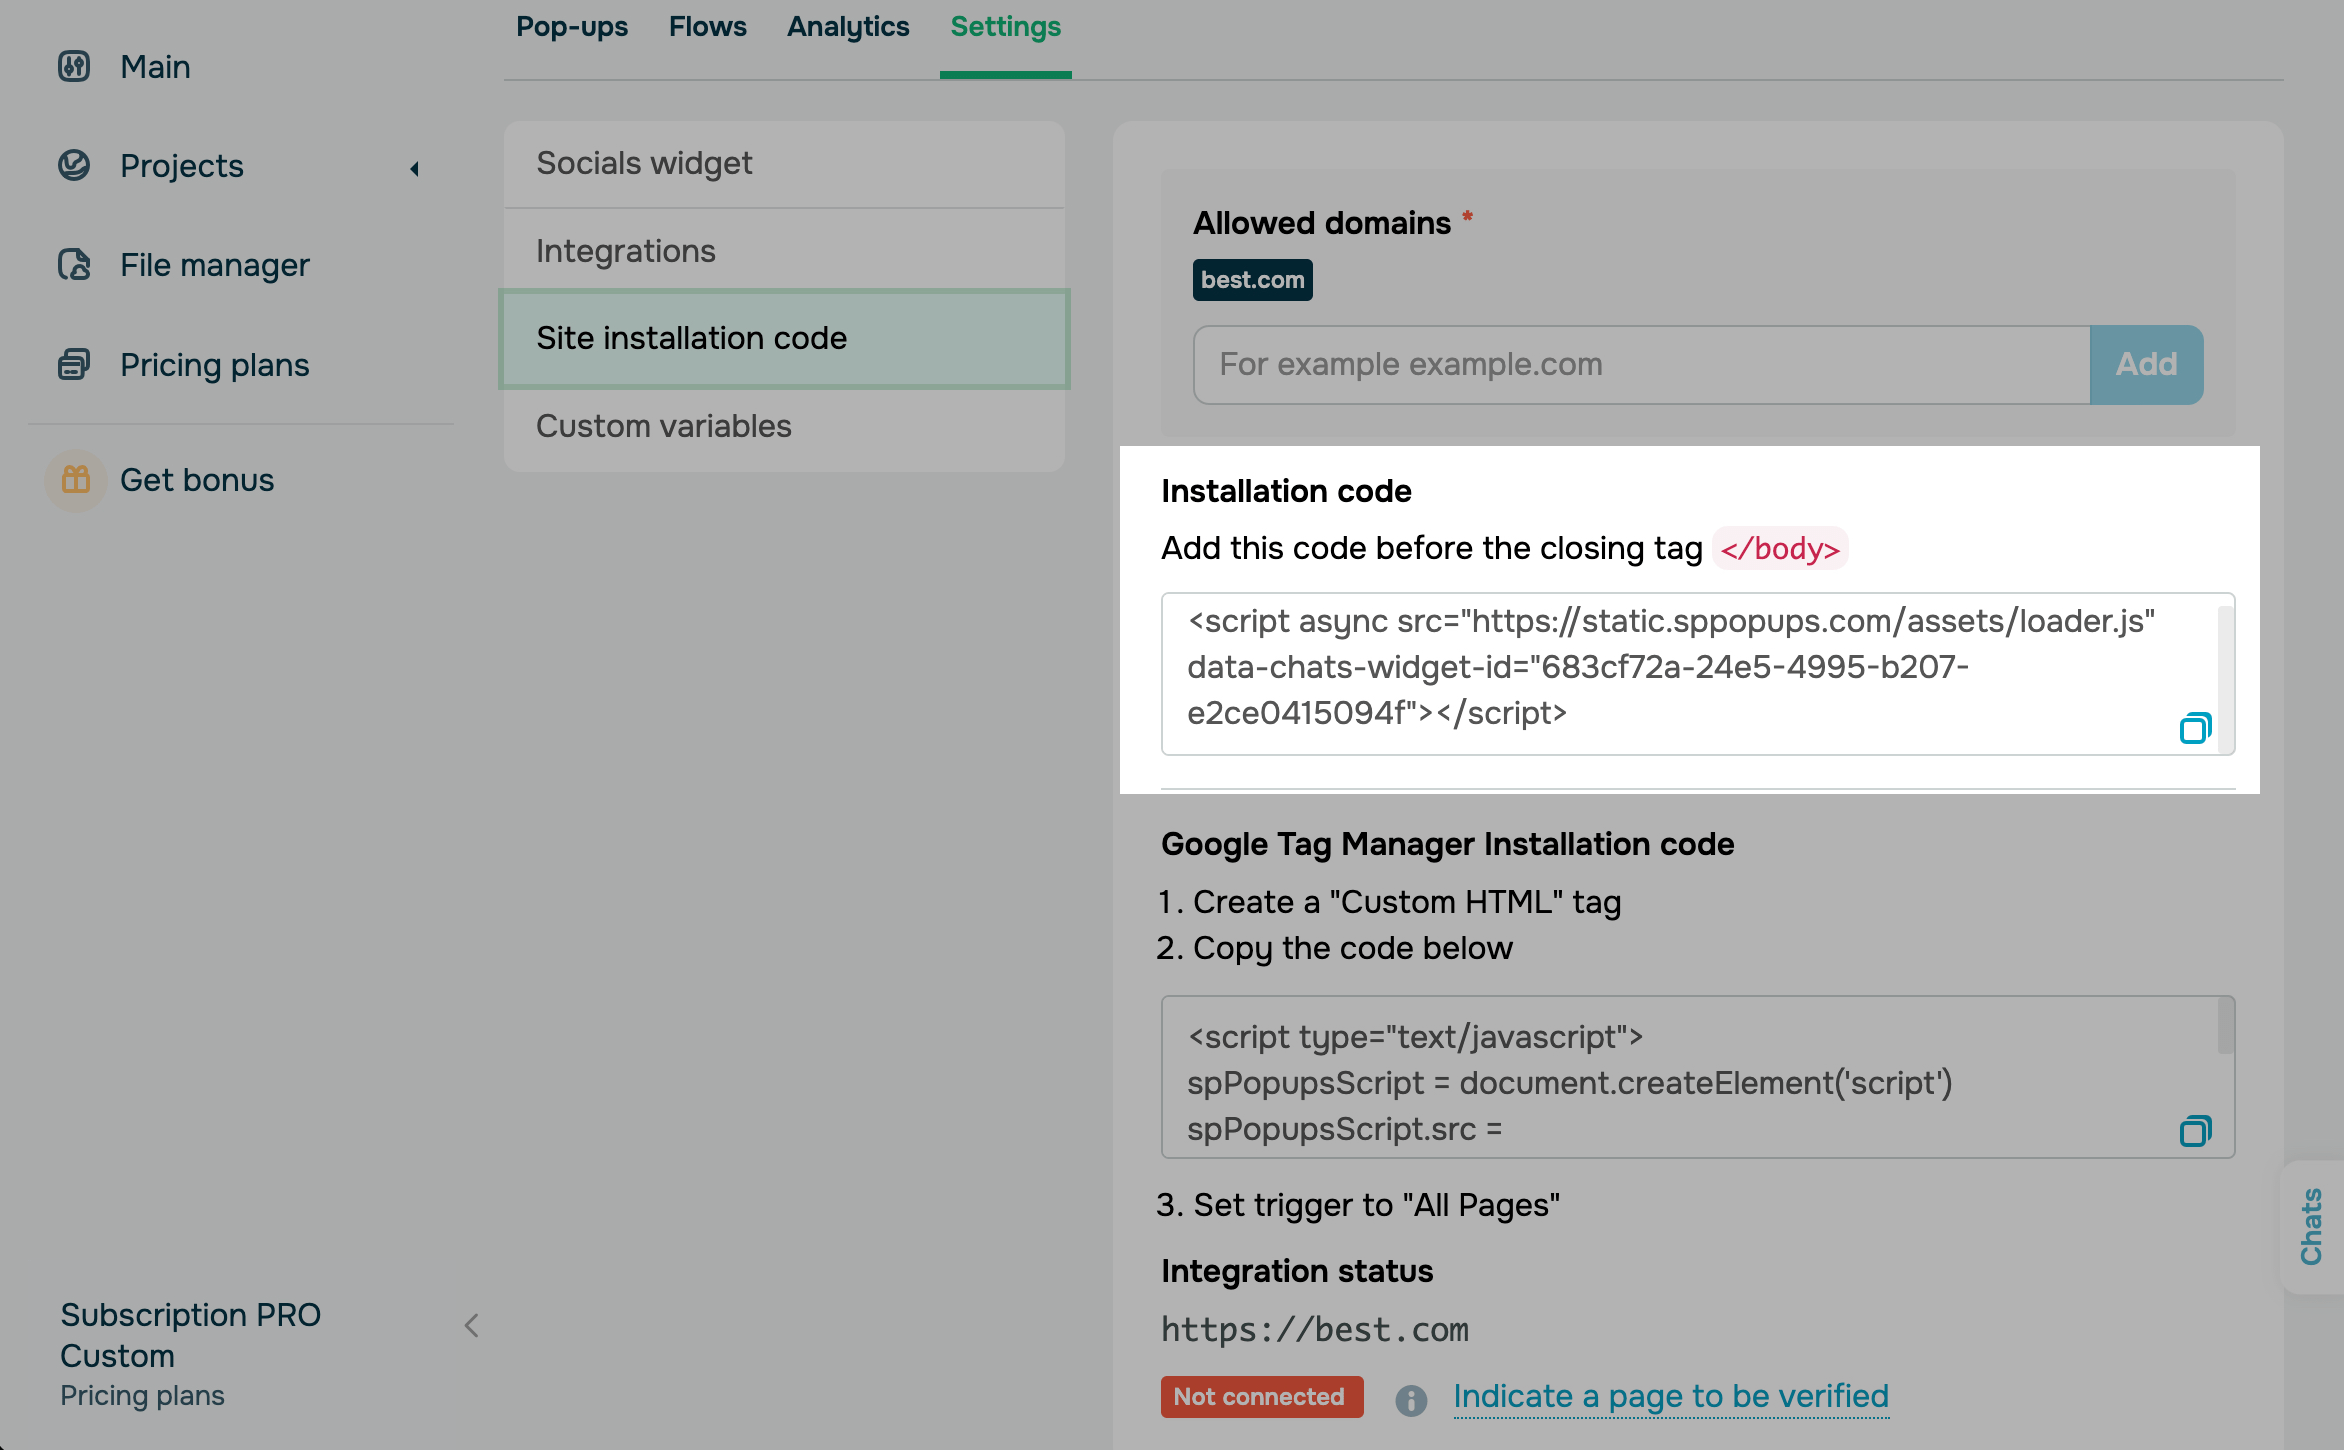
Install your code
You can add the script:
- to all site pages where you need a pop-up, adding the code before the closing
</body>tag; - to all site pages using Google Tag Manager;
- to a file that you can connect to all site pages.
If you don’t have access to the admin panel or don’t know how to do this, send the code to your site administrator or programmer.
Read also: How to add a pop-up to your website and Add pop-up installation code to a website using Google Tag Manager.
Verify the installation
Once you add the code to your site, check if it works properly. In your website, go to Settings > Site installation code.
In the Integration status section, there will be a link to your site and its status (Connected or Not connected).
If you connected additional domains, click Indicate a page to be verified.
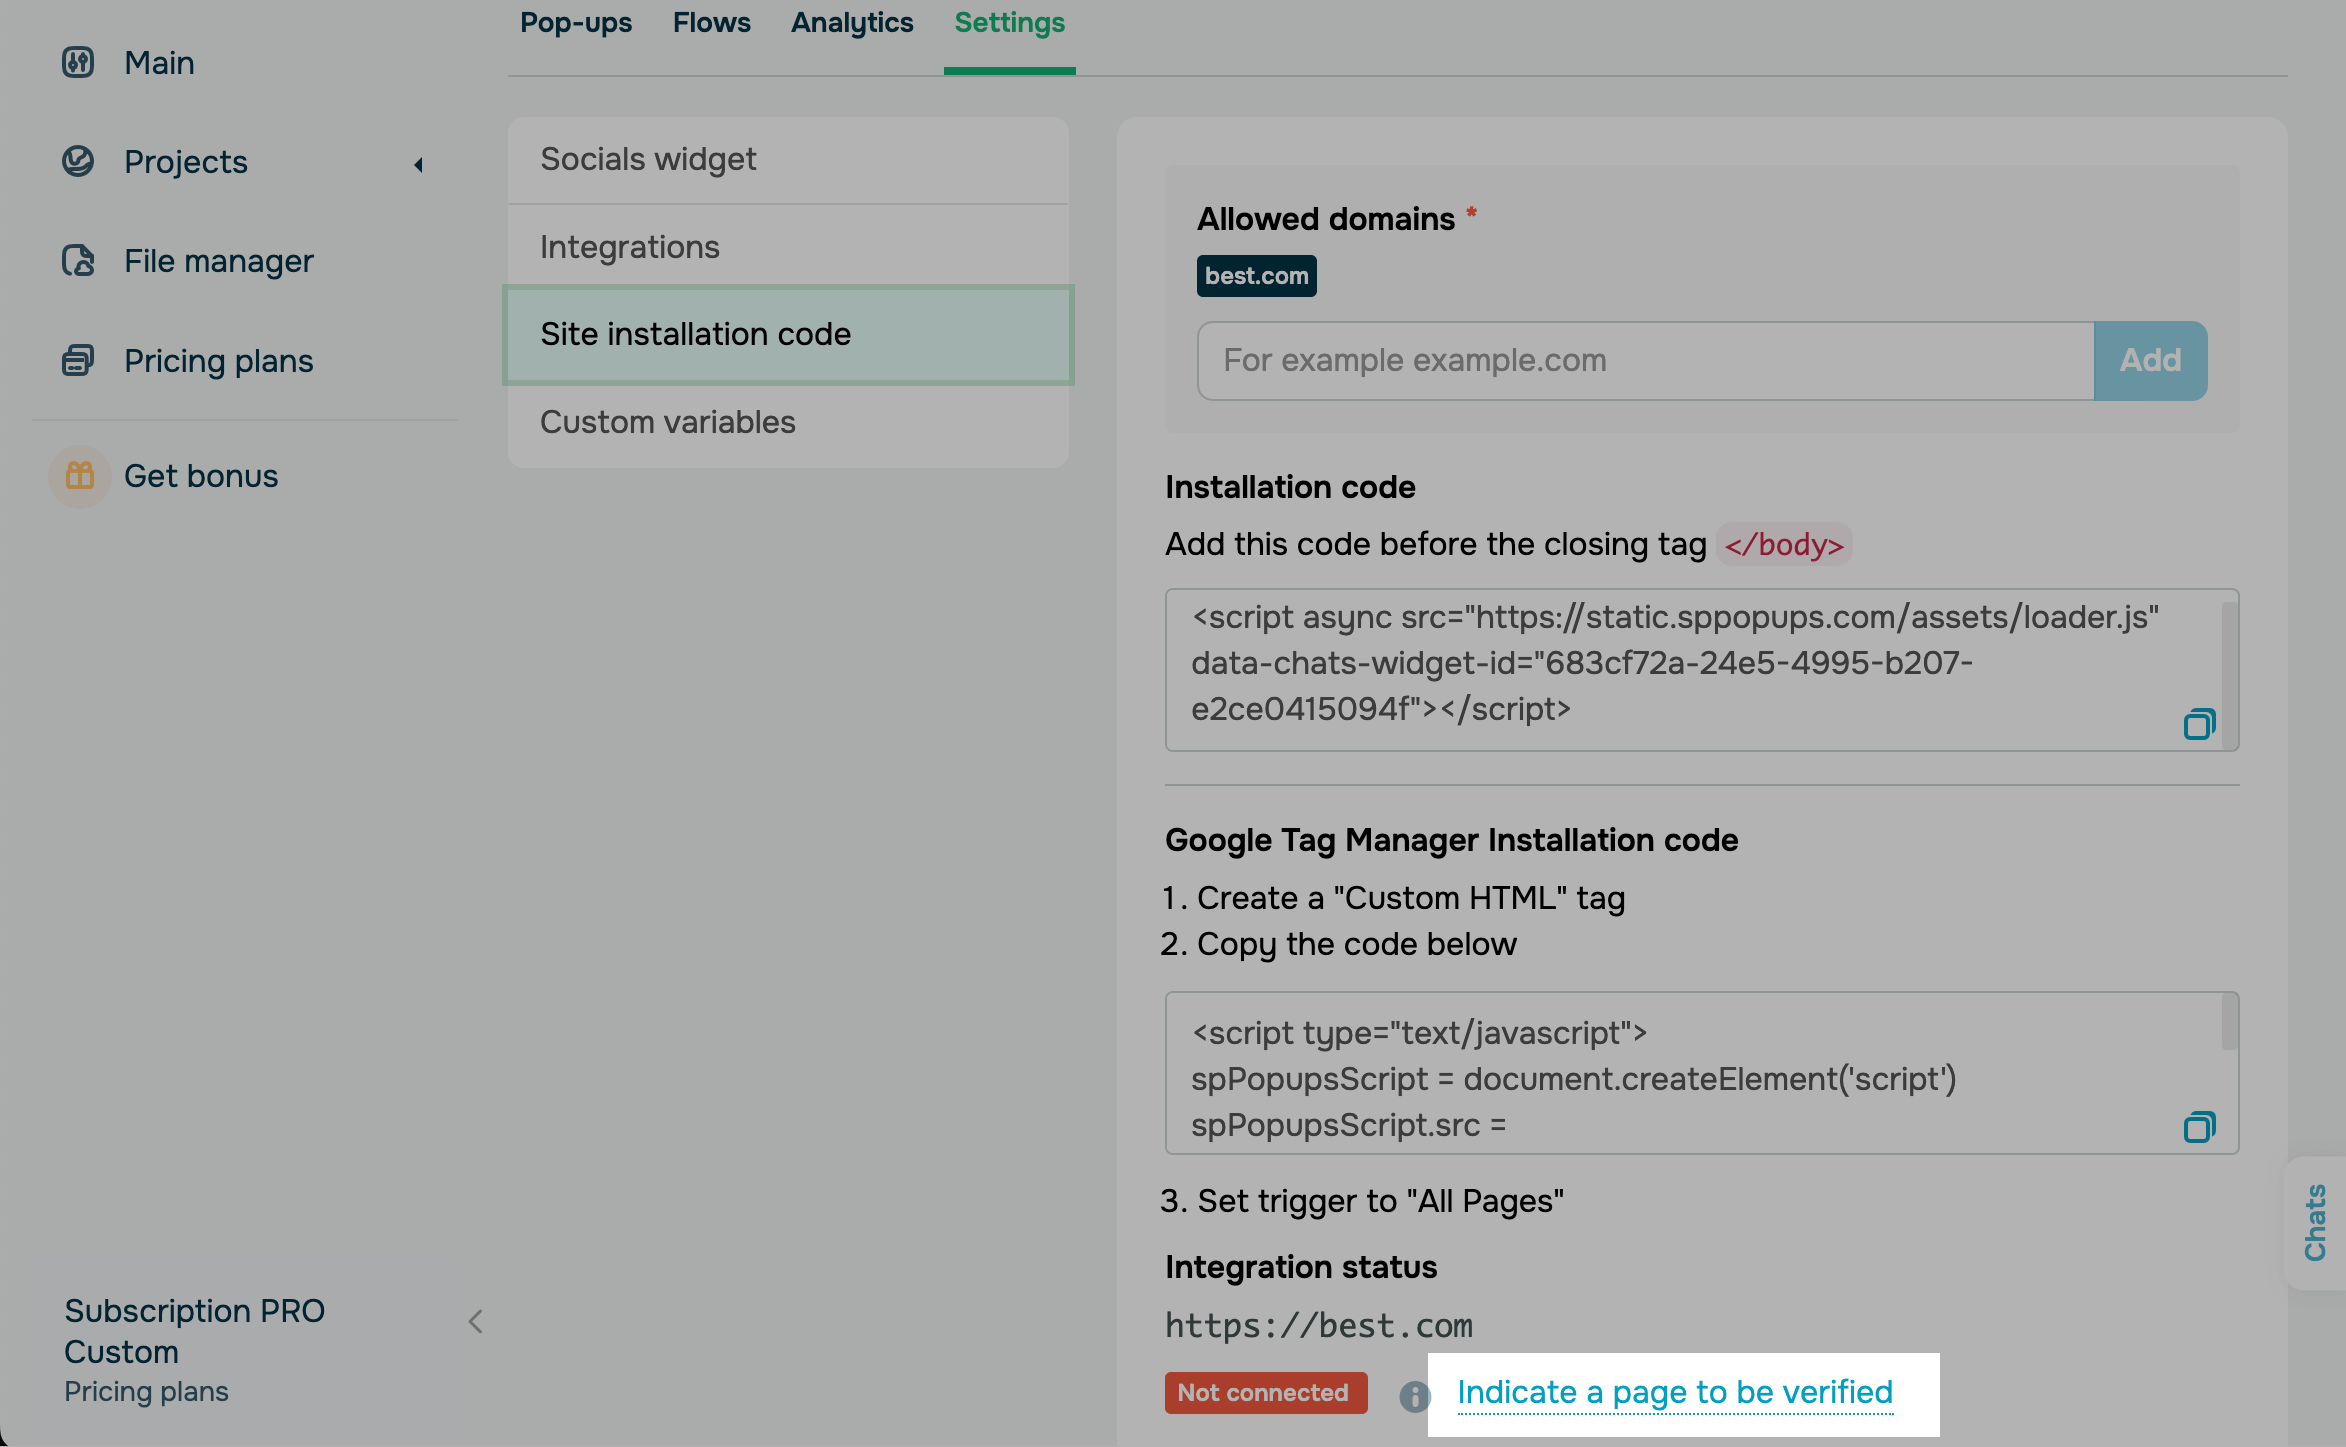
Enter your page URL in the https://site.com/index.html format and click Verify.
If you see the Code found status, congratulations — your pop-up code is installed correctly, and you can start creating pop-ups.
If you see the Code not found status, it is possible that your site uses blocking JavaScript that prevents page verification but does not affect the display of your Socials widget or pop-ups.
If the SendPulse tools are not displayed, contact your site administrator or support. It is possible that you have a ban on the execution of third-party scripts or a Content Security Policy (CSP) configured.
Add allowed domains
You can add multiple domains to one site where you want to display your widget and collect statistics. To do this, go to Settings > Site installation code tab and in the Allowed domains field, add a list of domains where you want to display your site.
We recommend adding a root domain. You can choose where you want to display or hide your pop-up in the display conditions settings.
Last Updated: 20.06.2025
or