Manage contacts
Since your contacts’ statuses, data, and assigned team members often change, it’s important to keep your database up-to-date. You can do this by editing or removing contacts and reassigning them to other team members.
In this article, we will talk about how to change one or multiple contacts.
Change one contact
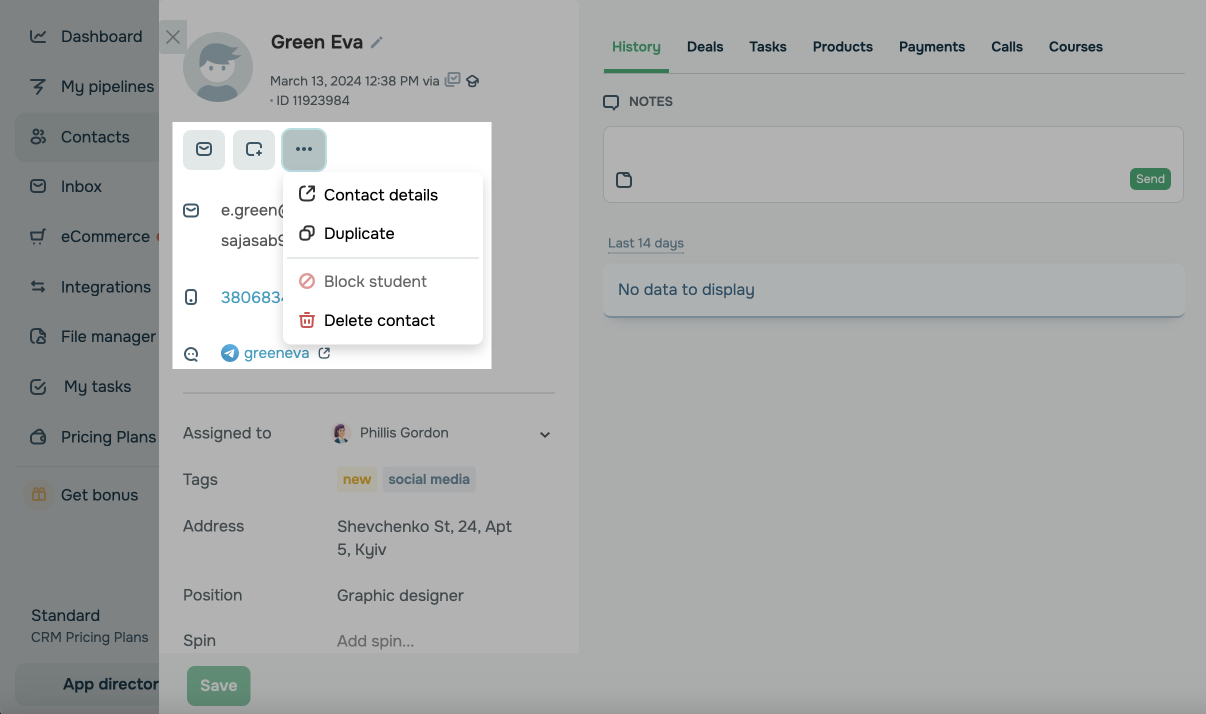
Find a contact in your list, click the name to open their card, and click the three dots button in the upper left corner to select an action.
| Block student |
Ban the student from your courses. This option is available only for contacts who take courses in your account. |
| Duplicate | Create a contact copy.
You can change contact data, add fields, and attach files. |
| Delete | Remove the contact from the CRM system with all their data. |
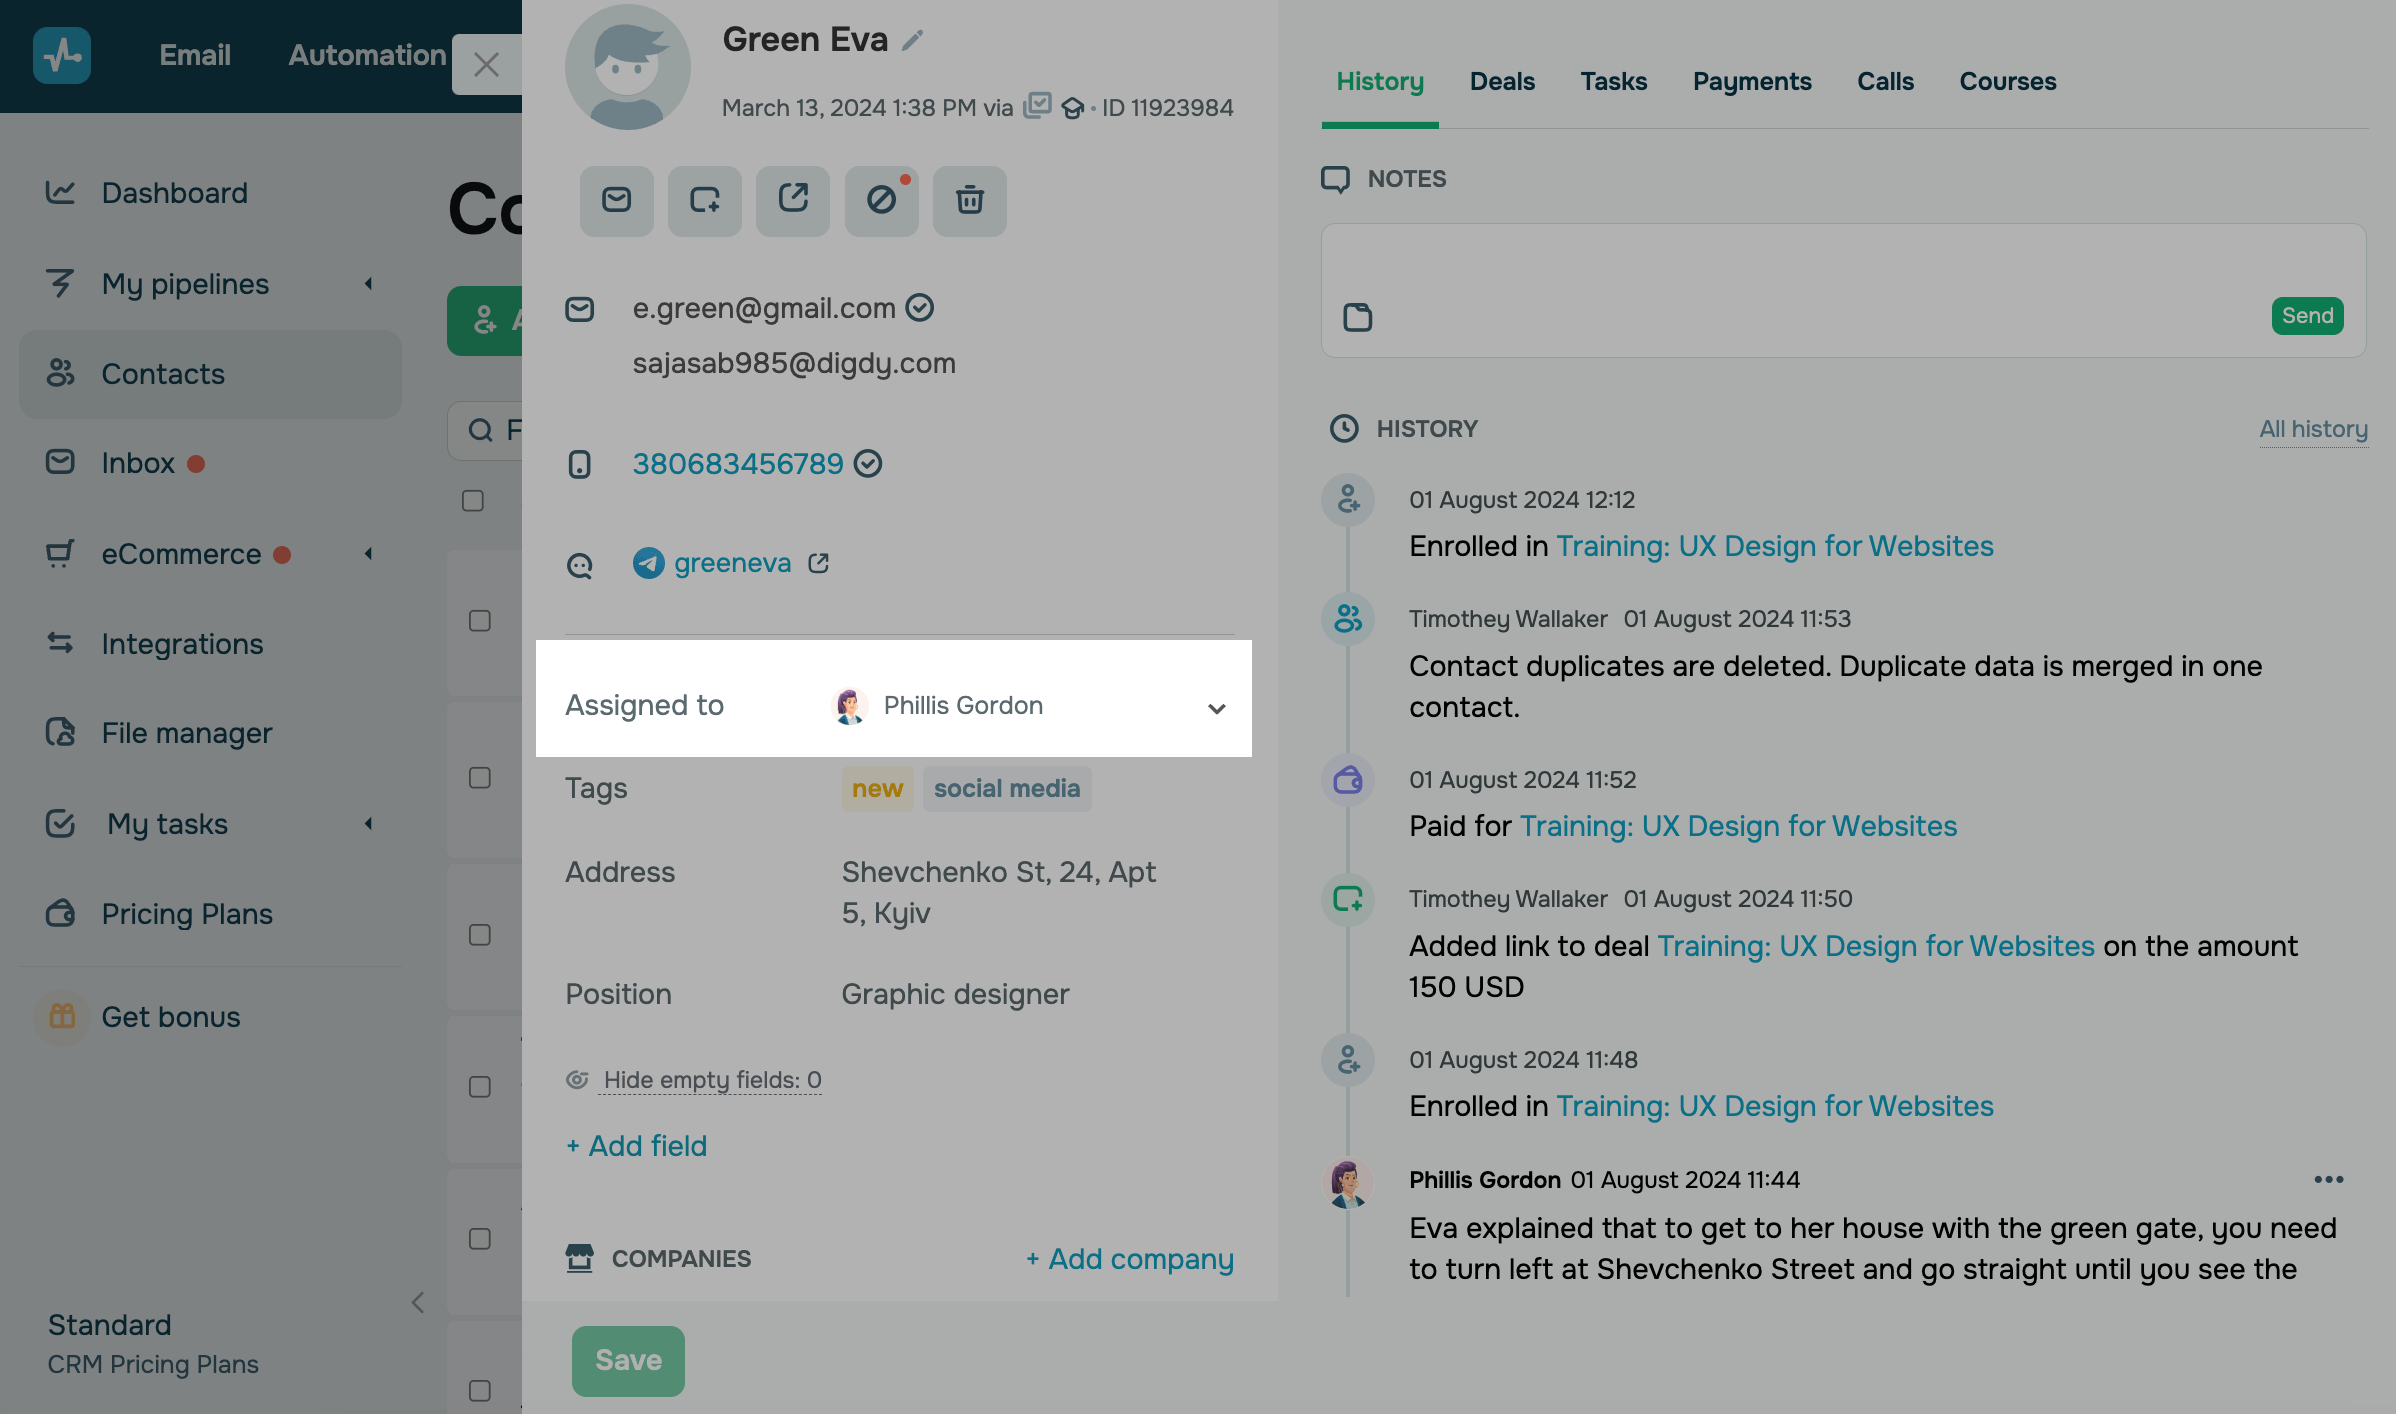
Click the down arrow in the Assign to section to select another team member from the list assigned to your contact.
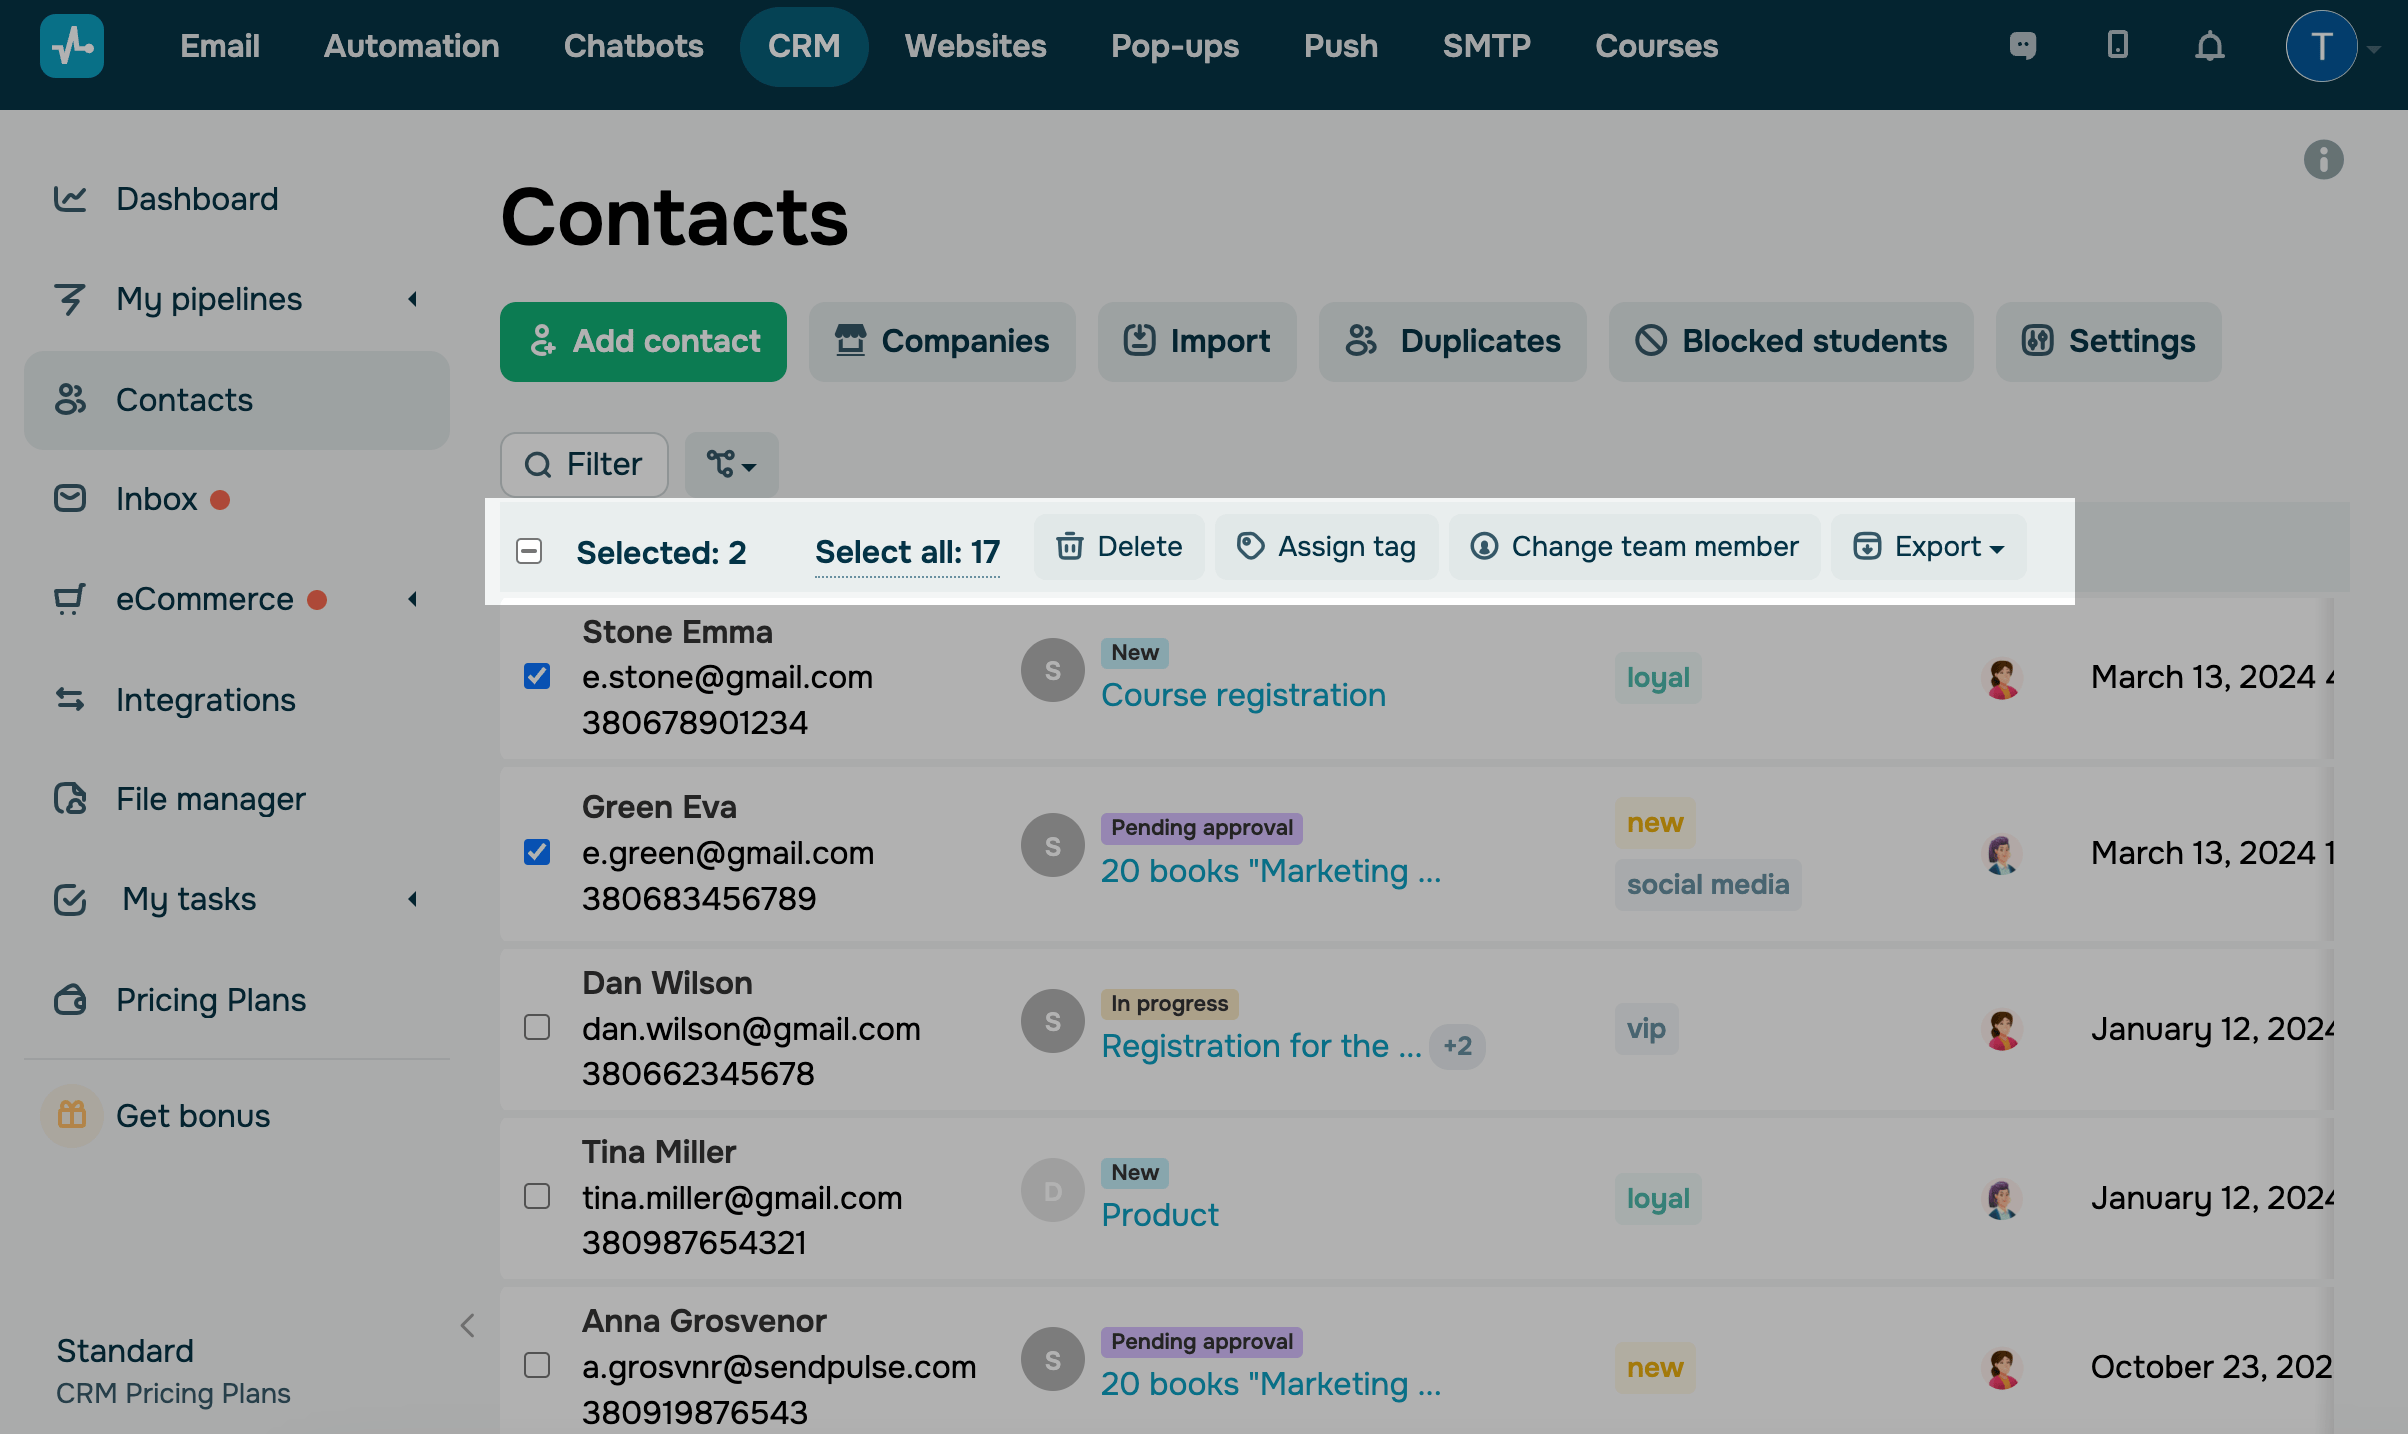
Change a group of contacts
Mark certain contacts or all contacts on the page. You can choose how many contacts to display at the bottom of the list or sort contacts by a specific criterion using a filter.
In the panel at the top, you will see how many contacts are selected and the total number in the list. To mark all contacts, click Select all.
The following actions are available:
| Delete | Deletes a contact from CRM with all associated data. |
| Assign tag | Assigns the selected tag that was previously added in the settings. |
| Change team member | Changes the assigned team member of your contact. |
| Export |
Downloads the data file to your device. Click and select the format. Read also: How to export contacts. |
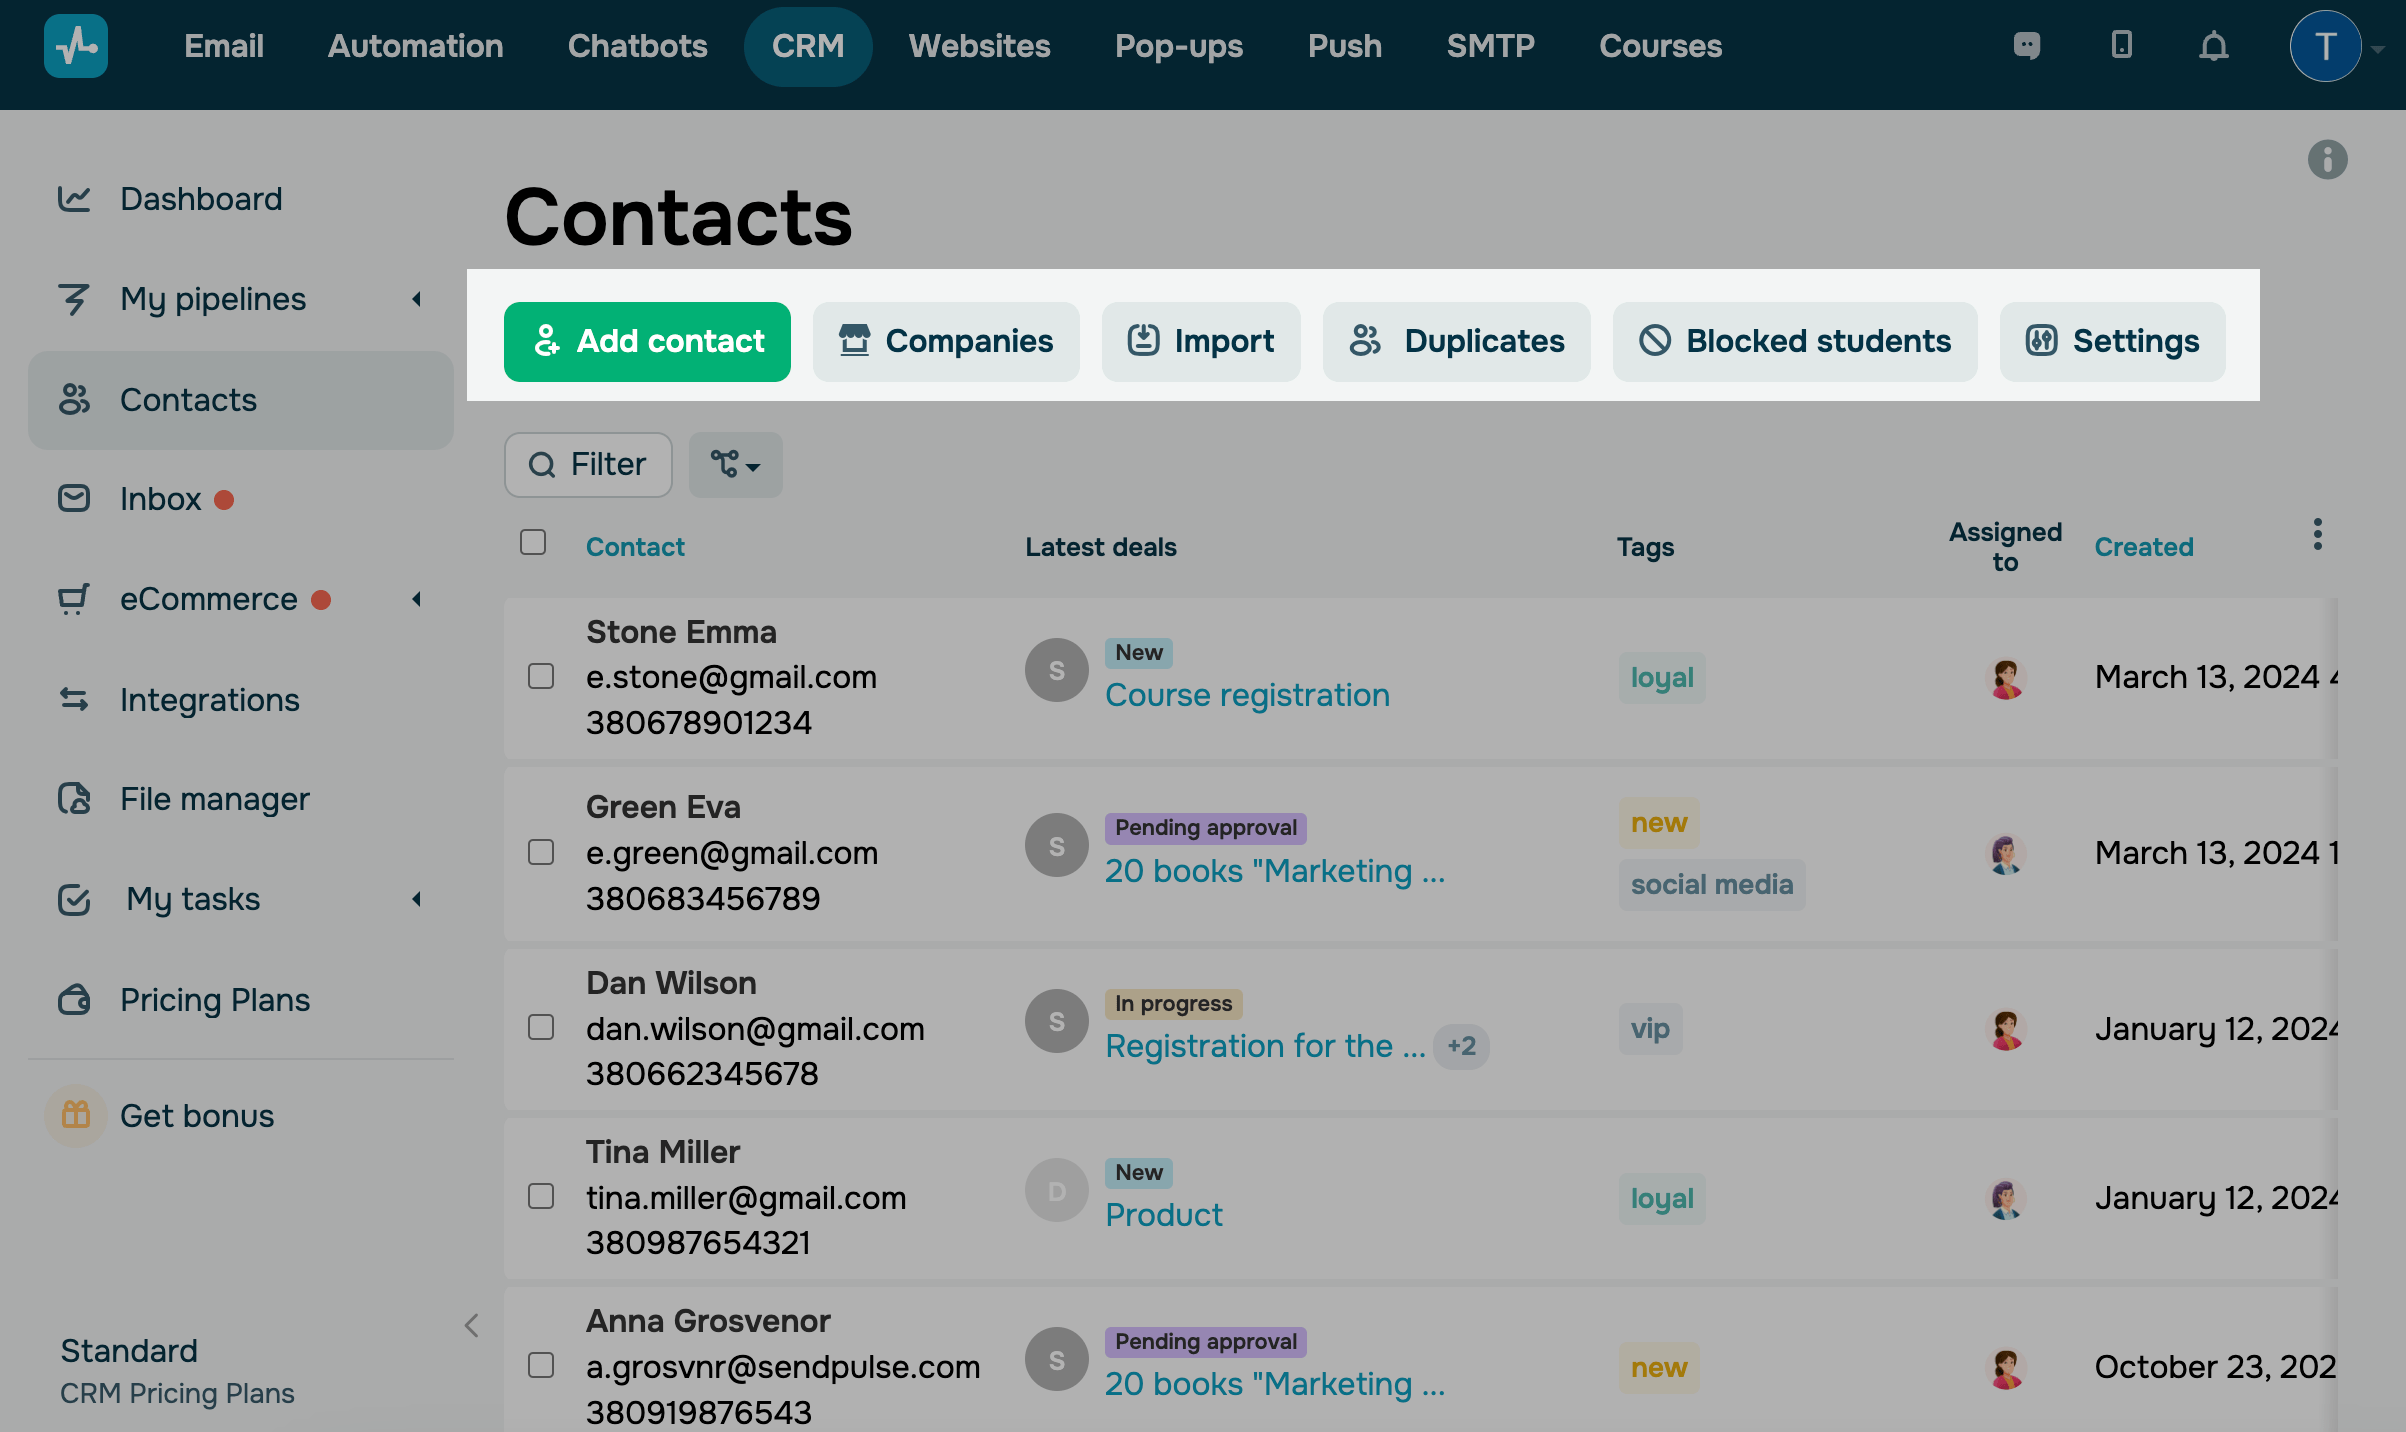
You can also go to other sections or apply actions to contacts using the top panel.
| Add contact |
Add a new contact, and enter all the required data. |
| Companies | In this tab, you can view company data you added to the CRM system. |
| Import | Add new contacts from a local CSV file. |
| Duplicates | Click to delete identical contacts from the list. |
| Blocked students | Go to this tab to see a list of contacts that were blocked in the Courses section. |
| Settings | In this tab, you can add an assigned team member, fields, and tags. |
Last Updated: 07.10.2024
or