Edit pictures in the template builder
When working with pictures in templates, you can edit each image individually right in the template builder. For example, you can create a banner with text and crop or resize a picture.
To do this, add the Picture element, upload a picture, and go to the image editor.
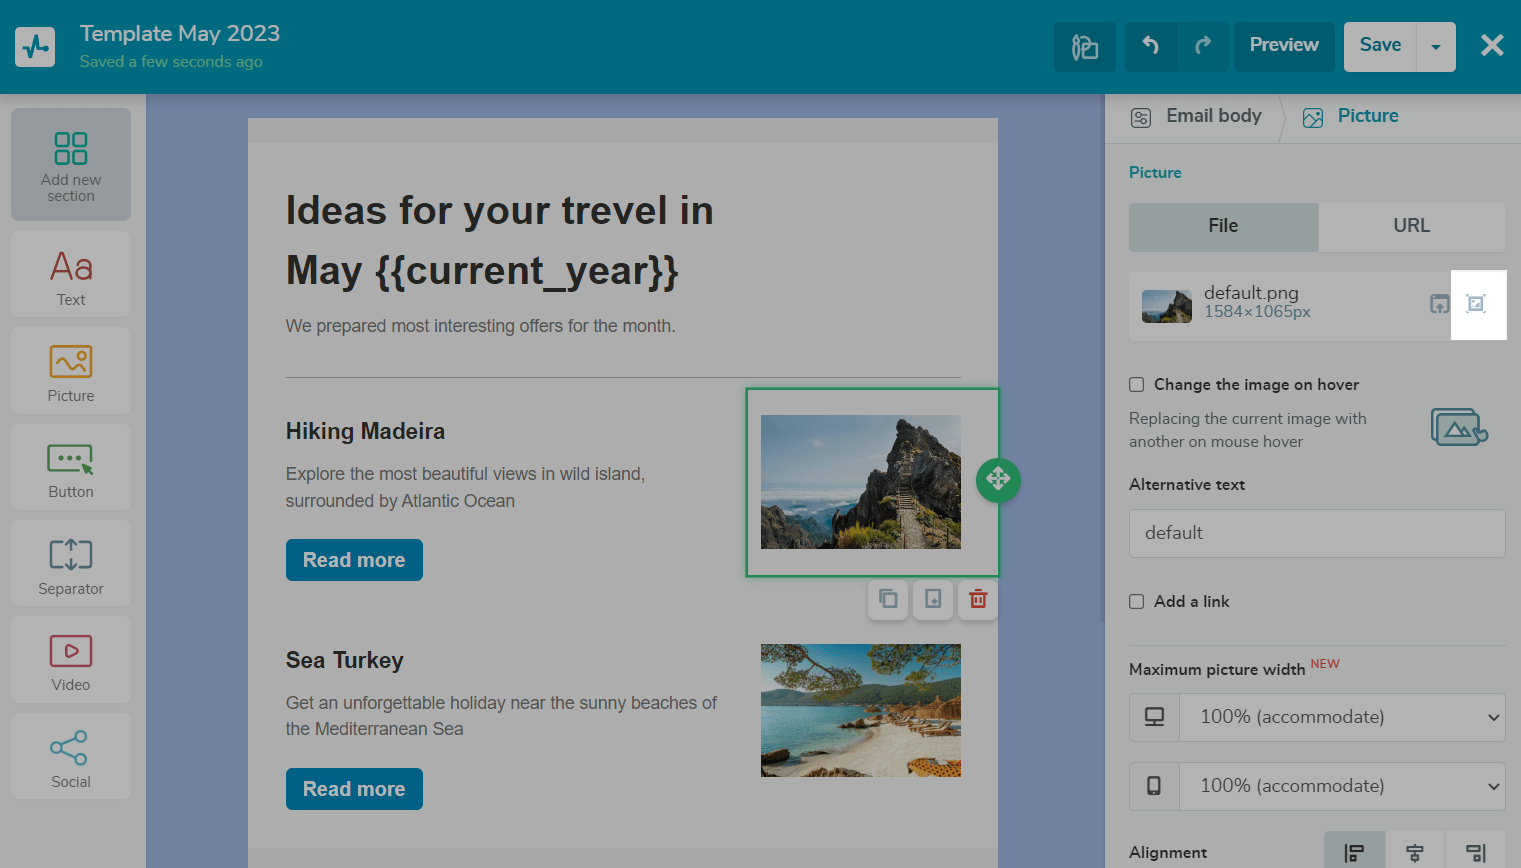
How to go to the picture editor
In the editing panel of the Picture element, click the edit icon next to your image name. You will be redirected to the image editor.
Editor tools available
Using the tools from the left editor panel, you can adjust any picture to your needs:
- resize and crop an image;
- flip and rotate an image;
- draw straight and custom lines;
- add contour or filled shapes and stickers;
- add text and format;
- apply a layer mask;
- apply filters (greyscale, sepia, blur, and sharpness).
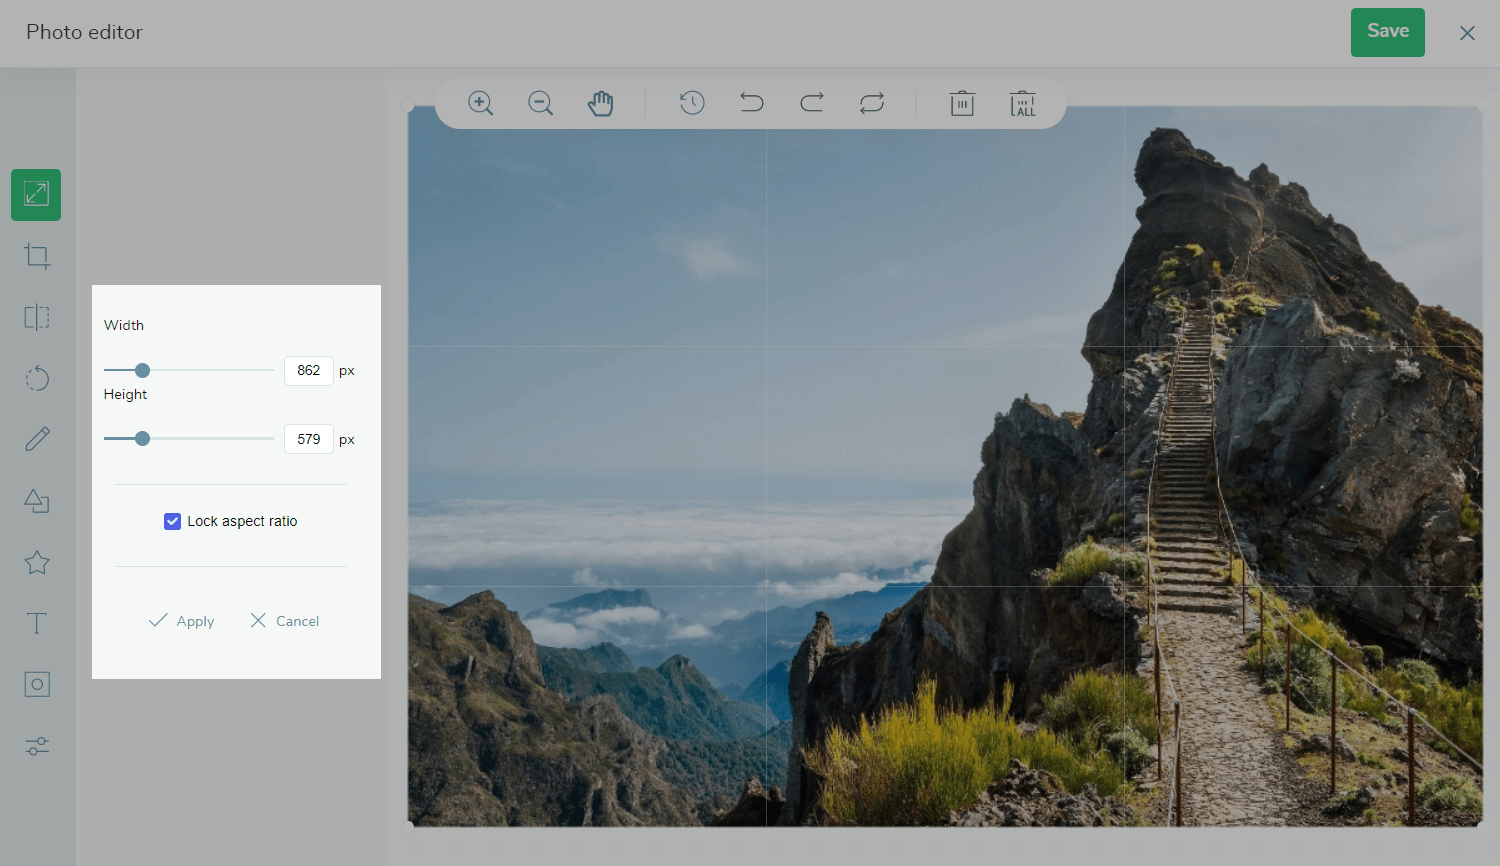
Resize
Use this tool to edit your image height and width.
Select the Resize tool, and drag the width or height sliders. To retain the existing ratio of height and width, select the Lock aspect ratio checkbox.
To save the changes displayed on your image, click Apply. To reset all tool settings, click Cancel.
Crop
Use this tool to edit your aspect ratio by cropping a picture part.
Select the Crop tool, and choose the necessary proportions (square, 3:2, 5:4, 7:5, or 16:9).
To make an arbitrary crop, select the Custom ratio type, and outline the required area on your image by holding the left mouse button.
To save the changes displayed on your image, click Apply. To reset all tool settings, click Cancel.
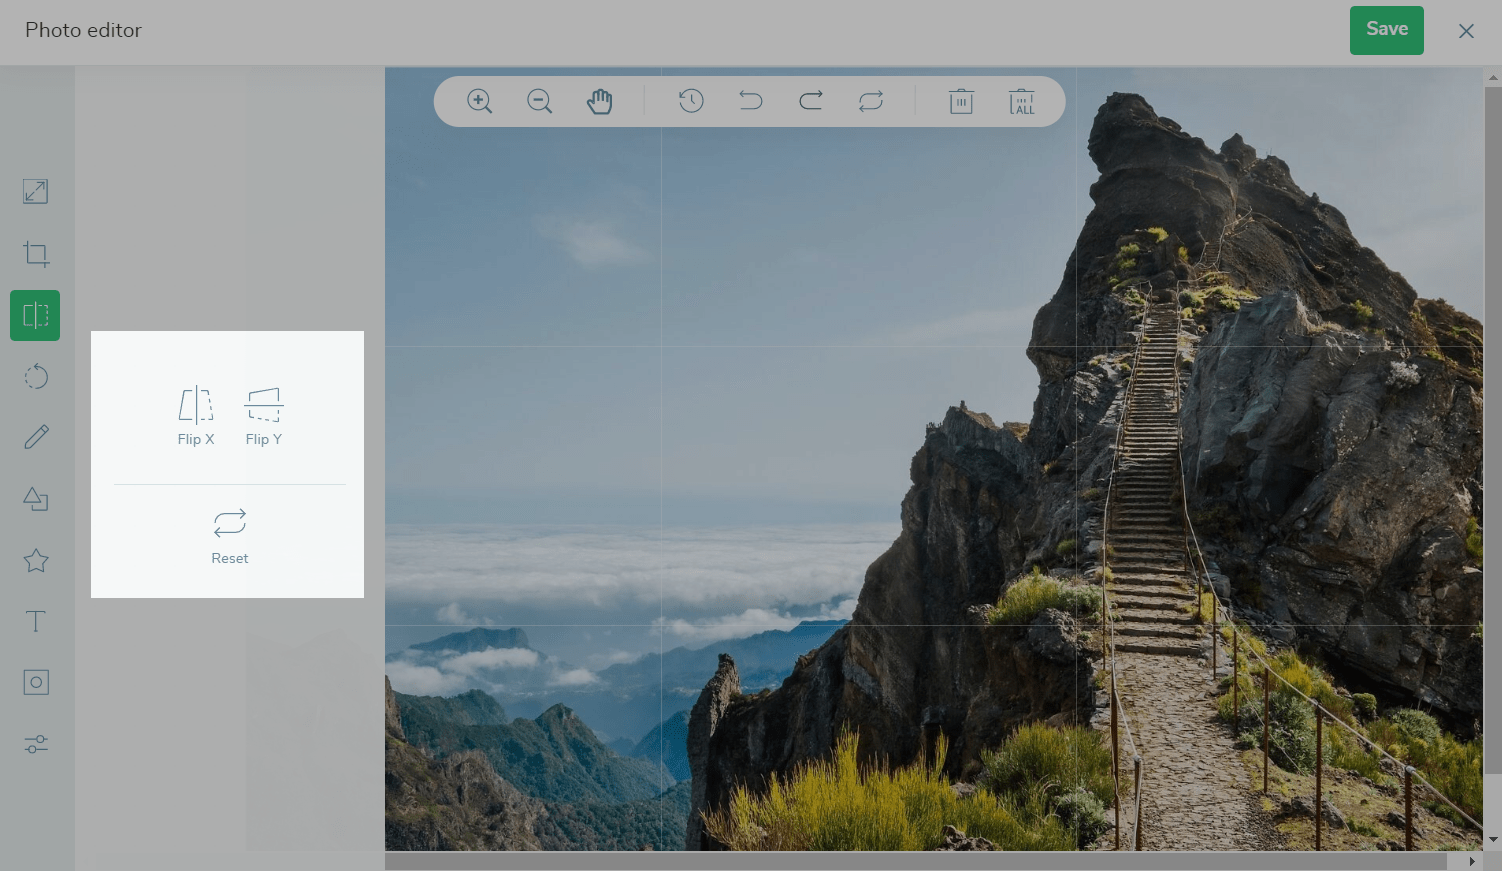
Flip
Use this tool to mirror a picture.
Select the Flip tool, and choose how to flip your image (vertically or horizontally). To cancel changes, click Reset.
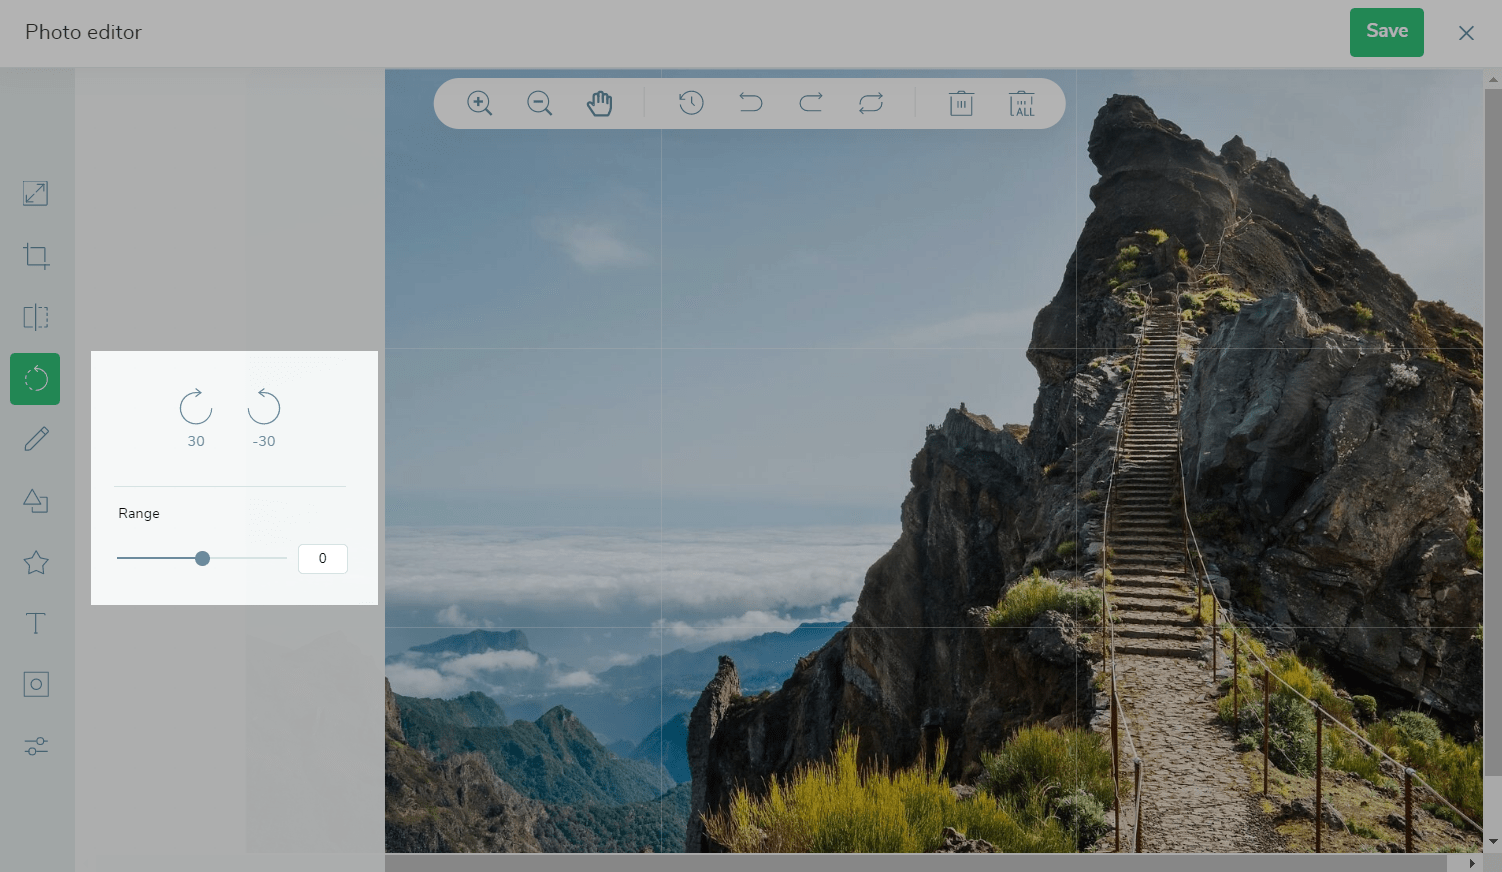
Rotate
Use this tool to tilt an image.
Select the Rotate tool. Click the left and right arrows to rotate a picture 30 degrees. To make a custom angle, drag the Range slider to the left or right.
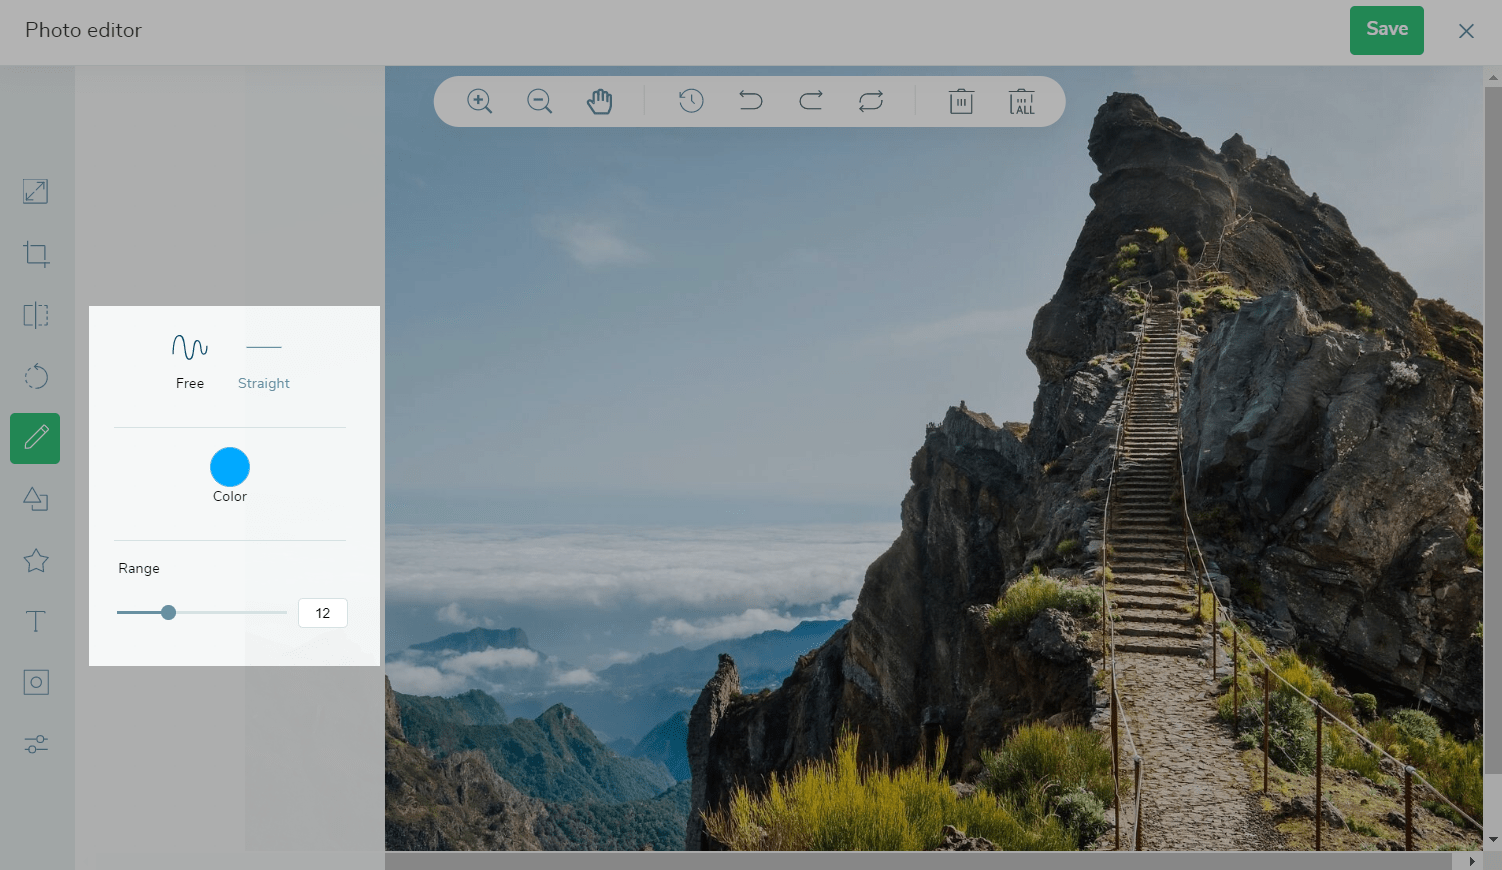
Draw
Use this tool to draw a line.
Select the Draw tool, and choose a line type (free or straight).
Select a color, and adjust the thickness using the Range slider.
Hold down the left mouse button, and draw on your picture.
Shape
Use this tool to create pictures using shapes.
Select the Shape tool, and choose a shape (rectangle, circle or triangle). Next, choose your fill type (line or fill), and adjust the thickness using the Stoke slider.
Hold down the left mouse button, and draw on your picture.

Icon
Use this tool to add an icon to your picture.
Select the Icon tool, choose an icon, and select a fill color.
To add your own icon, click Custom icon, and upload an image from your device.
Click the picture where you want to add an icon, select an icon, and adjust its size.

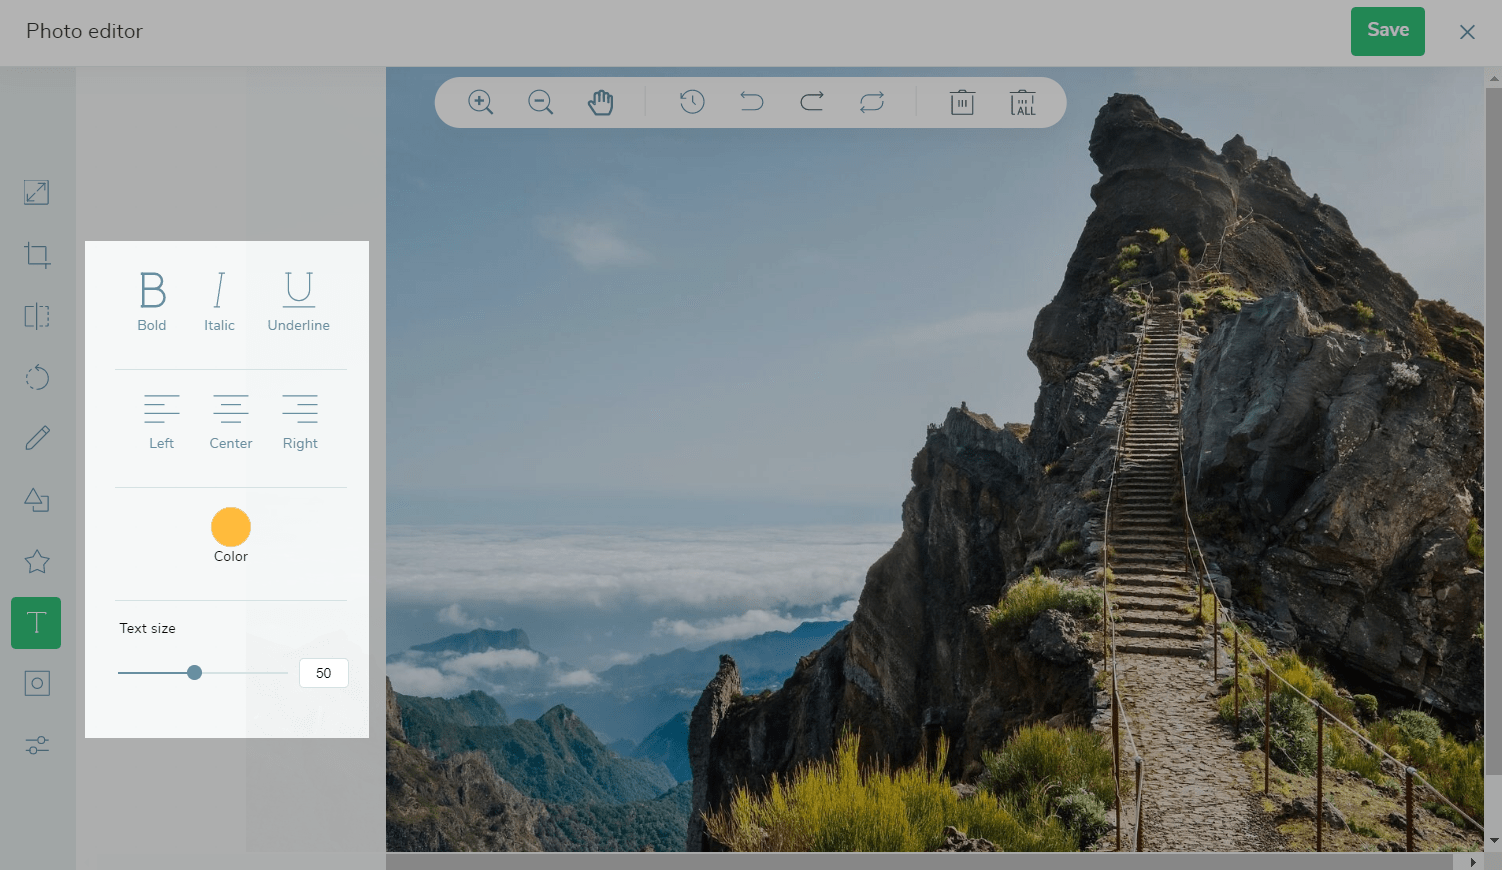
Text
Use this tool to add text to a picture.
Select the Text tool, and choose a font style (bold, italic, or underline).
Below, you can align your text, select its color, and adjust the thickness using the Text size slider.
Click the image part where you want to add text, and start typing.
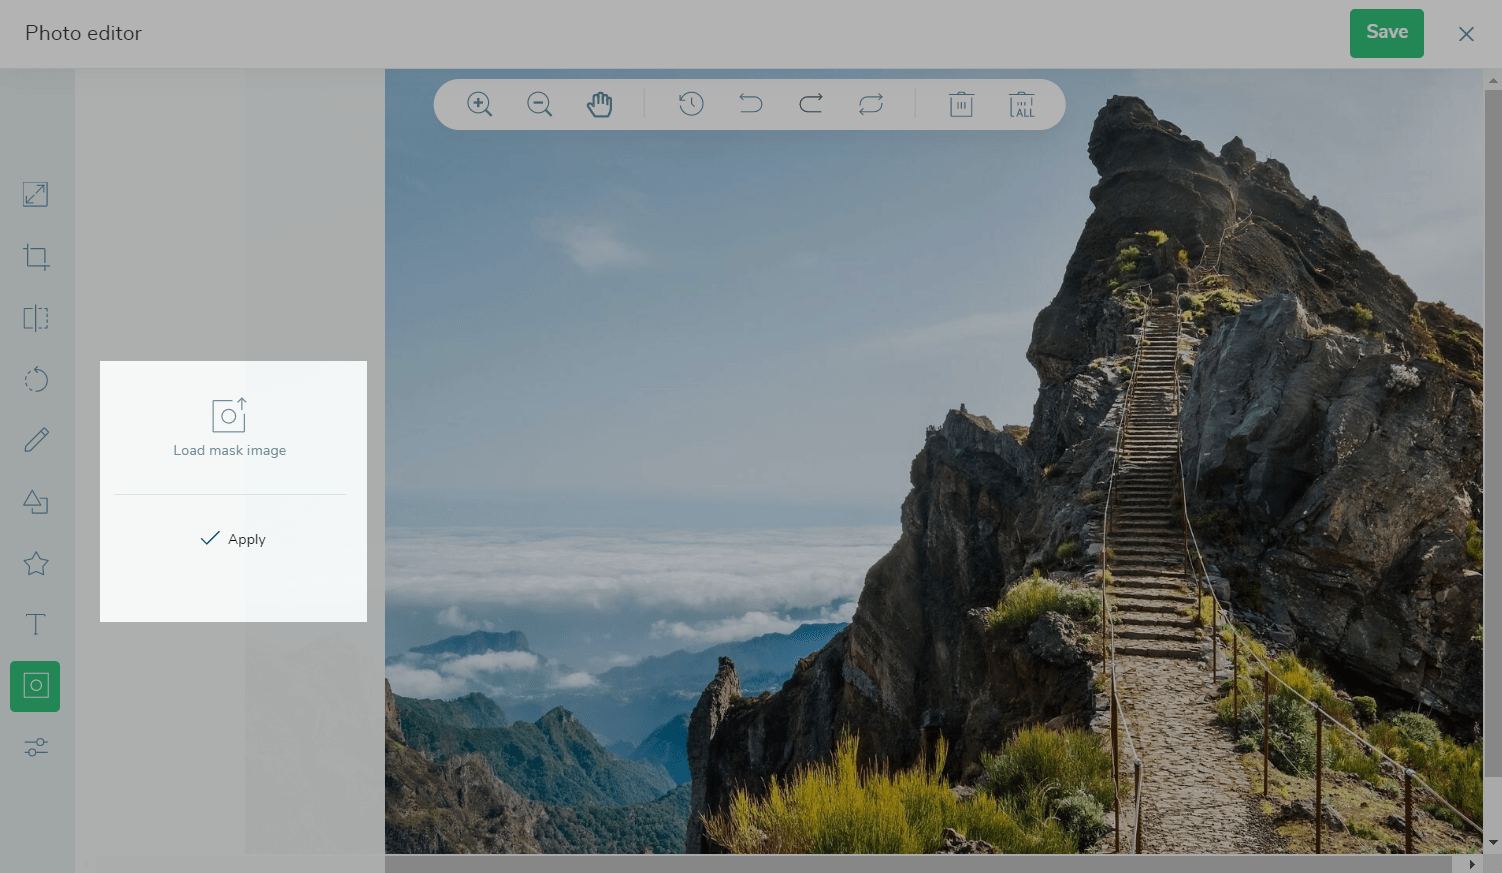
Mask
Use this tool to add a picture on top of the primary one.
To add another image, use the Mask tool.
Click Load mask image to upload a picture, place it on the primary image, and edit the size. The attached image cannot be modified using the editor tools.
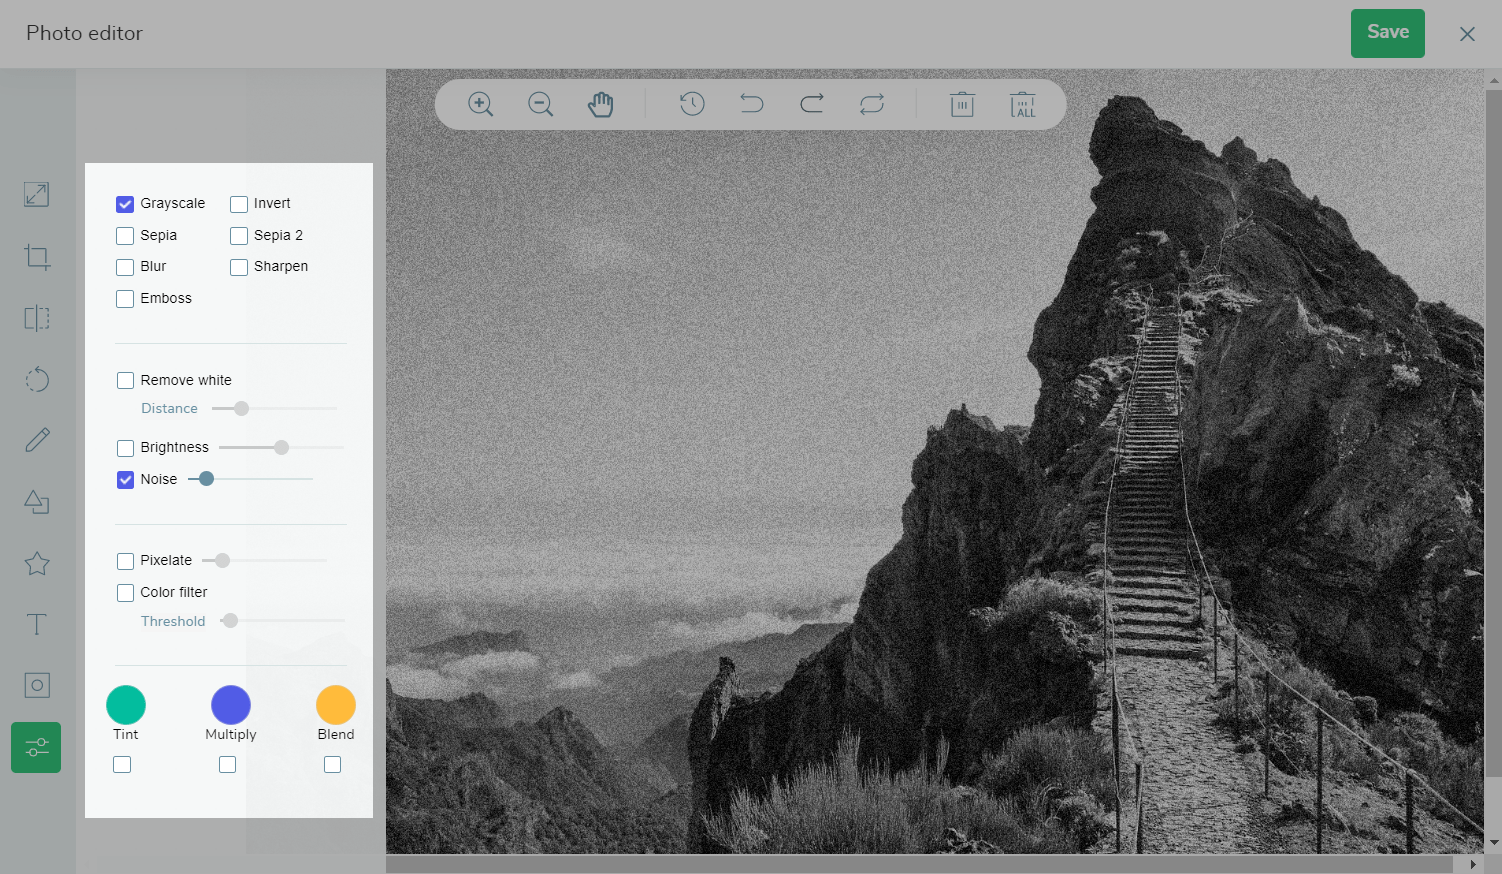
Filter
Use this tool to apply specific adjustments to the entire picture.
Select the Filter tool, and choose a filter using checkboxes (grayscale, sepia, blur, emboss, invent, sepia 2, sharpen).
Next, with the help of checkboxes and sliders, you can remove white, adjust brightness, and noise.
Below, you can adjust the pixelation and color conversion and apply any color to the entire picture.
How to manage picture changes
You can control your image changes using the top panel.
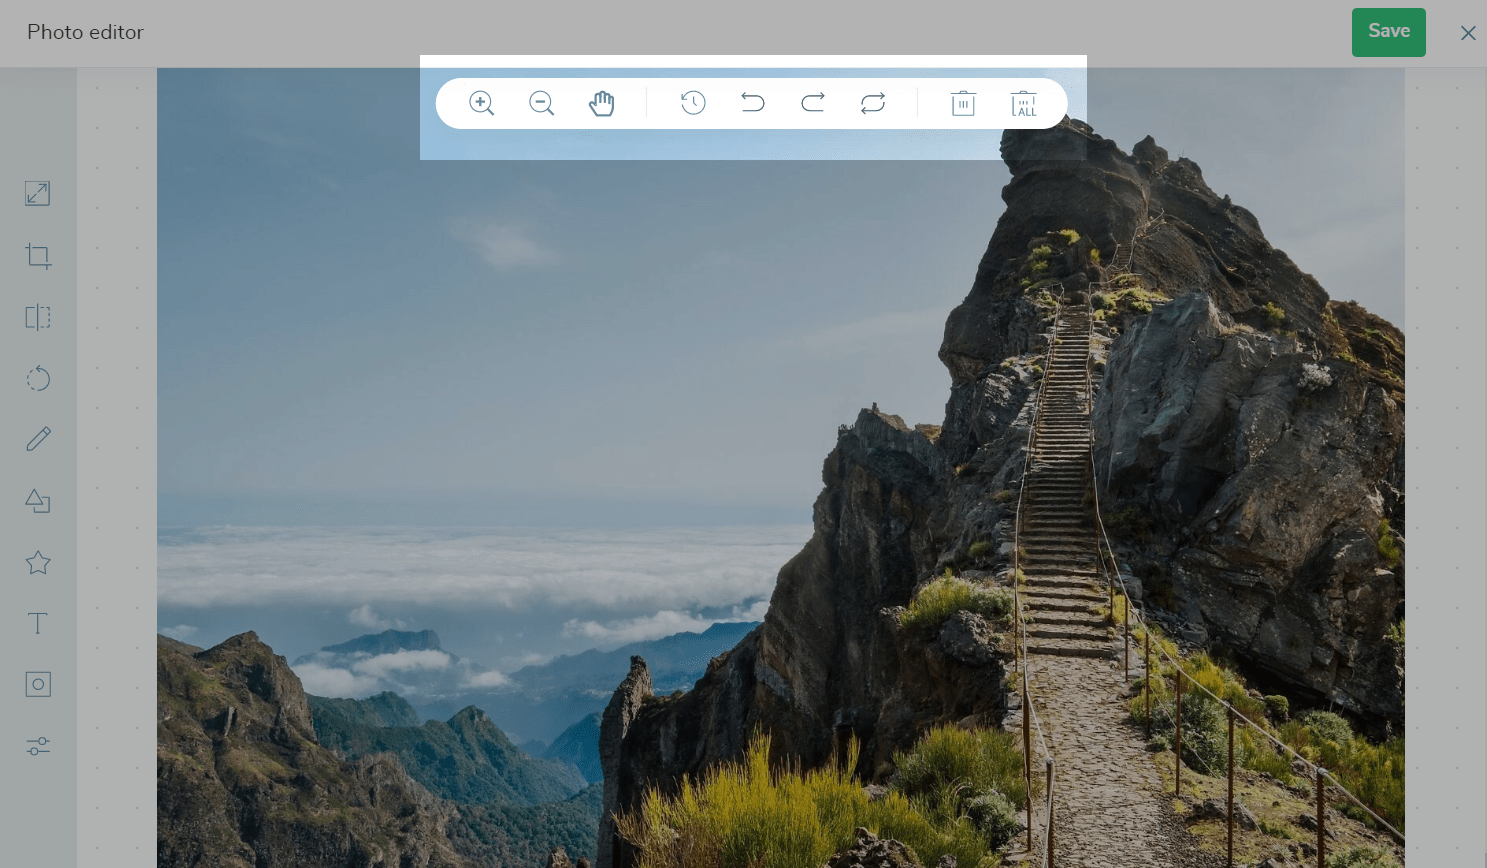
See the table below to learn more about the tools' features from the top panel.
| Tool | Features |
| Zoom | Used to zoom in or out.
Click the magnifying glass + icon, then click an image to zoom in. To zoom out, click the magnifying glass - icon. |
| Hand | Used for picture navigation.
If you zoom in on a picture, the hand allows you to move it. |
| History | Used to view and restore image versions.
Click it to see the list of actions you've taken. Select a version from the list to see it. |
| Undo | Used to undo changes.
Click it to undo the last action. Keep clicking to remove previous changes. You can undo up to 30 actions. |
| Redo | Used to redo a canceled action.
Click it to redo a previously undone action. Keep clicking to revert previous changes. |
| Reset | Used to cancel all picture actions and delete the history. You will not be able to restore the previous version. |
| Delete | Used to delete an element. |
| Delete all | Used to delete all picture elements. |
Last Updated: 07.12.2023
or