Customize your academy
Academy settings help create a clear and convenient learning experience for students. You can set your academy’s name, customize how it appears to students, add course recommendations, upload a favicon, and personalize themes and text styles in student accounts.
In this article, we’ll talk about how to customize your academy.
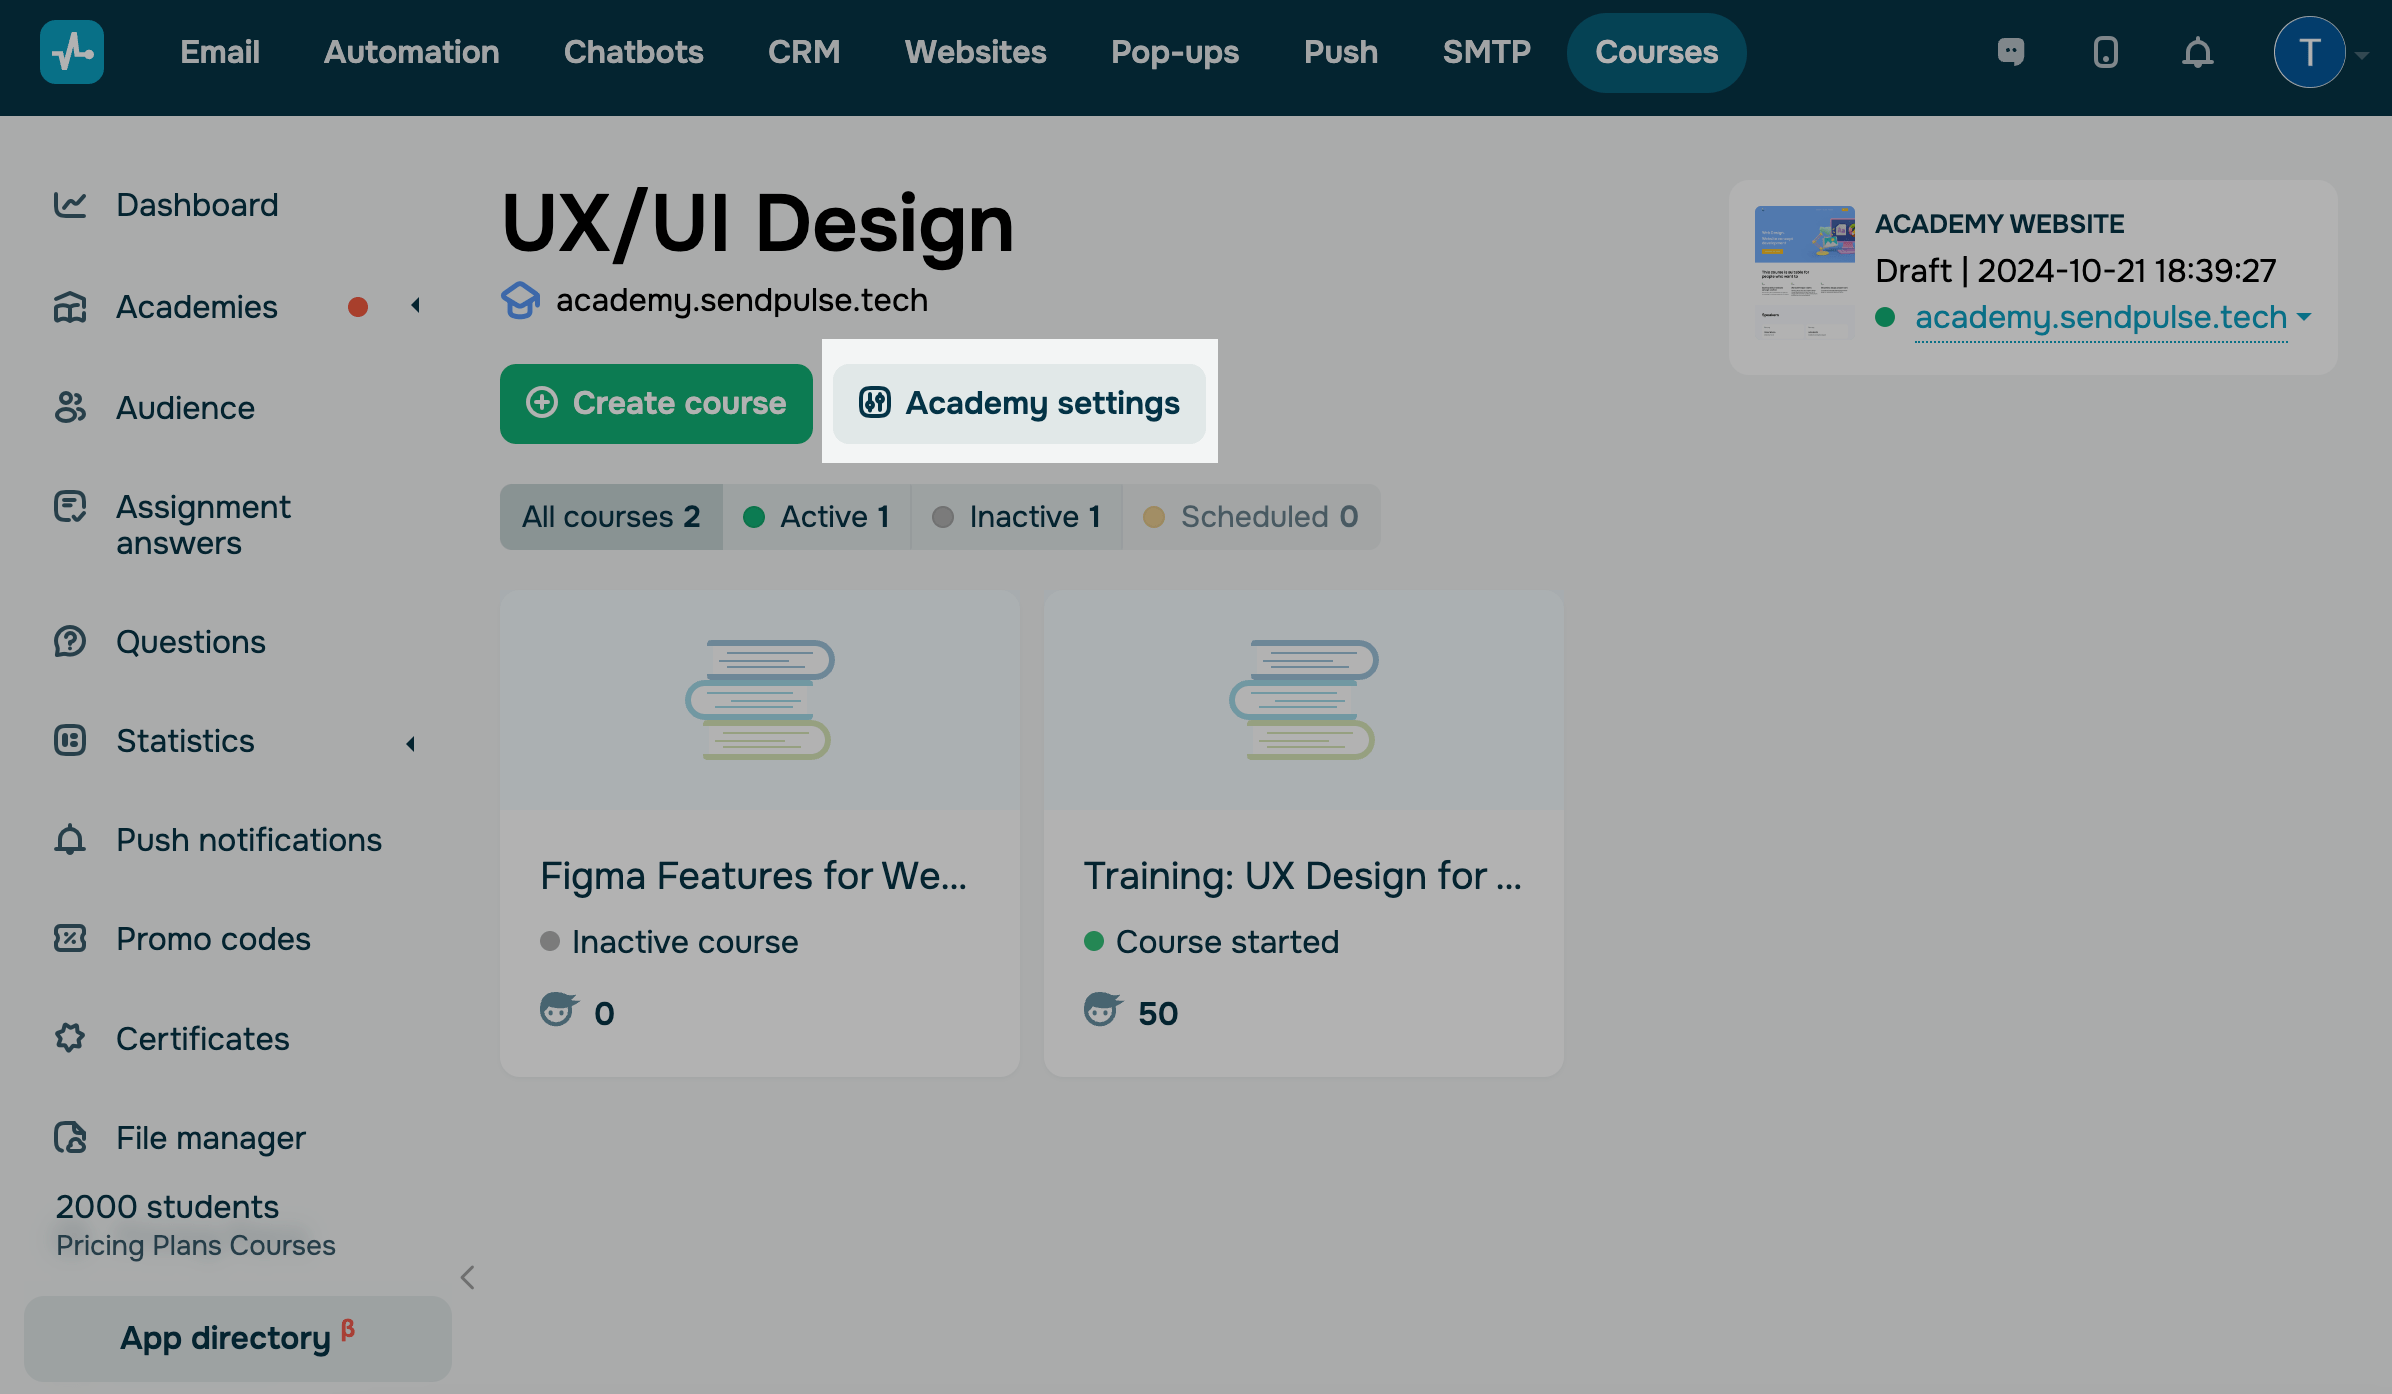
Go to the Courses section > your academy, and click Academy settings.
General settings
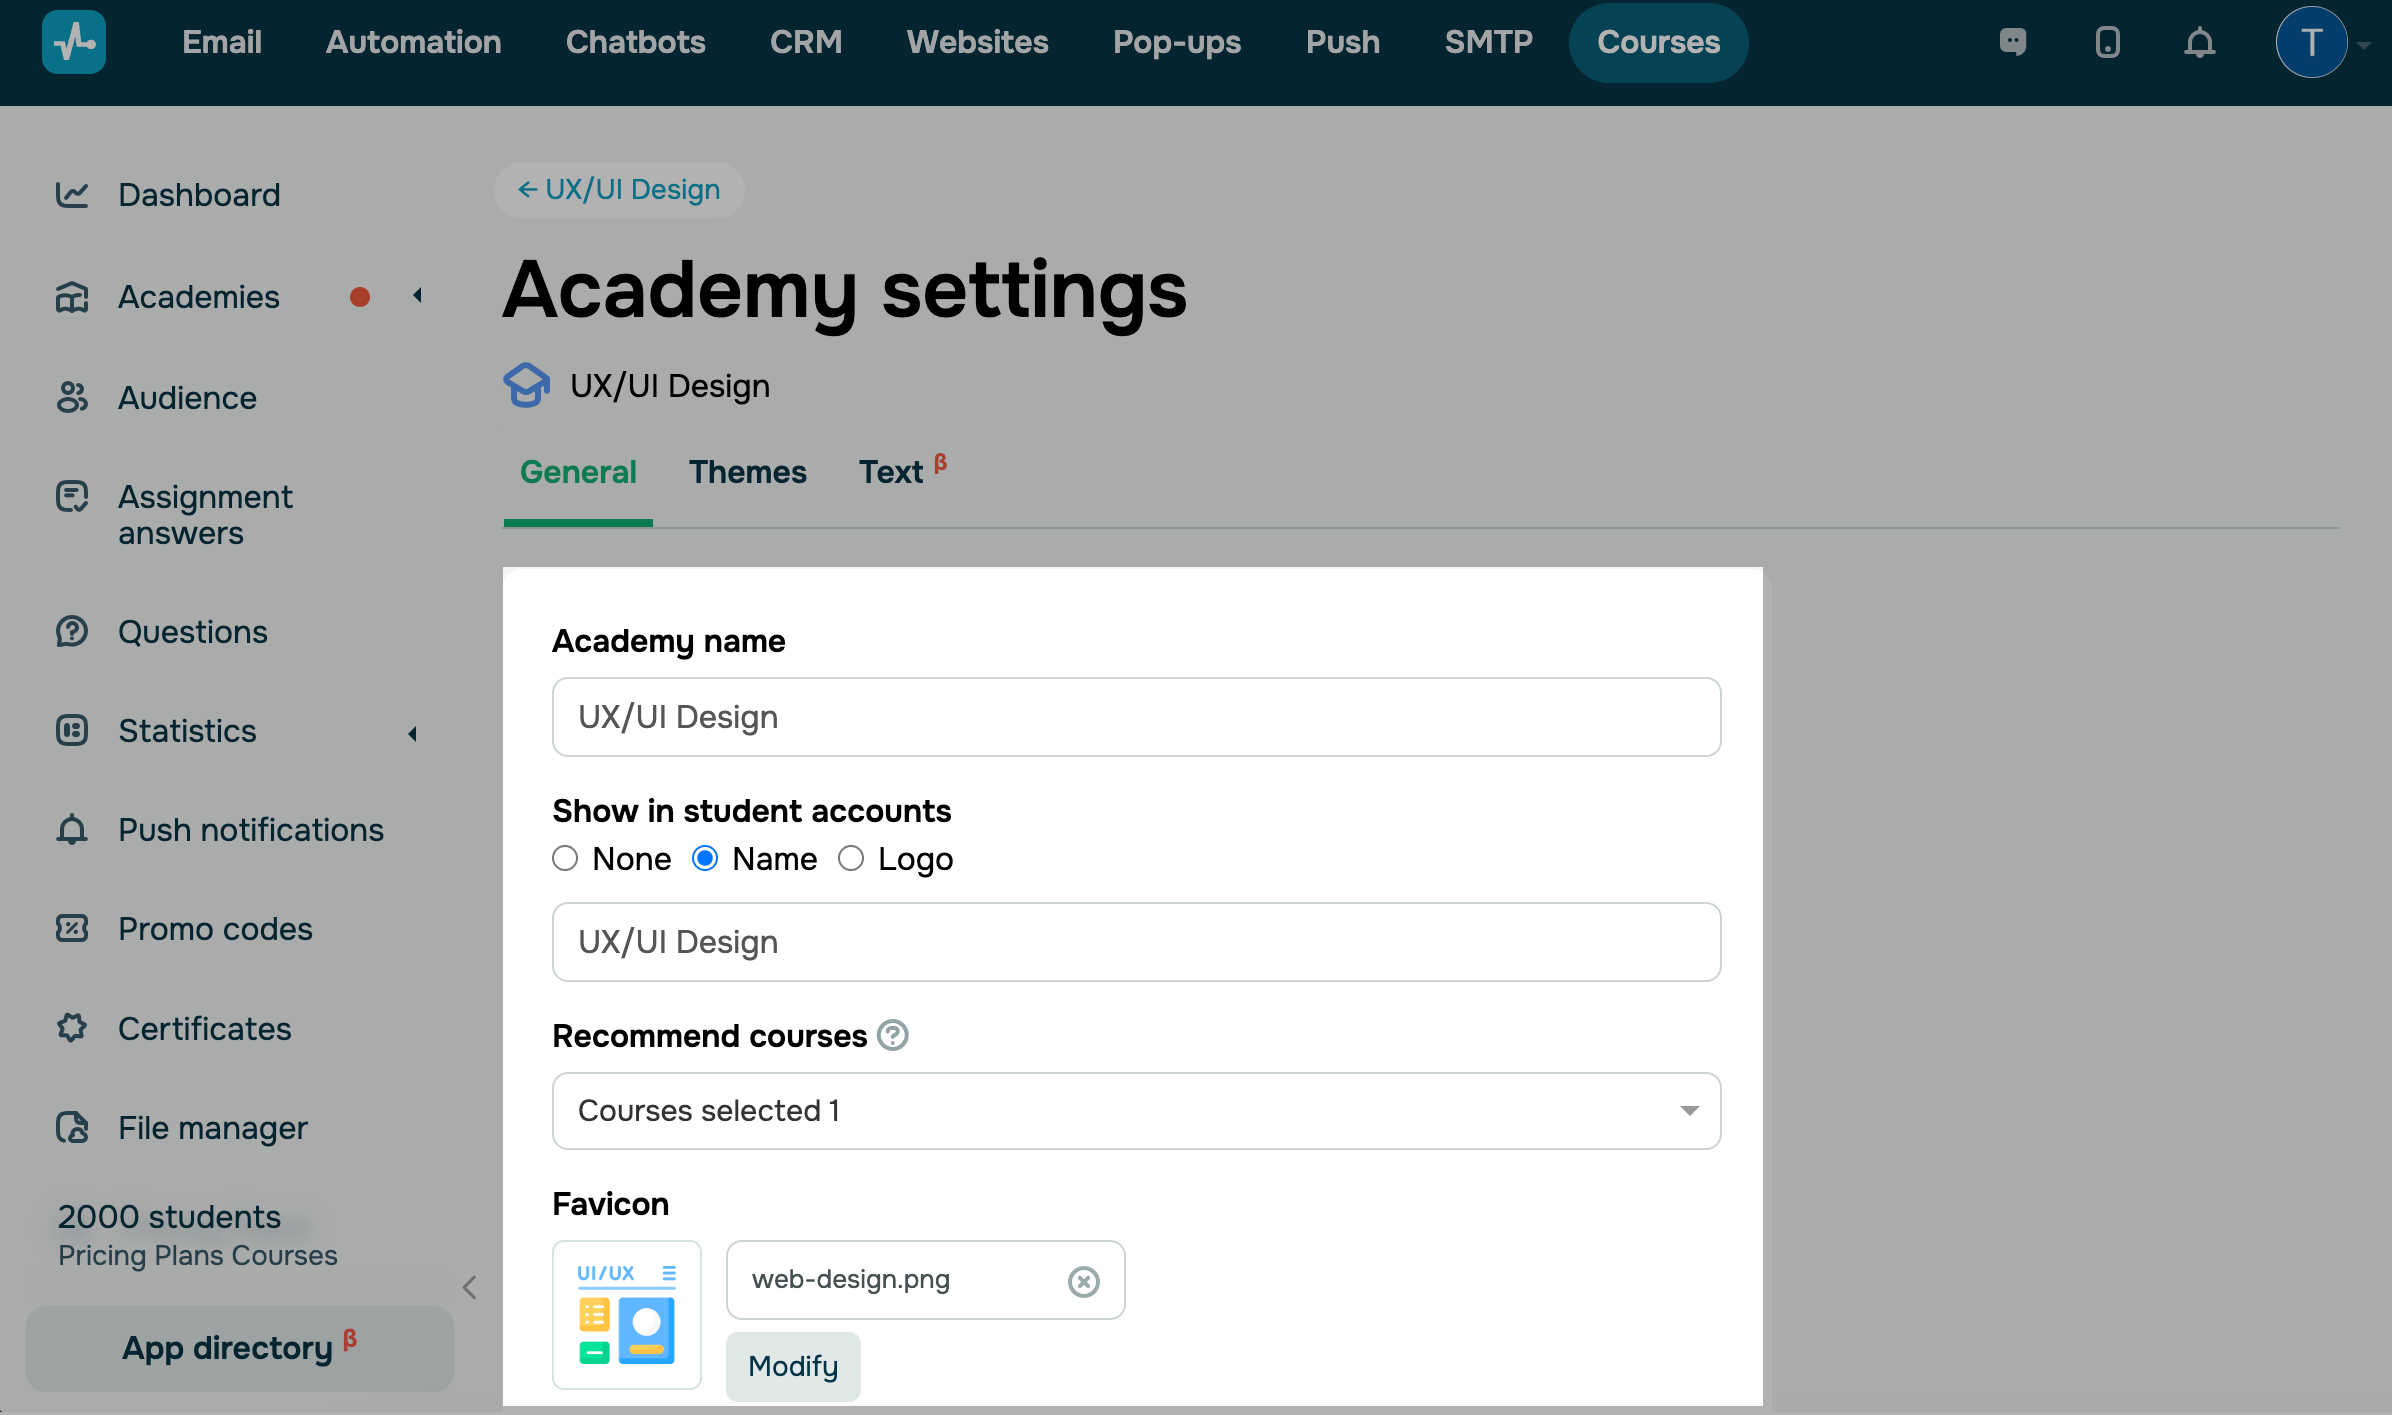
In the General tab, you can configure the following settings:
| Academy name | Edit your current academy name. |
| Show in student account | Select which elements to show in student accounts.
If you don’t want to show your academy, select None. You can also add an academy name or logo that will appear next to your course name in student accounts. |
| Recommended courses | Decide whether to show course recommendations. Select the courses from the dropdown list.
Students will only see recommendations for courses they are not enrolled in. |
| Favicon | Add an academy logo for instructors and students (if this option is enabled for students).
Add ICO, SVG, or PNG images from the file manager. The recommended size is 48x48 px. |
Customize student accounts
You can manage every academy's student account style individually so that they match your corporate style.
In the Themes tab, you can select a color scheme and text styles.
In the tab Text, you can edit element names.
Read more: How to customize your student account style for each academy.
Delete academy
Go to the General tab and click Delete academy. In the modal window, type in delete and confirm the action.
All academy courses will be permanently deleted. Student data are stored in the Audience tab.
Last Updated: 23.05.2025
or